Leaderboard

Popular Content
Showing content with the highest reputation on 07/27/22 in all areas
-
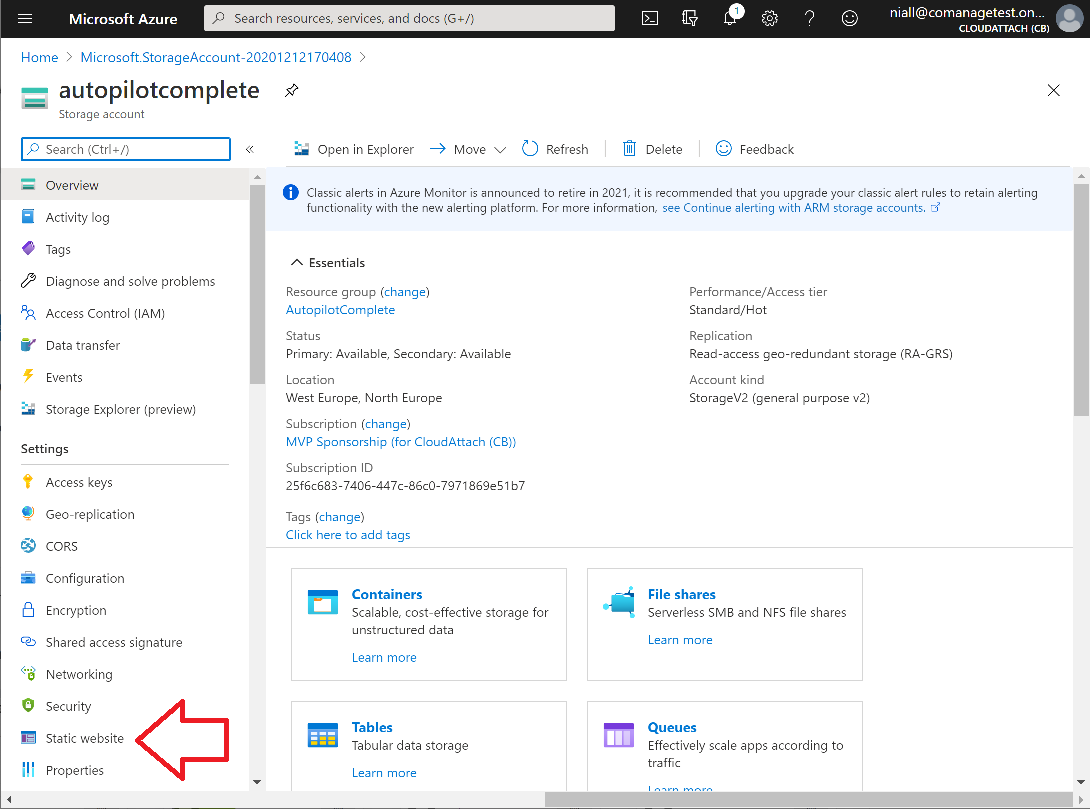
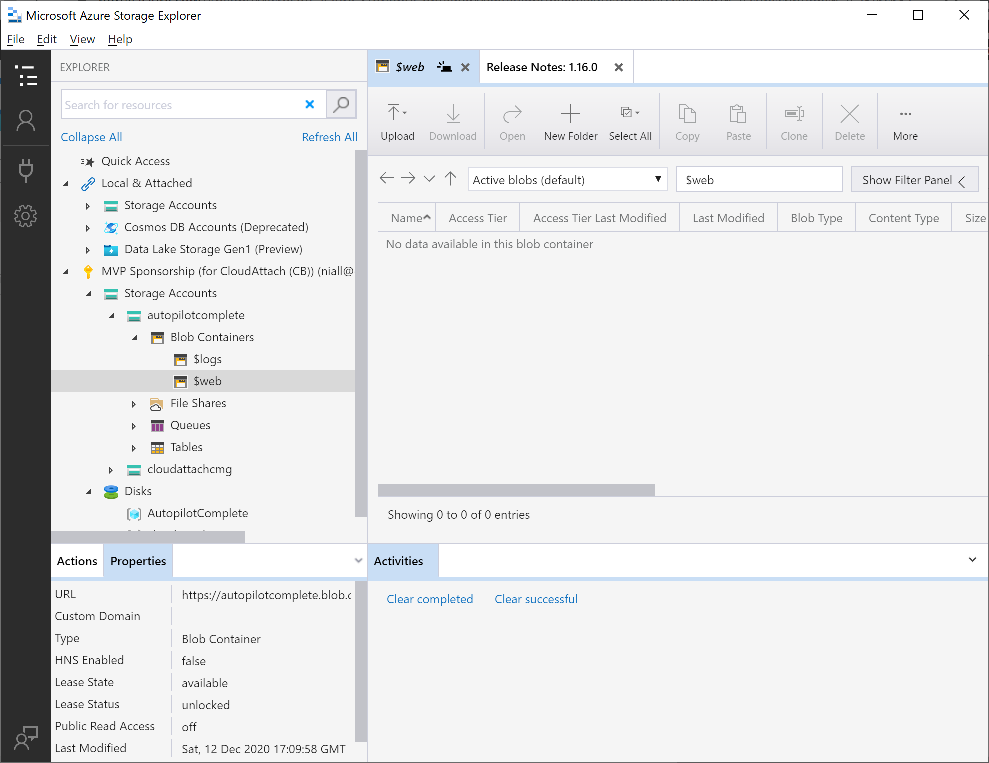
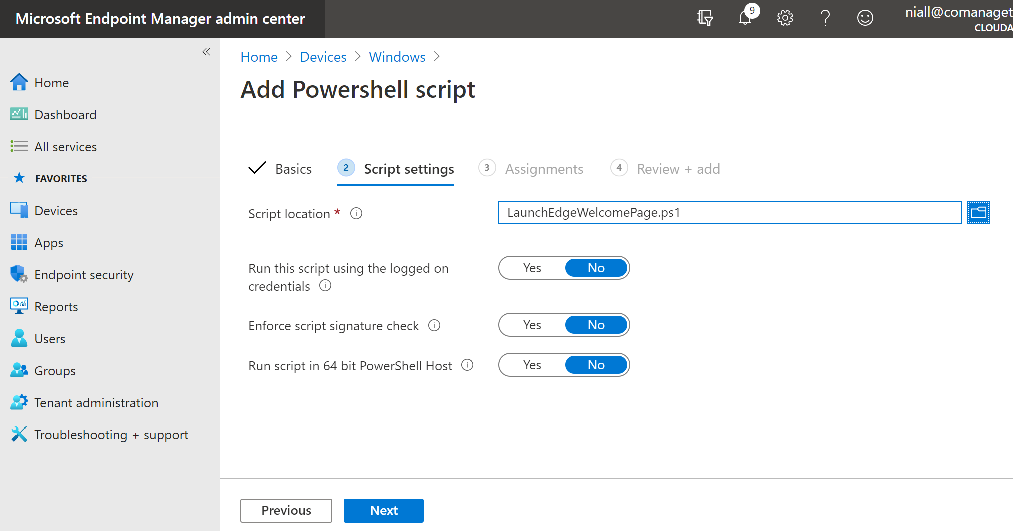
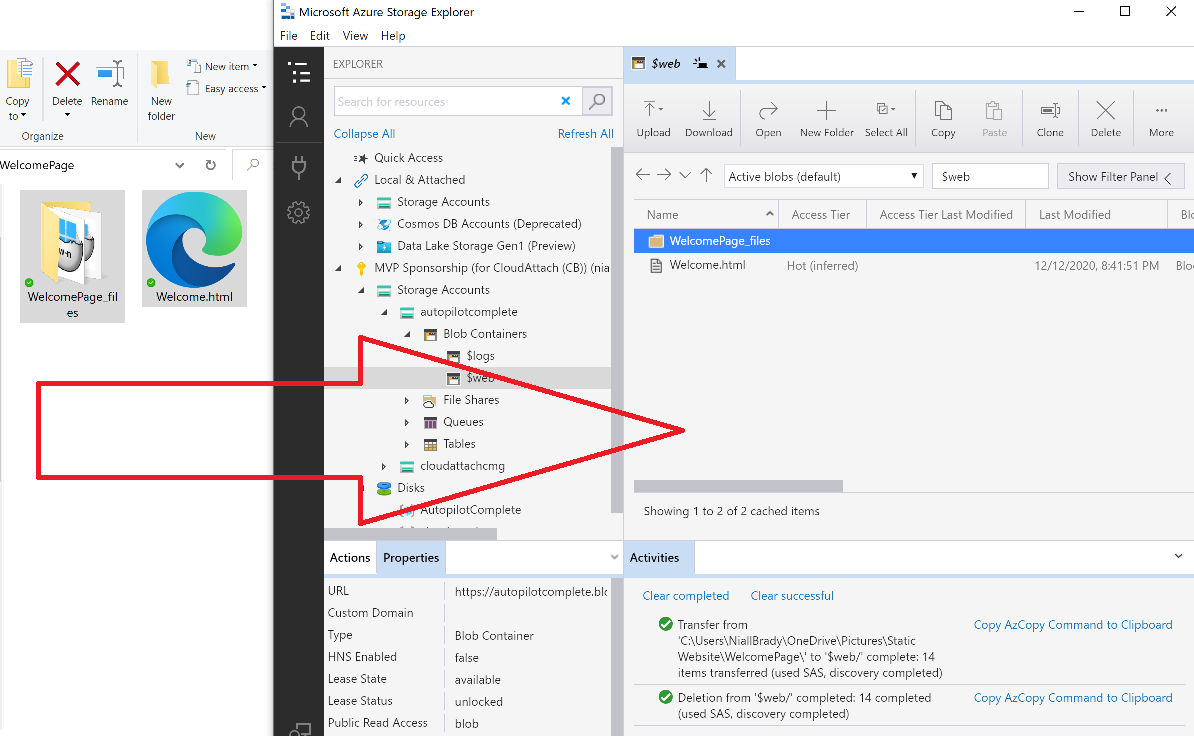
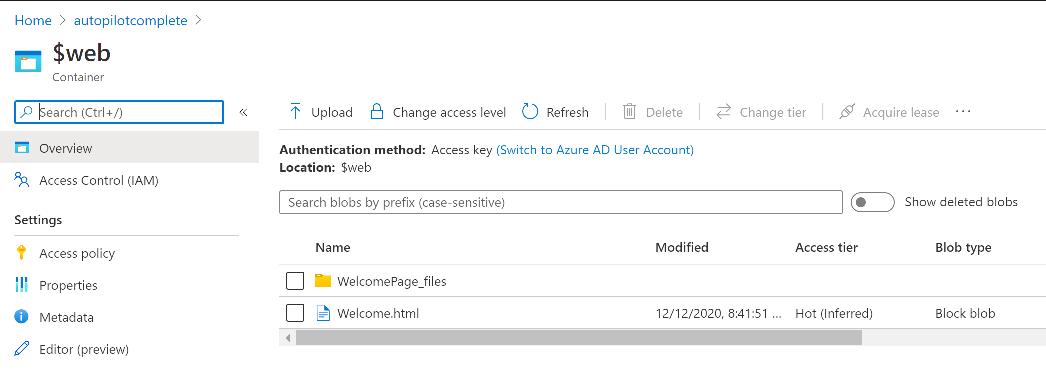
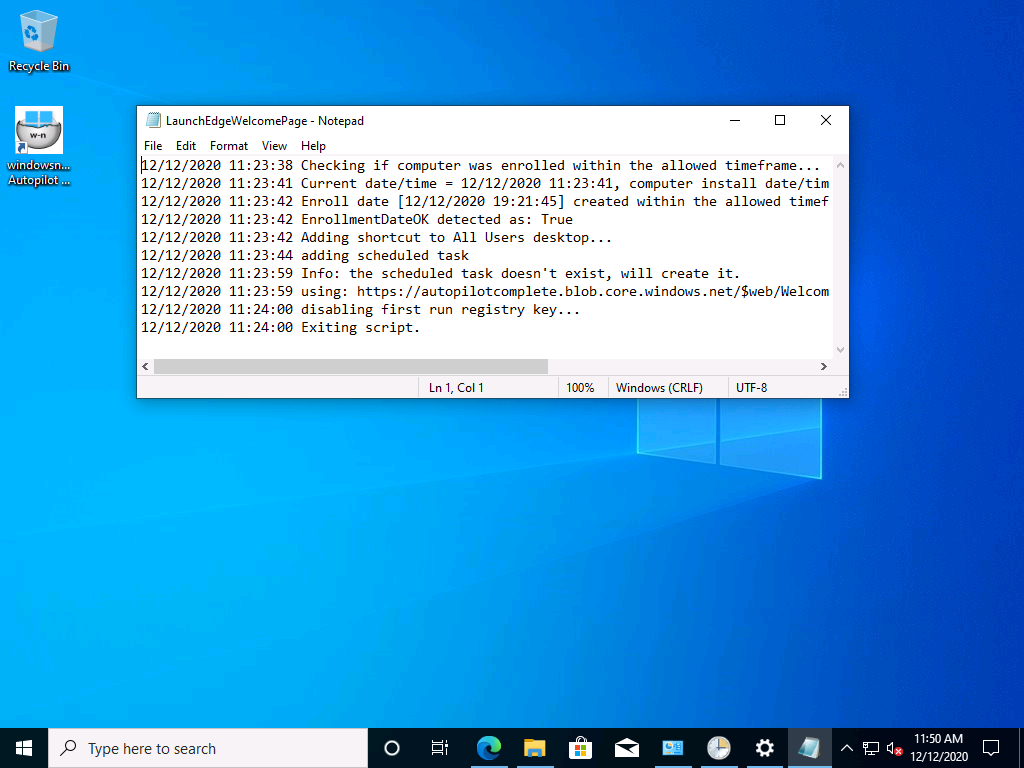
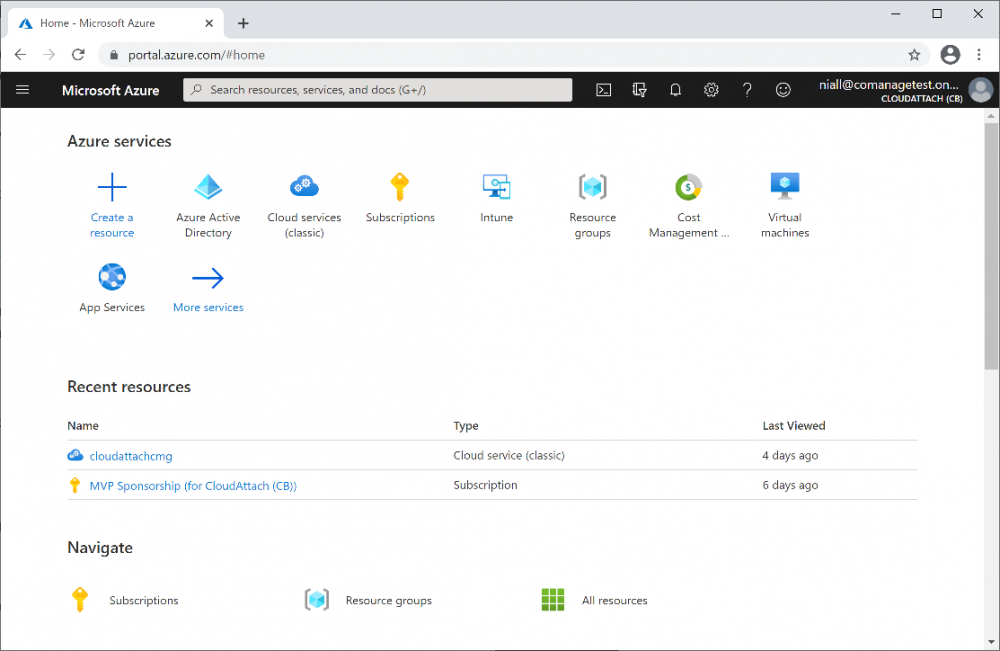
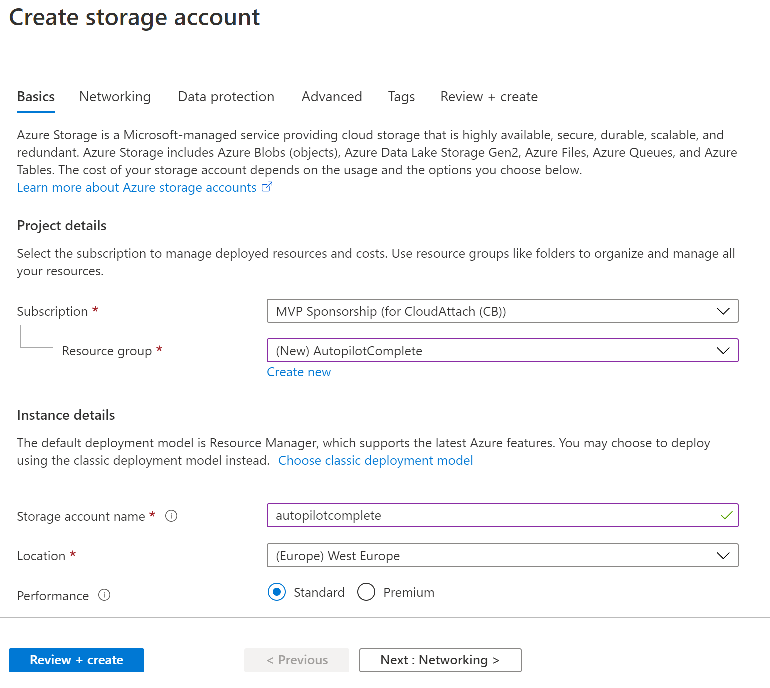
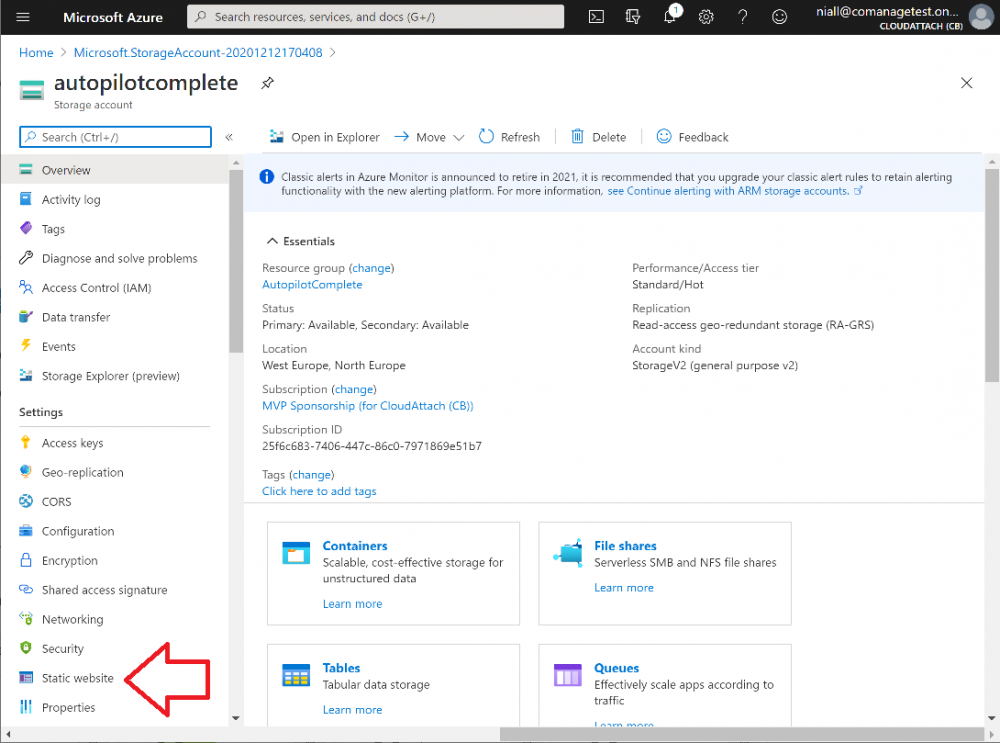
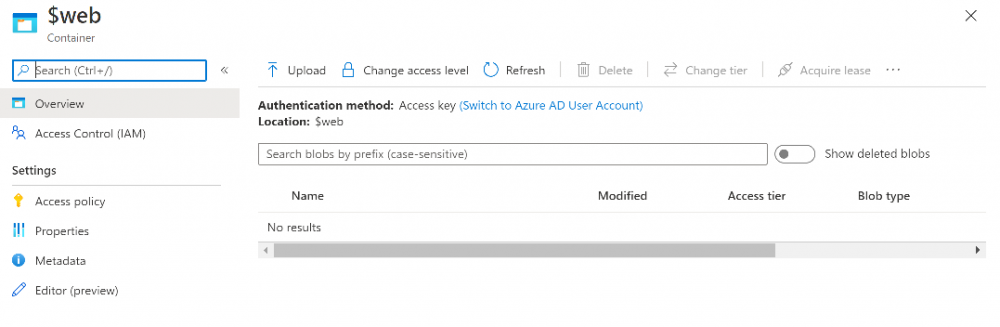
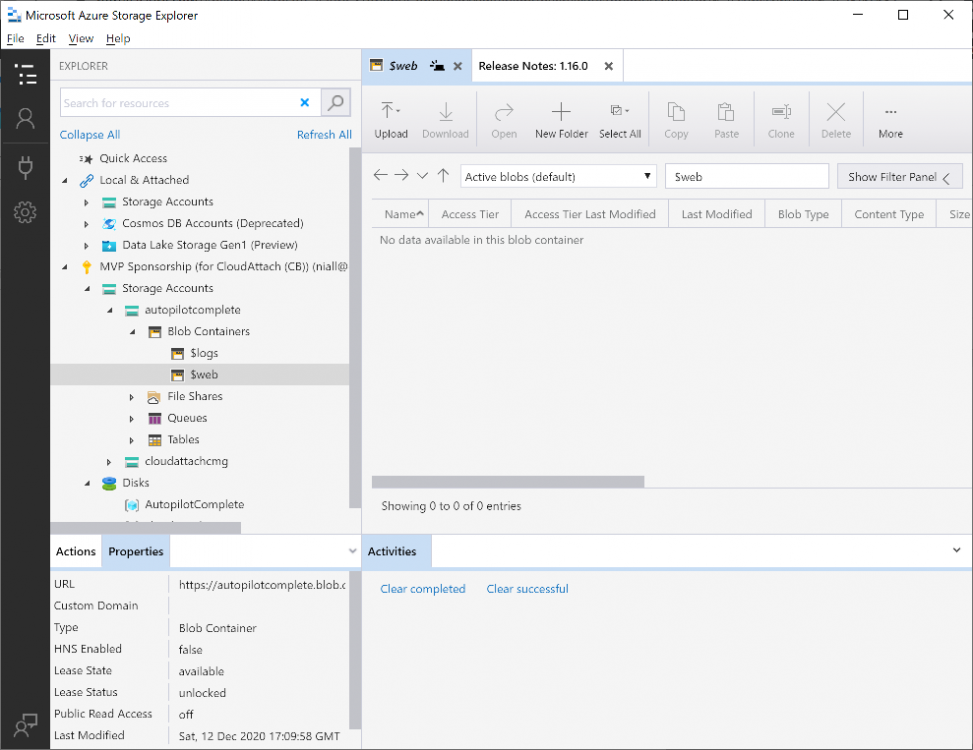
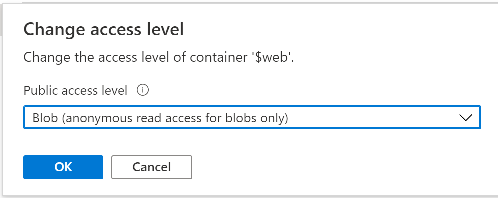
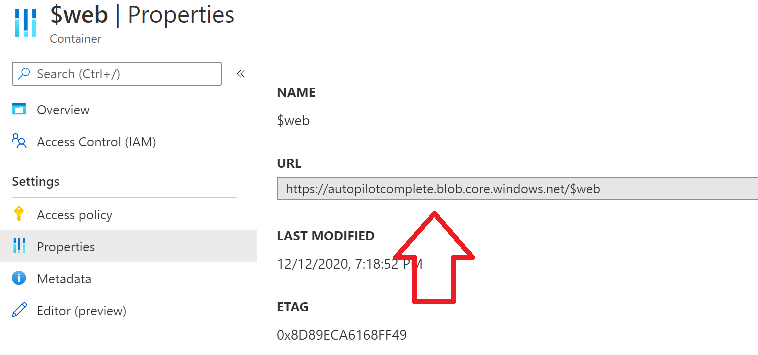
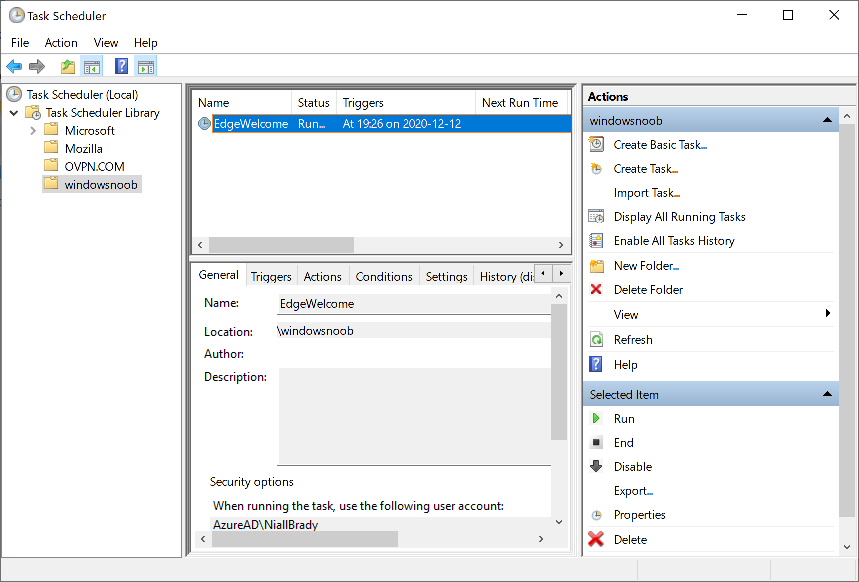
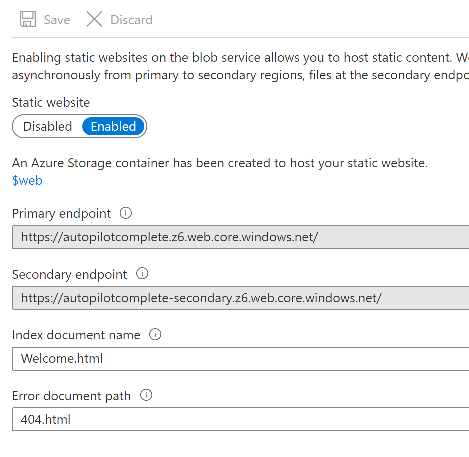
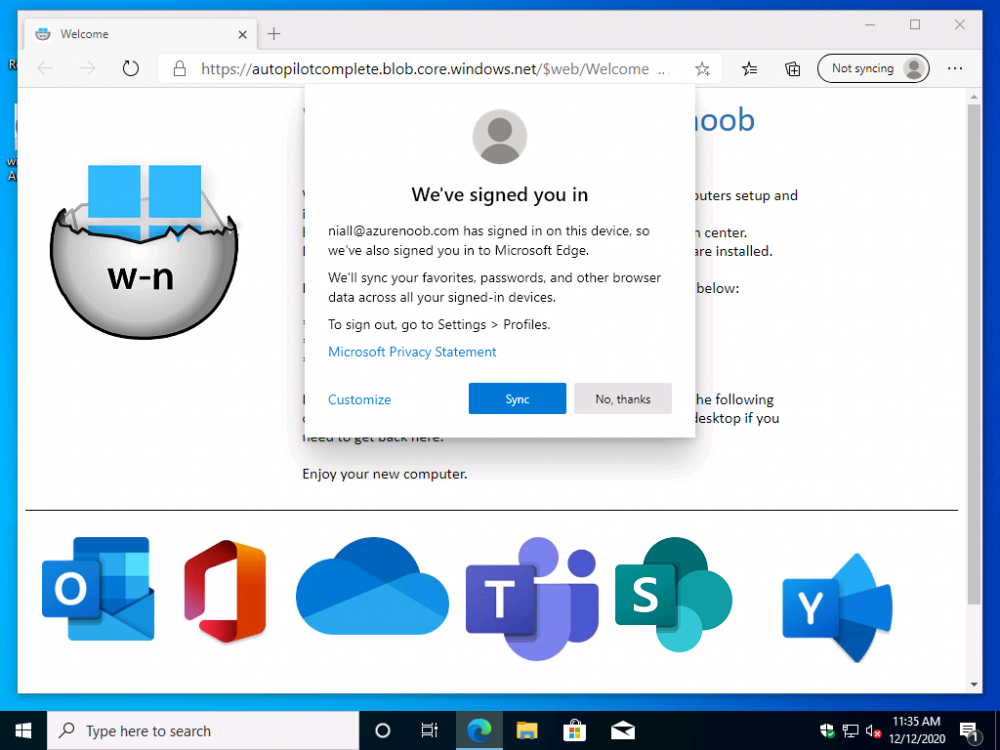
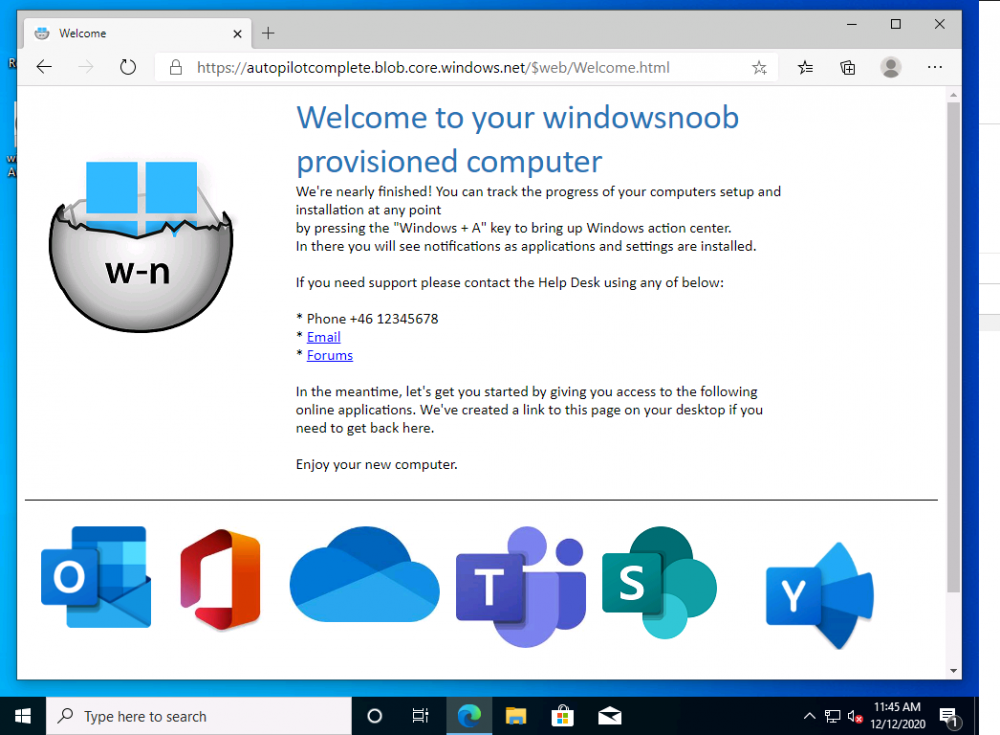
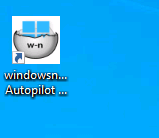
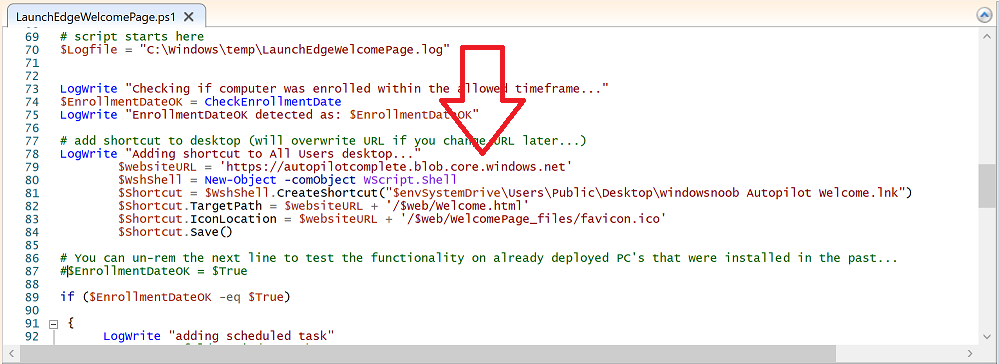
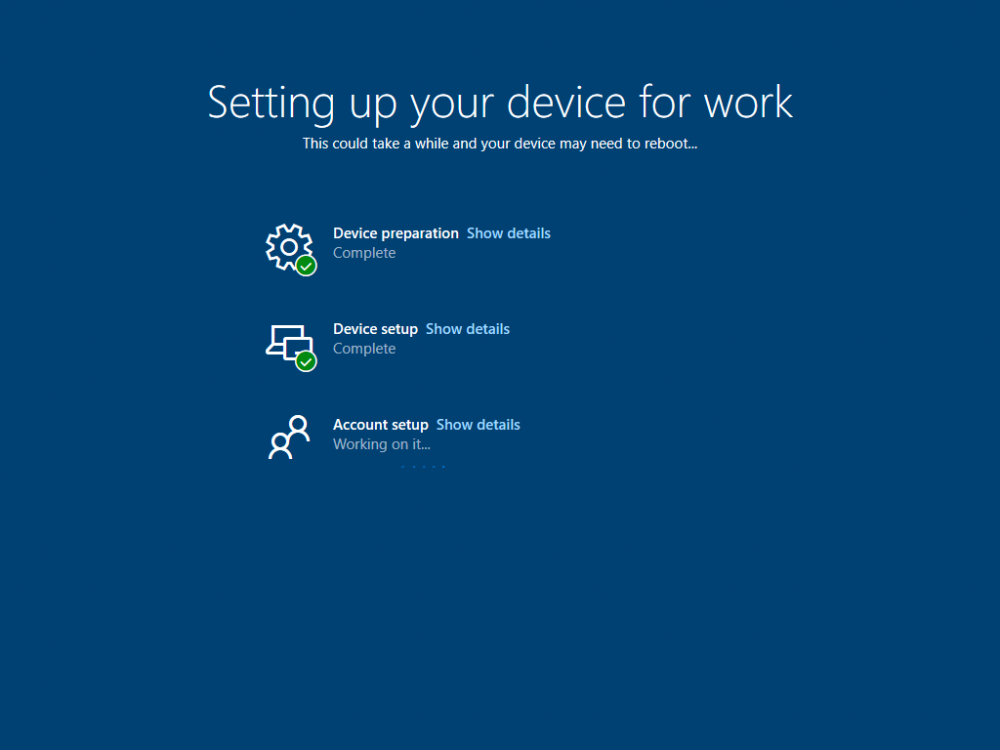
Introduction Understanding when Windows Autopilot is complete is an interesting topic. It would be great if there was a reg-key or file that was set when Windows Autopilot completed successfully, but there isn't, at least not now. Or if there is, I haven't seen any official documentation stating it. In the meantime let's use some other method of determining whether it's complete or not. To do that we'll rely on the creation date of the Microsoft Intune Device Management Extension folder as that gets created on the device if a PowerShell script or a Win32 app is targeted to the user or device, and I'm fairly confident that we all have at least one Win32 app or a PowerShell script deployed to our Autopilot devices during the Enrollment Status Page (ESP) phase of Autopilot. You can see how the enrollment date is calculated from the script here. Note: The script will only run based on the hours since enrollment detected and the detected logged on user. The script will not run if it detects that the current logged on user is defaultuser0. That user is used by Windows during the Enrollment Status Page (ESP) Device Setup phase. As the script runs again during the Account Setup phase of the ESP (the last phase), this time it will be running as a user that is not defaultuser0 and in fact is the actual user that will use the computer. Therefore it will create a scheduled task to run XX minutes after the date/time that it detects, and that usually is 15 minutes or so after the user enters their credentials. It's not perfect, but it's better than nothing. Please adjust it to suit your individual requirements. If you know a better way to do this, then let us know. Now that we have an idea of when Autopilot finished, we can deploy a PowerShell script to our Autopilot users to present a welcome page to the end user. At least that's the idea, and speaking of ideas, this great idea came from a friend of mine on Twitter, I just expanded upon it and fine tuned it for my needs, so please show your thanks to Chris Roberts for the great idea, and do him a favor and follow him on Twitter. The scheduled task will only show the web browser once (1 minute after login), during the time frame we've decided (first 48 hours after enrollment). This gives your users a nice warm fuzzy feeling that everything is completed, and let's them know that they can now use their computer. In order to achieve this we'll do the following. Create a static website in Azure Upload some files to the website Add a PowerShell script in Intune Note: This guide assumes you've already created an app for Microsoft Edge Chromium and deployed it to your Autopilot users. Step 1. Create Storage Account In Azure Active Directory create a storage account. To do that click on Create a Resource in https://portal.azure.com. In the page that appears, search for Storage Account. Select it and click on Create. You can attach it to an existing Resource Group or as in my case (to keep things clean) create a new Resource Group. Next, fill in a Storage account name and select the region and performance. And click on Review + create and after being presented with the summary, click Create. In the Storage Account, select Static Website from the options in the left pane. Set it to Enabled and provide the following file names Welcome.html and 404.html. Click Save when done. Next, click on $web, you will be presented with a simple interface for uploading files to your new static website. Step 2. Download files Download the Welcome page html files and the LaunchEdgeWelcomePage.ps1 PowerShell script here. Note: To download the files hosted on windows-noob.com, make sure you are logged on to the site first. Download the Welcome page files hereWelcomePage.zip Download the LaunchEdgeWelcomePage.ps1 hereLaunchEdgeWelcomePage.zip Download Microsoft Azure Storage Explorer Step3. Upload files After installing the Microsoft Azure Storage Explorer, browse to the $web folder of your storage account in the Blob Containers The easiest way to get the files and folders to the $web folder is to drag and drop from Windows File Explorer. Step 4. Change Access Level In the $Web container click refresh, you should see your files/folders. Click on Change access level to change the access level to these files. Set it to the access level you require, for example Blob access. To restrict access to this website and to block public see the following post. Step 5. Add the static website URL to the script In the $web container, click on properties. The static website URL is displayed, copy the url. Note: the returned URL is case sensitive. Edit the LaunchEdgeWelcomePage.ps1 PowerShell script and paste in your static website URL. Notice how I didn't copy over the /$web part of the url, it's added later. Save the changes. Step 6. Upload the PowerShell script to Intune In Endpoint Manager, select Devices, Windows Devices and choose PowerShell scripts. Add the edited LaunchEdgeWelcomePage.ps1 script. Don't forget to assign the Powershell script to your Windows Autopilot users. Step 7. Review the end result During Autopilot, you've probably enabled the ESP (Enrollment Status Page), if not it's a good idea to do so as it gives your users an indication that something is happening. After Windows Autopilot enrollment is complete, it should logon to the desktop, and Edge should launch with the welcome page. After the user selects the Sync option they'll see this (you can auto configure sync options). The user can click on any of the icons in the webpage to bring them to the online versions of those applications. In addition, an icon on the desktop links back to the welcome page. Step 8. Troubleshooting If it didn't go as planned, check for the presence of the scheduled task. Try running it manually, also look for the log file in C:\Windows\temp\LaunchEdgeWelcomePage.log The script creates a scheduled task to launch the welcome page one time (for each user that logs on to the computer within the allotted time frame of 48 hours) after Autopilot is complete. in In the example below I ran the script on my daily laptop and it wouldn't add the scheduled task as enrollment was many months ago. If you want to test it anyway, then temporarily remove the # on line 87 and try again. Make sure to add the # back before uploading the script to Intune. Note: If Edge Chromium doesn't install during the ESP for whatever reason, and yes, sadly it happens then this welcome page won't launch either. If that happens to you try plan b, which is to launch another browser (I picked Internet Explorer). Below is the section containing the workaround which is NOT in the main script, so it's here just in-case you want to use it. Replace the $action line with this # special workaround for cases where MS Edge Chromium failed to install during ESP LogWrite "checking if Edge Chromium is actually installed right now...." $EdgeChromiumPath = "C:\Program Files (x86)\Microsoft\Edge\Application\msedge.exe" if (!(Test-Path $EdgeChromiumPath)) { LogWrite "'$EdgeChromiumPath' is NOT present, will use plan b..." $action = New-ScheduledTaskAction -Execute '"C:\Program Files (x86)\Internet Explorer\iexplore.exe"' -Argument $websiteURL } else {LogWrite "$EdgeChromiumPath is present, good !" $action = New-ScheduledTaskAction -Execute $EdgeChromiumPath -Argument $websiteURL } # end workaround That's it ! Have fun and please let me know how you get on with this, if you modify the script or webpage then please show us your changes/ideas ! Useful links Favicon Generator Edge Chromium sync - https://docs.microsoft.com/en-us/deployedge/microsoft-edge-enterprise-sync Microsoft Azure Storage Explorer Intune device management extension Azure static website Azure Blob pricing cheers niall


 1 point