anyweb
-
Posts
9192 -
Joined
-
Last visited
-
Days Won
366


Recent Profile Visitors
4189113 profile views


anyweb's Achievements
")


-

vsphere pxe boot virtual machine in SCCM
anyweb replied to jackie_jack86's topic in Configuration Manager 2012
I'd suggest you talk to your network team. -
vsphere pxe boot virtual machine in SCCM
anyweb replied to jackie_jack86's topic in Configuration Manager 2012
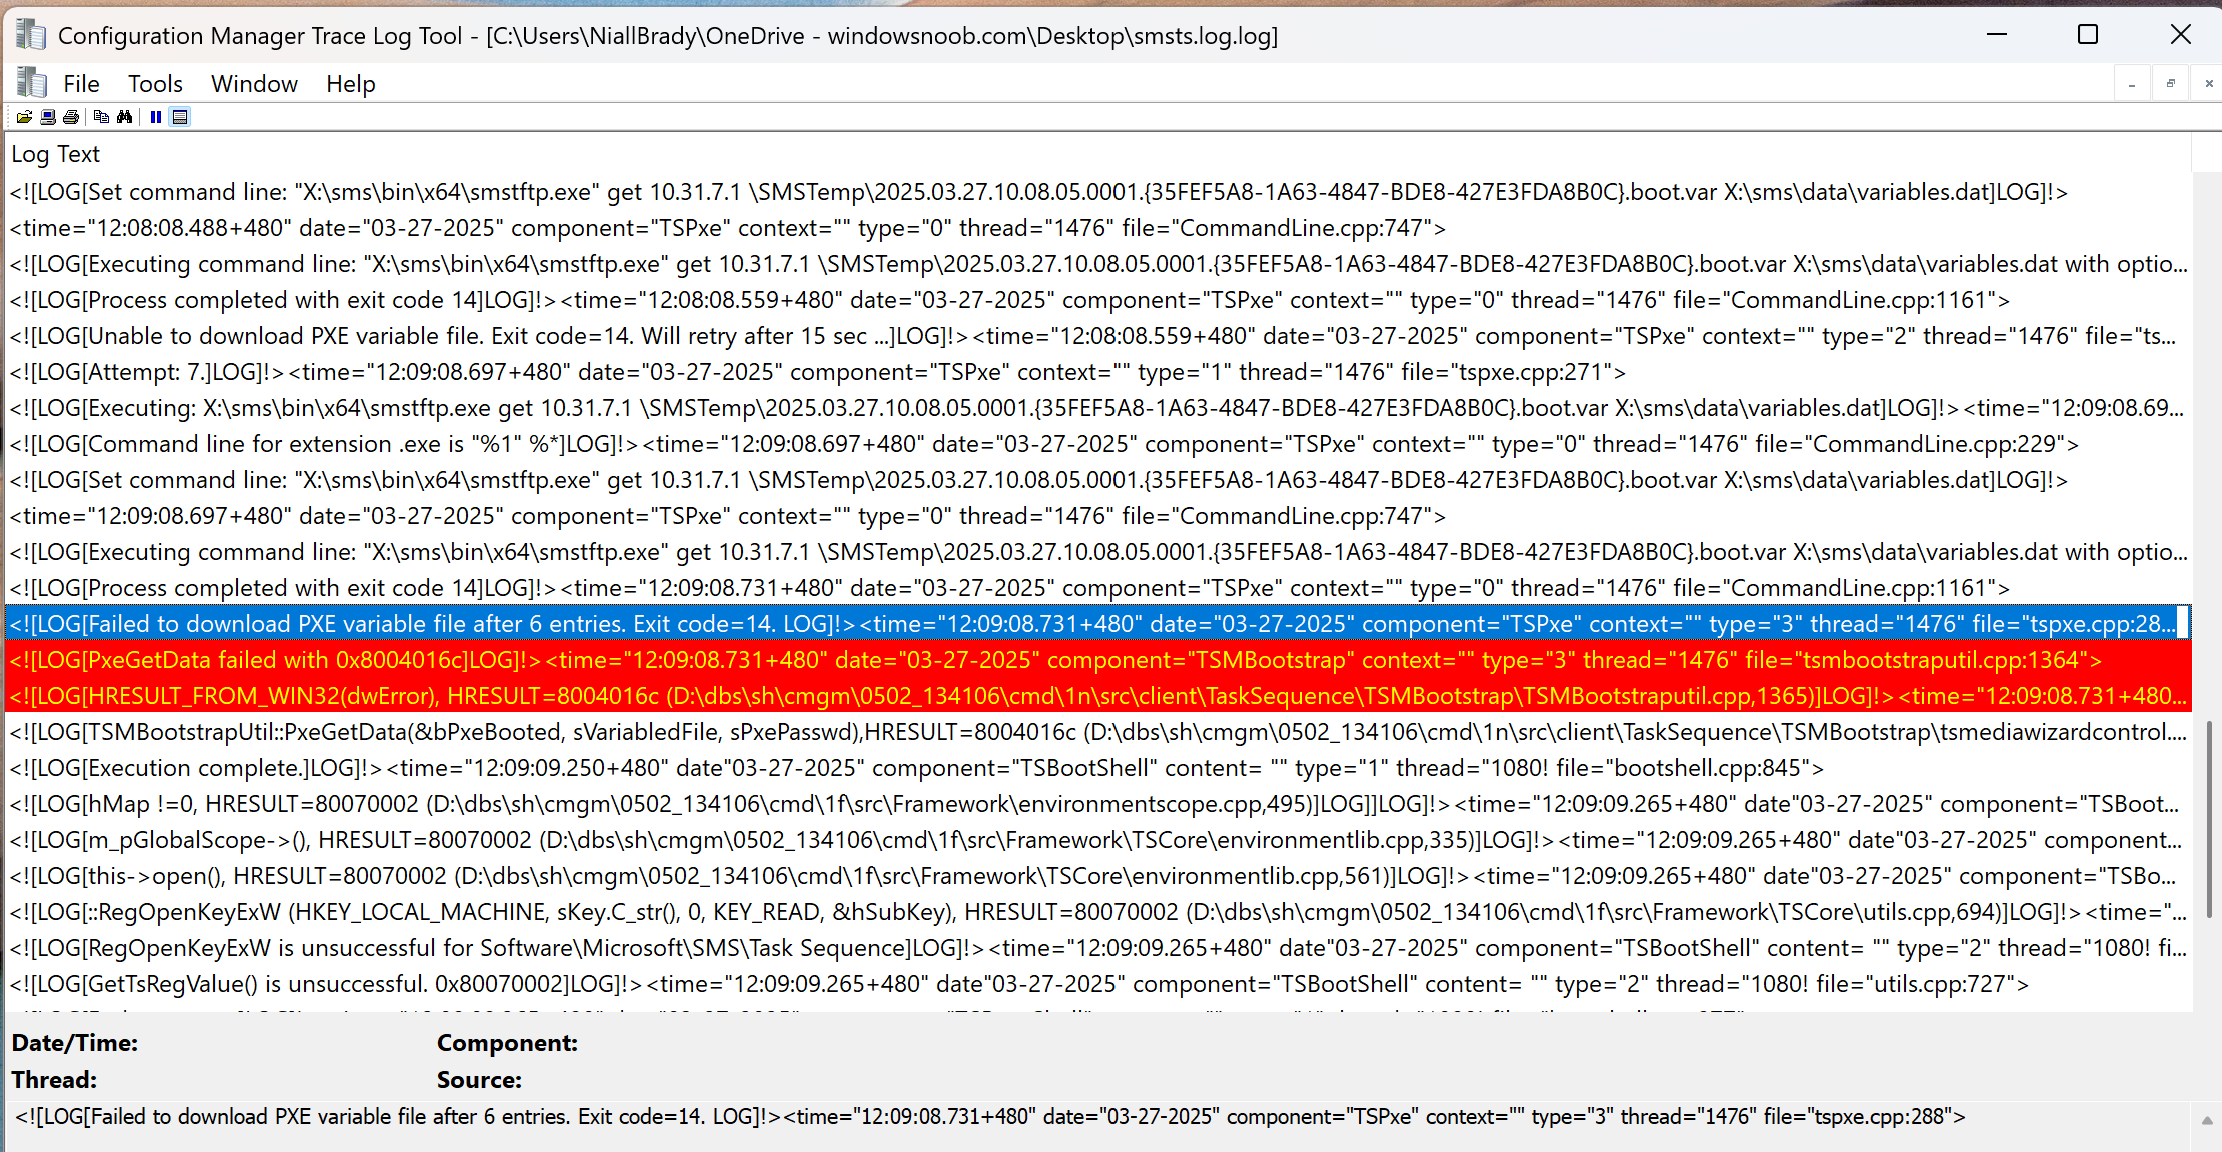
here's the error in CMTrace, you really should use that for reviewing any SCCM log as it highlights warnings and errors The text of interest is: Failed to download PXE variable file after 6 entries. Exit code=14. A quick google reveals that this could be because your VMware client is on a different subnet to that hosted by your PXE enabled distribution point, or that your router is handling subnets in an incorrect way.
-
vsphere pxe boot virtual machine in SCCM
anyweb replied to jackie_jack86's topic in Configuration Manager 2012
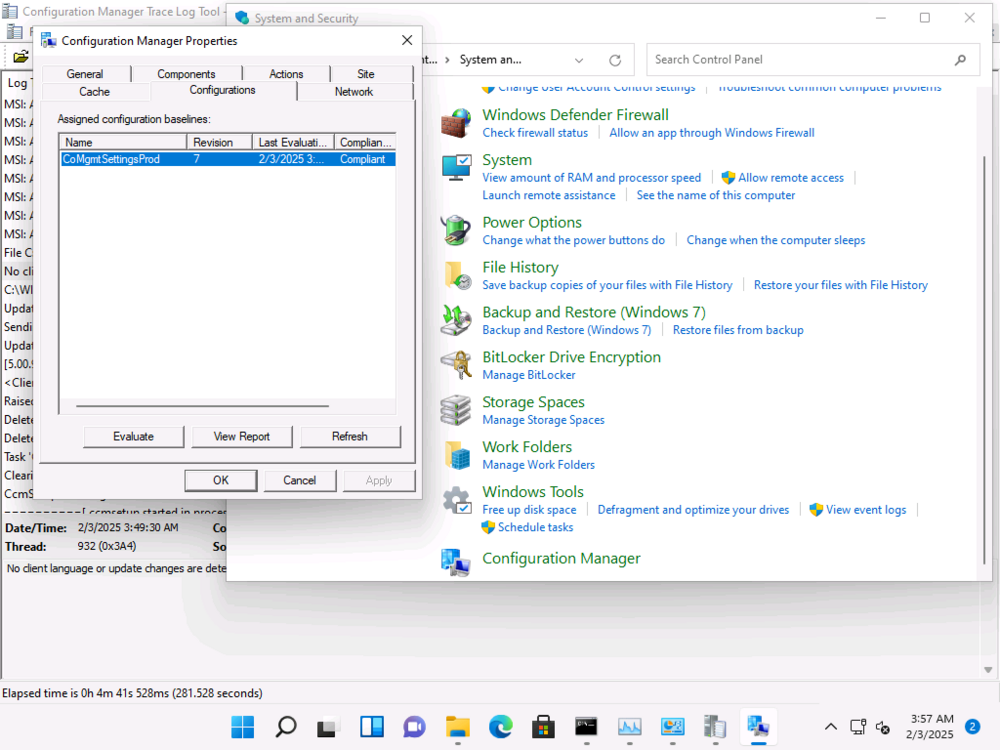
you need to press F8 as soon as you the Configuration Manager wallpaper (see my screenshot below).... (also make sure command prompt/f8 support is enabled on the boot image) and grab the smsts.log in X:\Windows\Temp\SMSTSLog, in there you'll probably find out that the reason it's restarting is because of missing drivers or no task sequence advertised to these devices. you can post the log here once you have it, you can copy it off the machine using a usb key or map a network share using net use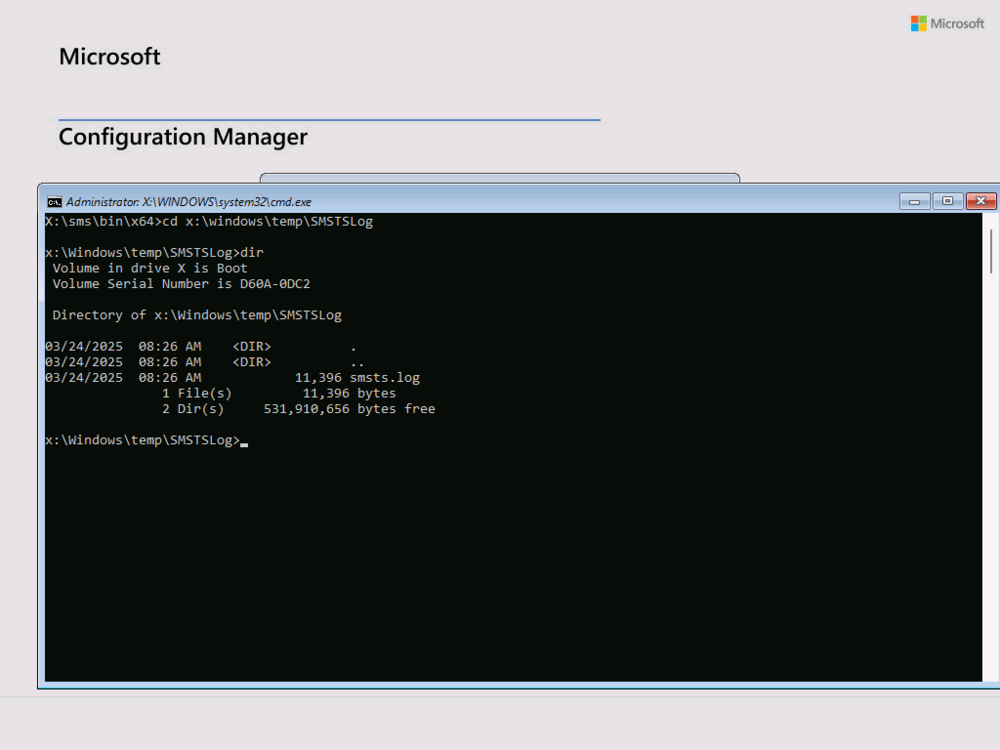
-
script to push CMtrace
anyweb replied to frank offei's topic in System Center Configuration Manager (Current Branch)
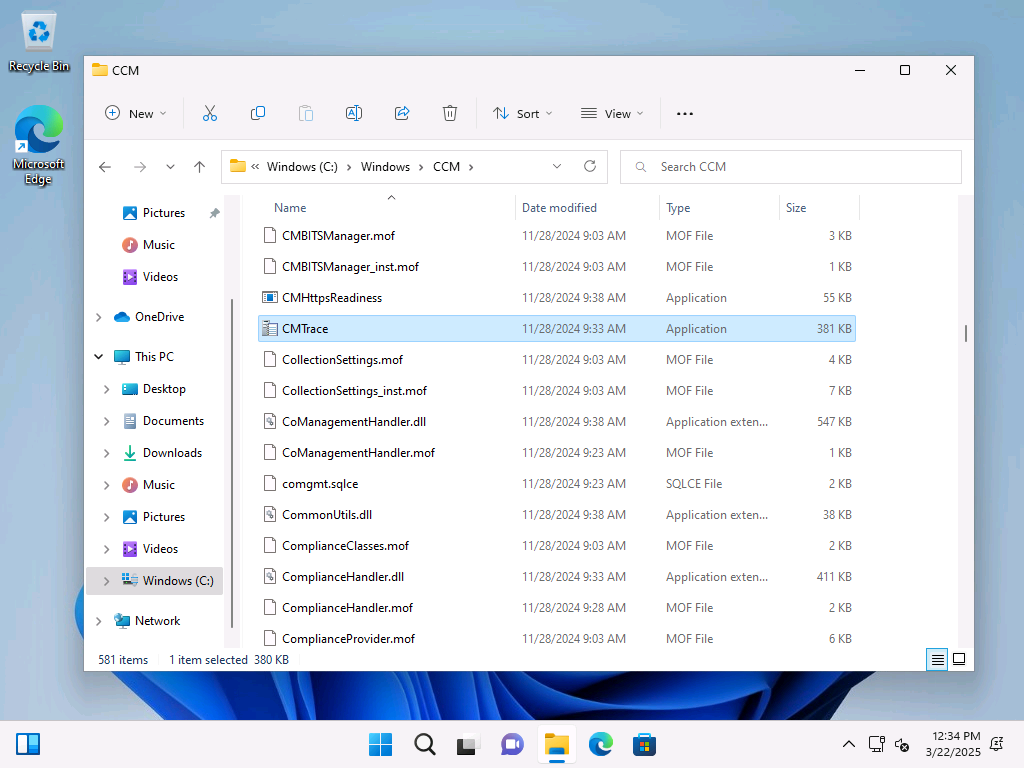
I guess you were trying to ask a question, but in case you didn't know CMTrace.exe is already in the C:\Windows\CCM folder see here so as long as you have the ConfigMgr client installed, you'll also have CMTrace.
-
Introduction Last month I posted about my CMG (Cloud Management Gateway) going AWOL (absent without leave) and staying broken, this was in response to a tweet from Panu, and I documented the sorry story here. I tried many things including the hotfix that was available at the time of posting, but nothing helped. My CMG remained broken and stayed in a state of disconnected. I had planned on removing it entirely and recreating the CMG but time got the better of me. Today however I got a notification from Linkedin that someone had responded to one of my posts about that problem so I took a look. Steven mentioned a hotfix rollup (HFRU) and it was a new one. https://learn.microsoft.com/en-us/mem/configmgr/hotfix/2409/30385346 The issues fixed with this hotfix rollup are pasted from that article below, with the important CMG bits highlighted in bold italic: Issues that are fixed Internet based clients using the alternate content provider are unable to download content from a cloud management gateway or cloud distribution point. Deployment or auto upgrade of cloud management gateways can fail due to an incorrect content download link. Internet based clients can fail to communicate with a management point. The failure happens if the SMS Agent Host service (ccmexec.exe) on the management point terminates unexpectedly. Errors similar to the following are recorded in the LocationServices.log file on the clients. Console [CCMHTTP] ERROR INFO: StatusCode=500 StatusText=CMGConnector_InternalServerError The Configuration Manager console displays an exception when you check the properties of a Machine Orchestration Group (MOG). Membership of the MOG can’t be modified; it must be deleted and recreated. The exception happens when the only computer added to a MOG doesn’t have the Configuration Manager client installed. Hardware inventory collection on a client gets stuck in a loop if the SMS_Processor WMI class is enabled, and the processor has more than 128 logical processors per core. If a maintenance window is configured with Offset (days) value, it will fail to run on clients if the run date happens on the next month. Errors similar to the following are recorded in the UpdatesDeployment.log file. Console Failed to populate Servicewindow instance {GUID}, error 0x80070057 The spCleanupSideTable stored procedure fails to run and generates exceptions on Configuration Manager sites using SQL Server 2019 when recent SQL cumulative updates are applied. The dbo.Logs table contains the following error. Console "ERROR 6522, Level 16, State 1, Procedure spCleanupSideTable, Line 0, Message: A .NET Framework error occurred during execution of user-defined routine or aggregate "spCleanupSideTable": System.FormatException: Input string was not in a correct format. System.FormatException: at System.Number.StringToNumber(String str, NumberStyles options, NumberBuffer& number, NumberFormatInfo info, Boolean parseDecimal) at System.Number.ParseInt64(String value, NumberStyles options, NumberFormatInfo numfmt) at Microsoft.SystemsManagementServer.SQLCLR.ChangeTracking.CleanupSideTable(String tableToClean, SqlInt64& rowsDeleted) ." Multiple URLs are updated to handle a back-end change to the content delivery network used for downloading Configuration Manager components and updates. The Configuration Manager console can terminate unexpectedly if a dialog contains the search field. This gave me some hope so I powered up that lab and took a look. As you can see the hotfix rollup is ready to install. Note: Yes I’m aware one of my app secrets is about to expire, that’s not part of this blog post or problem so I’ll ignore it for now. Before installing the hotfix rollup however I checked on the status of my CMG. And to my great surprise after weeks (a month even) of being broken and disconnected it was now………. connected. Uh… what ? Ok, that’s weird. I ran the connection analyzer as well just for giggles, and for the first time in a long time it passed with flying colours. As the server log files have unfortunately rolled over, I cannot see ‘when’ it self-fixed itself or whether that was on the backend (the CMG in Azure) or on the CM server itself. Just as a reminder, my now working CMG is in this state without me doing anything further after my original blog post, so it self fixed itself after many weeks of being broken. Installing the hotfix rollup To wrap things up, I decided I’ll install the hotfix rollup, to see what if anything it can do. And after some time it was done, however as you can see I still have 2 Configuration Manager 2409’s listed (one was the early ring upgrade). Well that’s it for this blog post, thanks Steven for the heads up on the hotfix rollup, however it didn’t resolve my issue, which seemed to solve itself prior to the rollup.
-
10 years actually
-
have you verified that the cert in your dp is updated also ? see step 5 here
-
ah great to hear it and thanks @Cerberus24 for posting your findings, i'm sure it'll help someone !
-
hi @Martinez in my #11 lab (domain controller) I have a DHCP server running, so any device that connects into that lab will receive a valid ip address I hope that helps cheers niall
-
Introduction Panu Sakku posted the following tweet recently asking if anyone noticed their CMG (Cloud Management Gateway) was broken after it got a recent update. I checked my lab, and sure enough, it was also dead in the water, and could not start. After checking the logs I replied to Panu. The errors in the SMS_CLOUD_PROXYCONNECTOR.log file in red were many, and here’s a paste of some of them to help others find out how to resolve this problem. ERROR: Web socket: Failed to online with Proxy server CLOUDATTACHCMG.AZURENOOB.COM:443. System.AggregateException: One or more errors occurred. —> System.Net.WebSockets.WebSocketException: Unable to connect to the remote server —> System.Net.WebException: Unable to connect to the remote server —> System.Net.Sockets.SocketException: A connection attempt failed because the connected party did not properly respond after a period of time, or established connection failed because connected host has failed to respond 20.126.223.196:443~~ at System.Net.Sockets.Socket.InternalEndConnect(IAsyncResult asyncResult)~~ at System.Net.Sockets.Socket.EndConnect(IAsyncResult asyncResult)~~ at System.Net.ServicePoint.ConnectSocketInternal(Boolean connectFailure, Socket s4, Socket s6, Socket& socket, IPAddress& address, ConnectSocketState state, IAsyncResult asyncResult, Exception& exception)~~ — End of inner exception stack trace —~~ at System.Net.HttpWebRequest.EndGetResponse(IAsyncResult asyncResult)~~ at System.Threading.Tasks.TaskFactory`1.FromAsyncCoreLogic(IAsyncResult iar, Func`2 endFunction, Action`1 endAction, Task`1 promise, Boolean requiresSynchronization)~~— End of stack trace from previous location where exception was thrown —~~ at System.Runtime.ExceptionServices.ExceptionDispatchInfo.Throw()~~ at System.Runtime.CompilerServices.TaskAwaiter.HandleNonSuccessAndDebuggerNotification(Task task)~~ at System.Net.WebSockets.ClientWebSocket.<ConnectAsyncCore>d__21.MoveNext()~~ — End of inner exception stack trace —~~ at System.Net.WebSockets.ClientWebSocket.<ConnectAsyncCore>d__21.MoveNext()~~ — End of inner exception stack trace —~~ at System.Threading.Tasks.Task.ThrowIfExceptional(Boolean includeTaskCanceledExceptions)~~ at System.Threading.Tasks.Task.Wait(Int32 millisecondsTimeout, CancellationToken cancellationToken)~~ at Microsoft.ConfigurationManager.CloudConnection.ProxyConnector.WebSocketConnection.Online()~~—> (Inner Exception #0) System.Net.WebSockets.WebSocketException (0x80004005): Unable to connect to the remote server —> System.Net.WebException: Unable to connect to the remote server —> System.Net.Sockets.SocketException: A connection attempt failed because the connected party did not properly respond after a period of time, or established connection failed because connected host has failed to respond 20.126.223.196:443~~ at System.Net.Sockets.Socket.InternalEndConnect(IAsyncResult asyncResult)~~ at System.Net.Sockets.Socket.EndConnect(IAsyncResult asyncResult)~~ at System.Net.ServicePoint.ConnectSocketInternal(Boolean connectFailure, Socket s4, Socket s6, Socket& socket, IPAddress& address, ConnectSocketState state, IAsyncResult asyncResult, Exception& exception)~~ — End of inner exception stack trace —~~ at System.Net.HttpWebRequest.EndGetResponse(IAsyncResult asyncResult)~~ at System.Threading.Tasks.TaskFactory`1.FromAsyncCoreLogic(IAsyncResult iar, Func`2 endFunction, and ERROR: Failed to build WebSocket connection 1800a2f4-5e7c-4aa7-9c5d-0b4027ab939d with server CLOUDATTACHCMG.AZURENOOB.COM:443. Exception: System.Net.WebException: Failed to online~~ at Microsoft.ConfigurationManager.CloudConnection.ProxyConnector.WebSocketConnection.Online()~~ at Microsoft.ConfigurationManager.CloudConnection.ProxyConnector.ConnectionBase.Start()~~ at Microsoft.ConfigurationManager.CloudConnection.ProxyConnector.ConnectionManager.MaintainConnections() and ERROR: Failed to build HttpV2 connection 1800a2f4-5e7c-4aa7-9c5d-0b4027ab939d with server CLOUDATTACHCMG.AZURENOOB.COM:443. Exception: System.Net.WebException: Unable to connect to the remote server —> System.Net.Sockets.SocketException: A connection attempt failed because the connected party did not properly respond after a period of time, or established connection failed because connected host has failed to respond 20.126.223.196:443~~ at System.Net.Sockets.Socket.InternalEndConnect(IAsyncResult asyncResult)~~ at System.Net.Sockets.Socket.EndConnect(IAsyncResult asyncResult)~~ at System.Net.ServicePoint.ConnectSocketInternal(Boolean connectFailure, Socket s4, Socket s6, Socket& socket, IPAddress& address, ConnectSocketState state, IAsyncResult asyncResult, Exception& exception)~~ — End of inner exception stack trace —~~ at Microsoft.ConfigurationManager.CloudConnection.ProxyConnector.HttpConnectionV2.SendInternal(HttpMethod method, String path, String payload, Int32& statusCode, Byte[]& responsePayload)~~ at Microsoft.ConfigurationManager.CloudConnection.ProxyConnector.HttpConnectionV2.SendInternal(HttpMethod method, String path, Byte[] payload)~~ at Microsoft.ConfigurationManager.CloudConnection.ProxyConnector.HttpConnectionV2.Online()~~ at Microsoft.ConfigurationManager.CloudConnection.ProxyConnector.ConnectionBase.Start()~~ at Microsoft.ConfigurationManager.CloudConnection.ProxyConnector.ConnectionManager.MaintainConnections() Shortly after I replied, Johnny Radeck posted an update, he solved it by uninstalling an extension and then making a change to the CMG properties. But let’s see why he did that. If you go to the Azure portal and locate your CMG, you’ll see it’s got a Failed status (1). If you click Restart (2) after a few minutes it’ll be failed again but you’ll get a notification (3) explaining what failed. Failed to restart virtual machine scale set Failed to restart virtual machine scale set ‘cloudattachcmg’. Error: VM has reported a user failure when processing extension ‘InstallCMG’. Please correct the error and try again. (publisher ‘Microsoft.Compute’ and type ‘CustomScriptExtension’). Error code: ‘2’. Error message: ‘Command execution finished, but failed because it returned a non-zero exit code of: ‘1”. Detailed error: ”. More information on troubleshooting is available at https://aka.ms/VMExtensionCSEWindowsTroubleshoot. So it’s clear that Azure has problems starting the CMG due to “VM has reported a user failure when processing extension ‘InstallCMG’.” I wonder what the ‘user failure’ means ? Let’s try Johnny’s advice then. Fixing the problem ? Click on Settings, select Extensions + applications and then place a checkmark in InstallCMG, it’ll bring up it’s properties and you can now select Uninstall. The settings in that extension are listed here, just to see if they change after the fix. “commandToExecute”: “powershell.exe -File cmgsetup.ps1 -storageAccountName cloudattachcmg -storageEndpointSuffix core.windows.net -serviceName cloudattachcmg -serviceCName cloudattachcmg.azurenoob.com -certStoreName My -certThumbprint 2D2F89A0F44335C0D57678DA5AC80663660B0250 -crlAction enable -tls12Enforced True -nodeName localhost -bDisabledSharedKey True”, “fileUris”: [ “https://cloudattachcmg.blob.core.windows.net/stageartifacts/cmgsetup.ps1” ] } After a while it’ll be uninstalled and you’ll get a notification telling you that it’s done. After changing Client revocation settings, and changing the maintenance window to be in the future (otherwise you’ll get an error) before clicking Apply. A quick look at the CloudMgr.log reveals it’s updating the CMG and the status of the CMG in SCCM changes to Upgrading. while in Azure, the CMG has a status of Updating. and after a while everything should hopefully be fixed. Note: If it works for you, then don’t forget to set the client revocation option back on again. Oops In my case however, no matter how many times I tried my CMG remained well and truly broken. It’s still broken. I’ll update this post if/when I come up with a solution that works for me, but for now, this is just where I’m at with this problem and I’m blogging this as I’ve spent so many hours on it already.
-
if you have access to teams we can do a session to talk about this, ping me there niall AT windowsnoob DOT com, i'm based in Europe.
-
@Cerberus24 what client OS are you testing this on as a matter of interest? I'm, happy to do a remote session to compare my lab to yours but it would be good to get more info about your setup
-
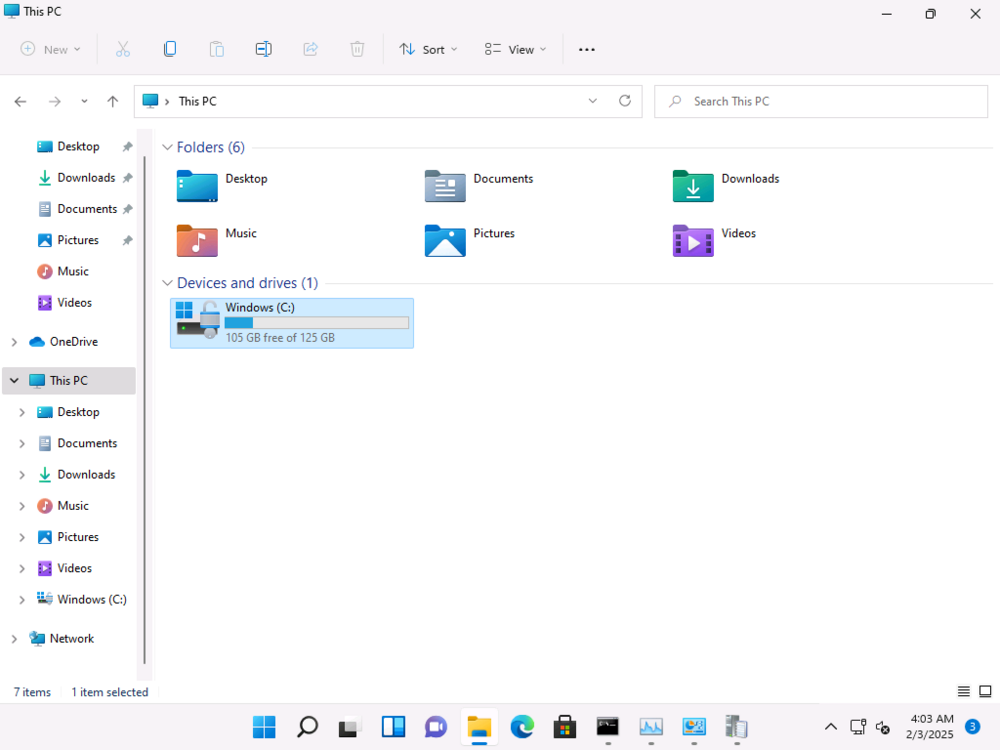
and it's encrypting without any interaction from me
-
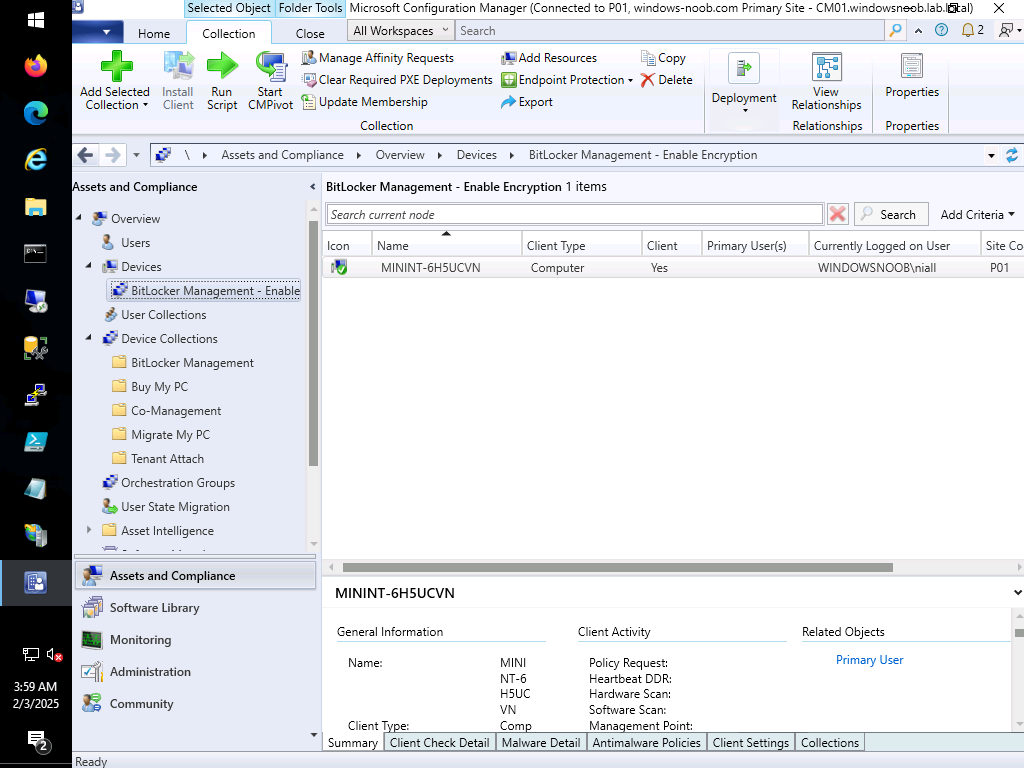
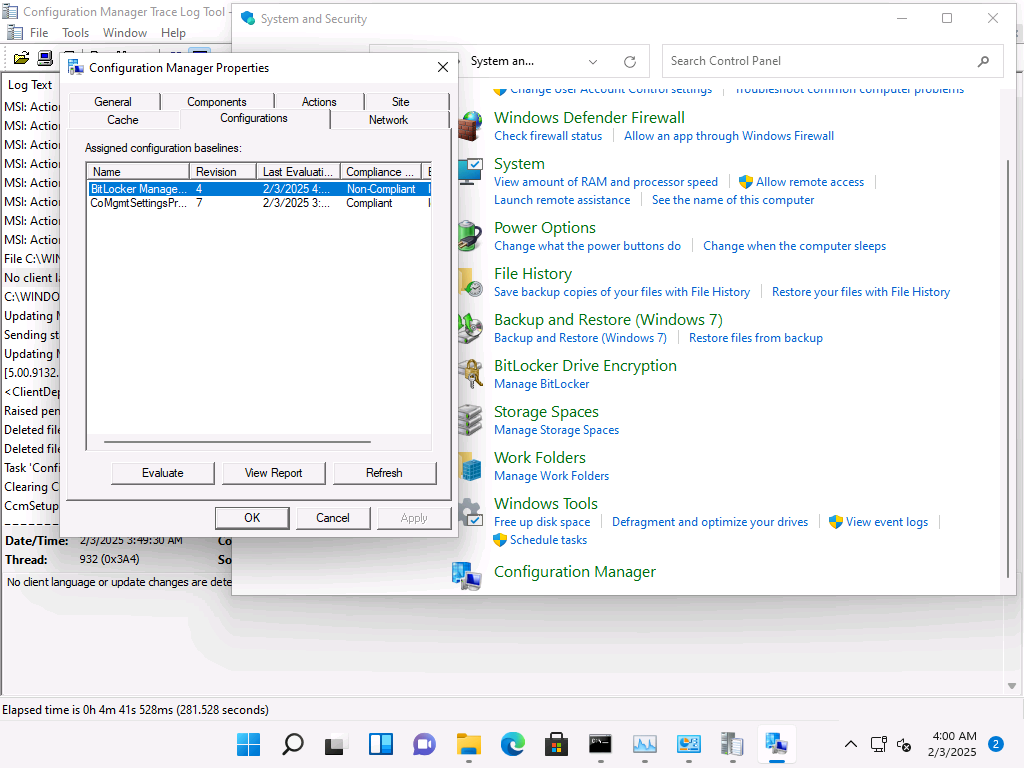
before getting bitlocker policy added the device to my bitlocker policy collection the client has determined it is 'non compliant' for Encryption


-
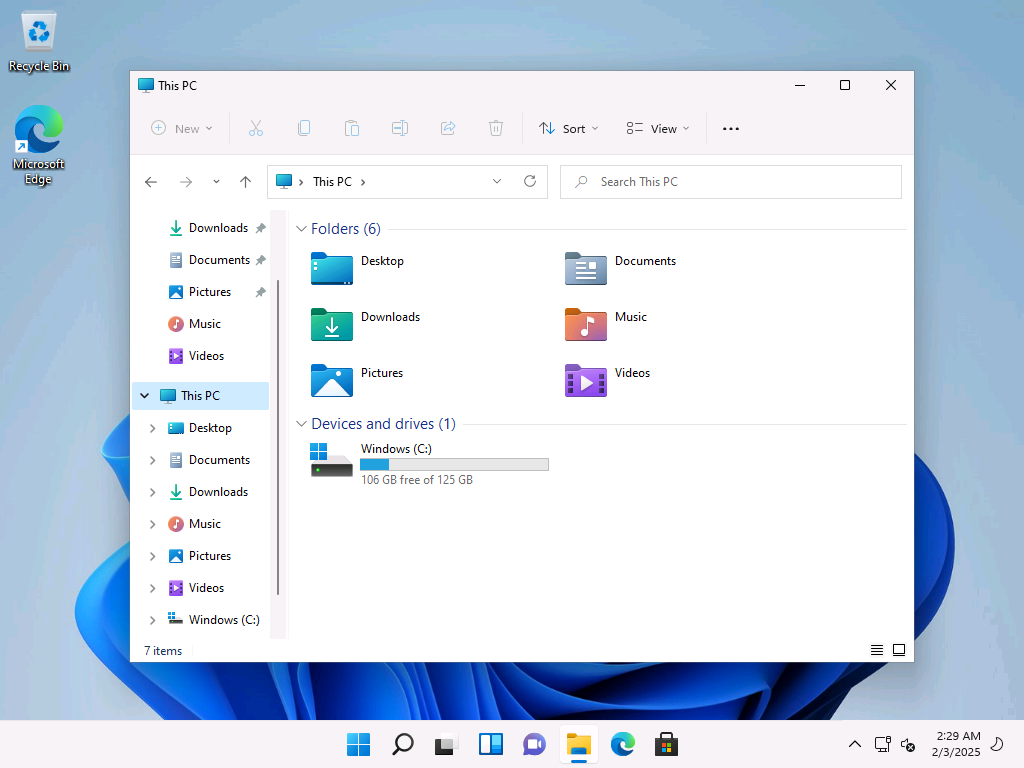
ok imaging done, device is NOT encrypted (as I wanted), next up, i'll add it to a collection targeted by BitLocker Encryption policy and see what happens