anyweb
-
Posts
9277 -
Joined
-
Last visited
-
Days Won
371
Everything posted by anyweb
-
i'd suggest you contact the authors directly and ask them
-
you can review it yourself here: Enterprise Client Management: Using System Center 2012 R2 and Windows Server 2012 R2 Paperback – January 21, 2015 http://www.amazon.com/Enterprise-Client-Management-System-Windows/dp/9187445050/ref=as_sl_pc_ss_til?tag=buzzmanagement&linkCode=w01&linkId=KEDJNMSA7CDZZN4X&creativeASIN=9187445050 it's not released yet, what it does cover is listed below
-
 no I have not seen this problem before as I don't install an os to computers with more than one disk, did the dell ship from the factory with these disks or did you add one after recieving it ?
 -
as an update, I've edited the original post to show screenshots from the updated Intune portal, including changing the name within the guide to point to windowsintunenoob.com instead of windowsnoob,
-
do as follows, change your organization name in Default Client settings, once done, update the boot image that is linked in your task sequence to it's distribution points, that should solve it. to identify the boot image, right click on the task sequence and you'll see it listed under advanced.
-
are you choosing Update Distribution Points, that is how you redistribute...
-
first things first can you read the disc fine in WinPE ? so no drivers needed in your boot wim ? secondly, if you have just one disc, does it work ok ?
-
HELP -SCCM DISABLE REMOTE DESKTOP TO SERVERS WINDOWS
anyweb replied to marksccm's topic in Configuration Manager 2012
have you tried steps 5,6,7,8,9 here http://www.windows-noob.com/forums/index.php?/topic/8977-how-can-i-remotely-control-workgroup-computers-in-system-center-2012-configuration-manager/ -
Install Lenovo drivers during OSD SCCM 2012 SP1
anyweb replied to Elscorpio's topic in Configuration Manager 2012
try Select * FROM Win32_ComputerSystem WHERE Model Like "10A8%" OR Model Like "10AA%" OR Model Like "10A6%"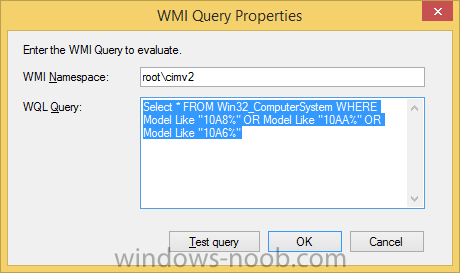
-
take a look at the below guides which cover working with USMT from Configuration Manager 2007 onwards... Migrating Data using USMT don't want to migrate Pinned items with USMT 4 ? no problem unconditionally exclude pinned items How can I exclude Start Menu items from being captured and restored using a custom file in USMT 4 using a custom XML file to Unconditionally exclude files how can I use USMT 3.x in SCCM migrate today restore tomorrow how can I view the USMT recovery key user state recovery information How can I use Offline Mode in Windows PE using USMT 4 Using a scanstate (using offlinewindir in winpe ) Task Sequence in SCCM 2007 SP2 Some Sample XP to Windows 7 task sequences showing Hardlinking hardlinking and SMP Migrate XP to Windows 7 using Offline mode in Windows PE screenshots describing the process
-
a few things to check, have you configured your boundaries correctly and is 'Allow fallback source for content location' selected in the boundary groups tab of your distribution point(s), and have you verified (validated) that the content in question is infact on the nearest distribution point ?
-
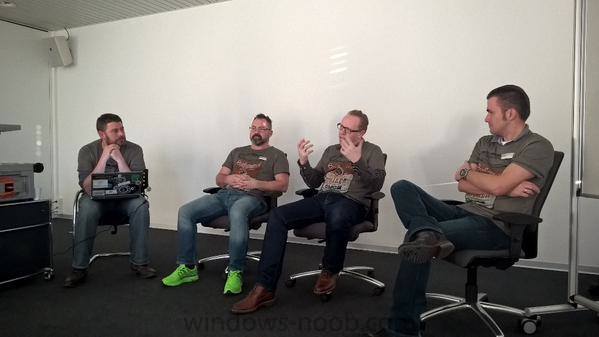
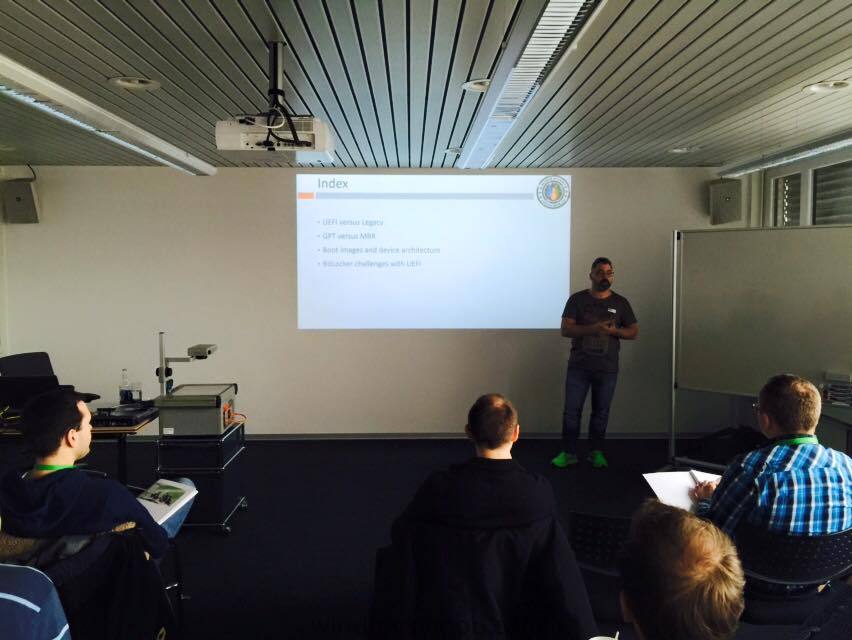
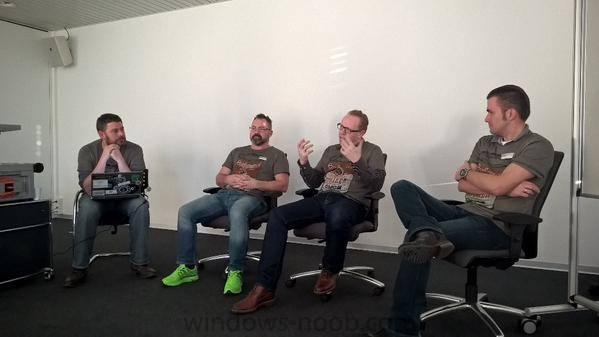
thanks Mirko (and the audience) for a truly great event was also great to meet Kenny and Tim, Roger and the other speakers, here are the powerpoints I used during my sessions, Deploying Surface Pro 3 with System Center 2012 R2 Configuration Manager.pptx Migrating BitLockered UEFI computers using network boot and System Center 2012 R2 Configuration Manager-2.pptx

-
maybe you extracted them incorrectly, and you definetly should NOT be copying bits from one directory to another, if the computer is a real computer (not recommended) then the ISO should be burned to a CD and run from the cd in Windows, if the computer is a virtual machine (recommended) then you merely need to mount the iso in the virtual machine and let the autorun start in Windows.
-
SCCM 2012 license key from testing phase to production phase
anyweb replied to Atomic12's question in How do I ?
you can install the trial and upgrade the key to the licensed version later, no problem at all. -
just rem out the wscript.echo strCommand lines and you won't see the above, to remove the CMD prompt use windowhide.exe available in MDT 2013
-
youd' need to install the unsupported adsi plugin for AD as described here by Johan http://www.deploymentresearch.com/Research/tabid/62/EntryId/128/ADSI-plugin-for-WinPE-5-0.aspx and then customize some frontend to add credential input and validate them against AD
-
using SCCM 2012 in a LAB - Part 1. Installation
anyweb replied to anyweb's topic in Configuration Manager 2012
can you elaborate what exactly is not working ? -
what does your apply operating system image step look like
-
Why I see Distribution point on all hard drives?
anyweb replied to binarylab's topic in Configuration Manager 2012
yes it's normal, if you don't want configuration manager to store files on a disk then place a NO_SMS_ON_DRIVE.SMS file on a drive that you want left alone BEFORE you install the role. see http://blogs.technet.com/b/configurationmgr/archive/2012/09/17/controlling-configuration-manager-2012-using-hidden-files.aspx for more details. -
ok so that's your partitions after the step ? well if so it's obviously working, or is it ? can you post the SMSTS.log files in there entirety so we can review the step in question and the failure.
-
so 50%+100%=150% of your disk, could be your problem ;-)
-
doesn't the error include any number, usually that points to the line it's failing on (line number) use NotePad ++ to edit your code, mistakes will show up easier
-
well this is wrong for starters <input type>"checkbox" id="mycheck" value"OU=Win8,"/> try <input type="checkbox" id="mycheck" value"OU=Win8"/>
-
glad to hear it !
-
did you update the collection membership after importing it ?