


anyweb
-
Posts
9277 -
Joined
-
Last visited
-
Days Won
371
Everything posted by anyweb
-
sounds like this problem https://social.technet.microsoft.com/Forums/en-US/c5b06ded-f106-44c6-898c-9410abb7a337/scepinstallexe-fails-hash-check-after-kb2828233-hotfix take a look and see does it remind you of anything you've done in your environment recently
-
have you confirmed that the computers are in a collection where the ADR is targeted ? have you tried rebooting either of them ?
-
 heh, funny you mention that as that is one thing I actually cover in detail in the video's below http://www.windows-noob.com/forums/index.php?/topic/11685-5-video-series-on-deploying-the-microsoft-surface-pro-3-available-now/
 -
if they are not on the page, then they are not covered, yet. Intune get's updated every quarter or so and the changes then make it into the hybrid product soon after, I don't know if those features will be covered but I can ask
-
there's a big table here that explains it a bit http://technet.microsoft.com/library/dn376523.aspx have a look
-
if you type set on the CAS where is your TEMP and TMP pointing to ? you could probably workaround the above problem by changing them to a drive that has lot's of space
-
yes it can manage them as described in the guides below Microsoft Intune Mobile Device Management guides CM12 in a Lab – Part 1, integrating Windows Intune CM12 in a Lab – Part 2, adding Support for iOS devices CM12 in a Lab – Part 3, deploying apps to iOS devices CM12 in a Lab – Part 4, configuring compliance on iOS devices CM12 in a Lab – Part 5, enabling support for Windows 8.1 devices CM12 in a Lab – Part 6, deploying Windows 8.1 apps (appx) CM12 in a Lab – Part 7, deploying Windows Store apps CM12 in a Lab – Part 8, adding Android devices CM12 in a Lab – Part 9, deploying Apps to Android devices CM12 in a Lab – Part 10, adding Windows Phone 8 devices CM12 in a Lab – Part 11, using Intune Extensions
-
I'm not using this method so cannot comment, but can you make a short video so I can see what you are talking about ?
-
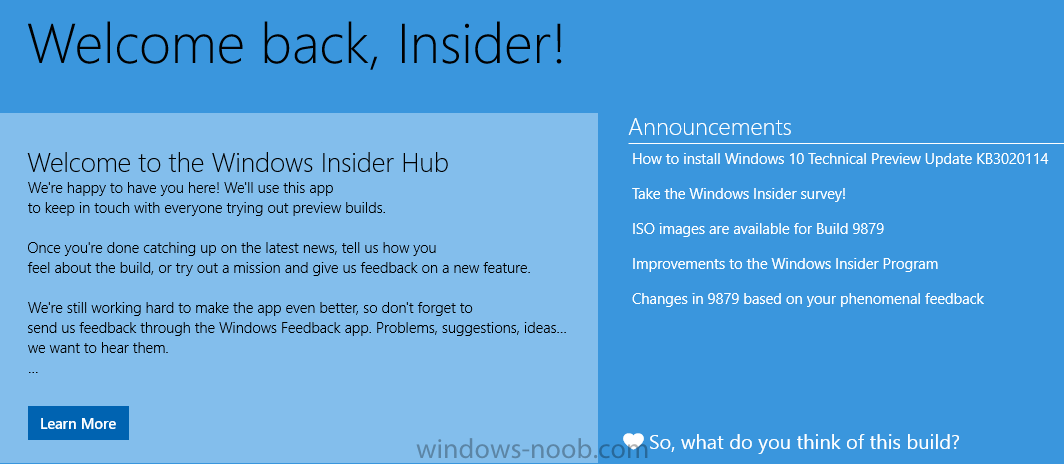
We want you as an Insider to be among the first to hear today's announcement about our January 21 event. We'll share more about the Windows vision and the great features and benefits of Windows 10. We'll be livestreaming portions of the event, and Blogging Windows will be carrying blog posts that you'll want to see. Use the Insider Hub app (more on that below) and keep reading these emails to stay current – and mark your calendar! The Insider Hub app Included in the latest build (9879) is the new Insider Hub app. The Insider Hub is your one-stop shop for all the latest news and announcements regarding the Insider Program. Going forward, there may be news items that will be shared only through the Insider Hub. So be sure to check it frequently for new information, including notices about new features ready for you to test drive. In the Insider Hub we'll also post missions, for you to try out new features and then send us feedback. The Insider Hub isn't pinned to your Start menu/Start screen so you'll need to find it (and pin it!). Open it at least once so you'll receive notifications from the app on important news and announcements.
-
- 1
-

-
does this give you any clues ? http://www.niallbrady.com/2014/09/18/why-is-my-surface-pro-3-not-bitlockered-after-osd-via-system-center-2012-r2-configuration-manager/
-
what specs were those Surface Pro 3's you have ?
-
Imaging Panasonic
anyweb replied to mginter82's question in Deploying Windows 10, Windows 8.1, Windows 7 and more...
have you seen this post ? https://social.technet.microsoft.com/Forums/en-US/a6bf08d9-8c34-4bf8-a53d-608079cc5efd/mdt-2013-cant-deploy-windows-81-with-lite-touch-image?forum=mdt might help ? -
I'd suggest you change your method of capturing machines, and how you build your reference images, you should capture the image on a virtual machine and deploy that to your Surface Pro 3, not the other way around, I'd also suggest you take a look at this five video series and additional Surface Pro 3 related material below I did on deploying the Surface Pro 3, it covers everything so should help you, if not, please ask CM12 in a Lab - 5 video series on deploying the Microsoft Surface Pro 3 - available now ! with Configuration Manager 2012 R2 CM12 in a Lab - How can I add support for Pen Pairing during OOBE on a Surface Pro 3 using System Center 2012 R2 Configuration Manager CM12 in a Lab - Why is my Surface Pro 3 not BitLockered after OSD via System Center 2012 R2 Configuration Manager ? CM12 in a Lab - Where do I find the MAC address of my Surface Pro 3 Ethernet Adapter in order to use UEFI network boot ? CM12 in a Lab - How can I deploy Windows 8.1 x64 to the Microsoft Surface Pro 3 using System Center 2012 R2 Configuration Manager ? CM12 in a Lab - Why does my Surface Pro 3 take a very long time to UEFI Network Boot using System Center 2012 R2 Configuration Manager ? with MDT 2013 How can I deploy Windows 8.1 x64 to the Microsoft Surface Pro 3 using MDT 2013 ? http://www.windows-noob.com/forums/index.php?/topic/11479-how-can-i-deploy-windows-81-x64-to-the-microsoft-surface-pro-3-using-mdt-2013/ Updated Powershell script with November drivers for deploying the Surface Pro 3 with MDT 2013 http://www.windows-noob.com/forums/index.php?/topic/11656-updated-powershell-script-with-november-drivers-for-deploying-the-surface-pro-3-with-mdt-2013/
-
if you are running Configuration Manager 2012 R2 then install the R2 toolkit which contains a content monitoring tool to checkout the status of jobs, and change them to run now... for example..
-
did you configure USMT in any shape or form, it is needed if you want to migrate any users data/settings from one os to another.
-
first, set a variable called TARGETUSER to be equal to the username you want ... then, as a run command line step, use the following, replace domain with your domain name cmd /c net localgroup "Administrators" "domain\%TARGETUSER%" /add
-
Surface pro 3 Sysprep
anyweb replied to mginter82's question in Deploying Windows 10, Windows 8.1, Windows 7 and more...
you don't, that's the whole point of OEM, it's designed to be installed only on the hardware it ships on, if you want to deploy an image to multiple machines then you should not be using OEM media -
you can have a distribution point on an x86 operating system, so if you have Windows 7 clients you could make one of them a dp and only distribute the windows update packages to that dp, so that might be an idea ?
-
Surface pro 3 Sysprep
anyweb replied to mginter82's question in Deploying Windows 10, Windows 8.1, Windows 7 and more...
why on earth would you want to do that ? OEM images are for OEM use only, you should create a new image using MDT or Configuration Manager as I explain here http://www.windows-noob.com/forums/index.php?/topic/11685-5-video-series-on-deploying-the-microsoft-surface-pro-3-available-now then you can deploy that captured image to as many Surface Pro 3's as you want, including other hardware too. -
If you’re running Windows 10 Technical Preview on your computer, there’s no need to worry that you might lose all your files when the stable build of the OS comes out as Microsoft is working to make it possible to upgrade to RTM when it becomes available. Gabriel Aul, the Microsoftie who always keeps us up to date with everything related to Windows 10, revealed in a short tweet a couple of hours ago that upgrades to RTM from the Technical Preview branch were very likely to be possible next year. And still, nothing is sure right now because Aul points out that this is Microsoft’s “intent,” so in case something goes wrong until Windows 10 development is completed, this plan could change. Not the original planBack in late September, when Microsoft presented Windows 10 Technical Preview for the first time, the company explained that upgrades to the stable version of the operating system wouldn’t be possible, but it turns out that engineers are now hard at work to implement such options. And this isn’t all. On the official Windows Technical Preview website, Microsoft explains that the TP build of Windows 10 expires on April 15, 2015, which means that those running it on their computers won’t be allowed to log into their operating systems after this date. Could this be an indication that RTM might ship before April 15? It could be, but sources close to Microsoft’s development plans have indicated that the company is actually planning to ship Windows 10 in mid-2015, so the April 15 deadline might not be met. You can’t go back to your previous OSMicrosoft also warns on its website that if you install Windows 10 Technical Preview, you’re not allowed to go back to your previous operating system unless you want to format the partition and perform a clean installation. “After you install Windows 10 Technical Preview for Enterprise, you won't be able to use the recovery partition on your PC to go back to your preview version of Windows. A clean installation of your former operating system will be required, and you will need to re-install all of your programs and data,” the company explains. Obviously, there’s no doubt that an option that would allow the upgrade from Technical Preview to RTM would really come in handy to users who agreed to install this early build on their computers, but it remains to be seen if this feature is indeed implemented in the new operating system or not before the April 15 deadline. via > http://news.softpedia.com/news/Microsoft-Windows-10-Preview-Users-Will-Be-Able-to-Upgrade-to-RTM-466593.shtml

-
what folders are you referring to exactly ?
-
Configuration Manager and Scripts, Commands, File Copy
anyweb replied to willv28's topic in Configuration Manager 2012
hi and welcome you can achieve the above with packages that contains scripts to do the actions you want to perform, those scripts are initiated by programs inside the packages. -
what do your MPSetup.log and MPMsi.log files say about the problem ?
-
it should be but you'd need an internet connection, feel free to edit the script to suit your needs and let us know how it goes.
-
have you configured any boundarys

