anyweb
-
Posts
9277 -
Joined
-
Last visited
-
Days Won
371
Everything posted by anyweb
-

Build and Capture not installing applications [2012 R2]
anyweb replied to SMSNewb's topic in Configuration Manager 2012
i can look at it via teamviewer if you have time, let me know -
Build & Capture Windows 7 problem - possible network issue?
anyweb replied to TimLancer's topic in Configuration Manager 2012
Thanks Tim ! sorry just saw this now, apologies for not answering sooner. as regards this I wouldn't worry about that, simply take the capture WIM file and deploy it to a new computer or vm, what happens then ? -
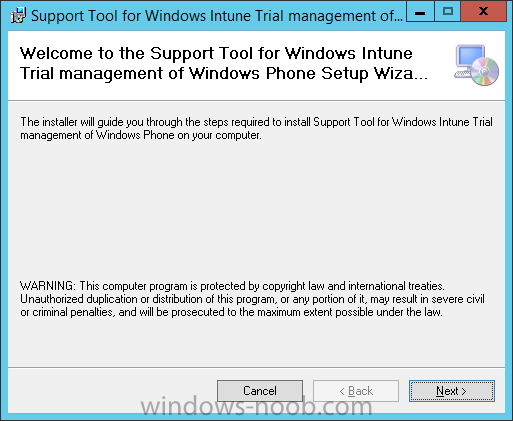
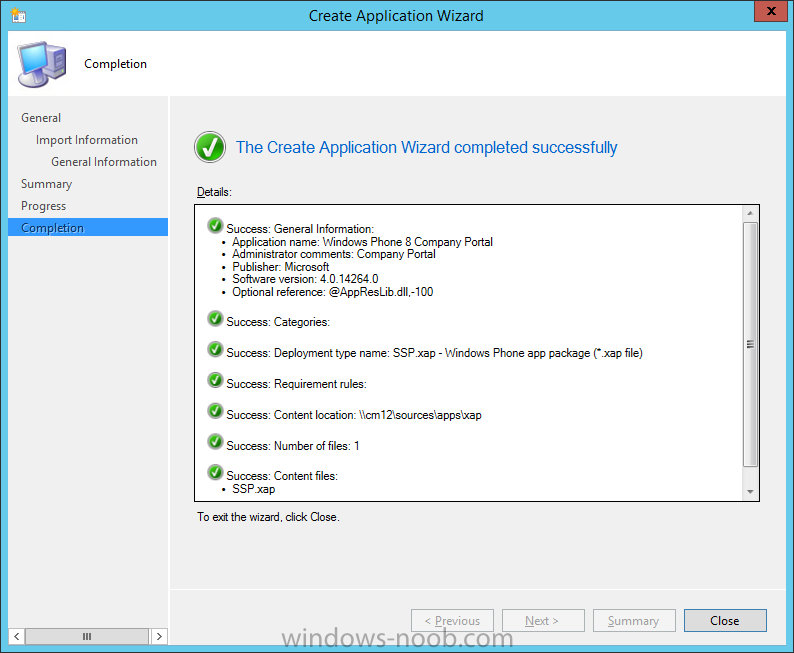
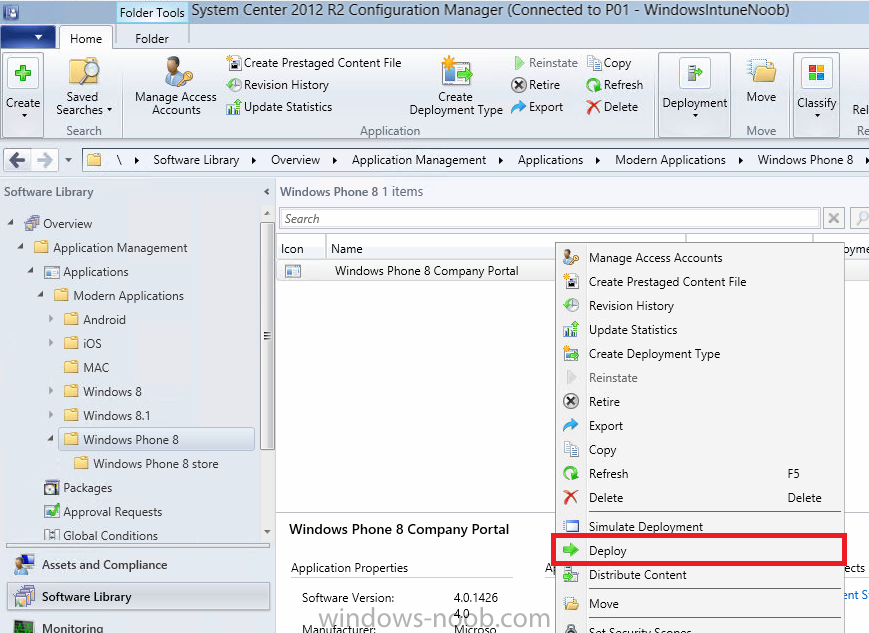
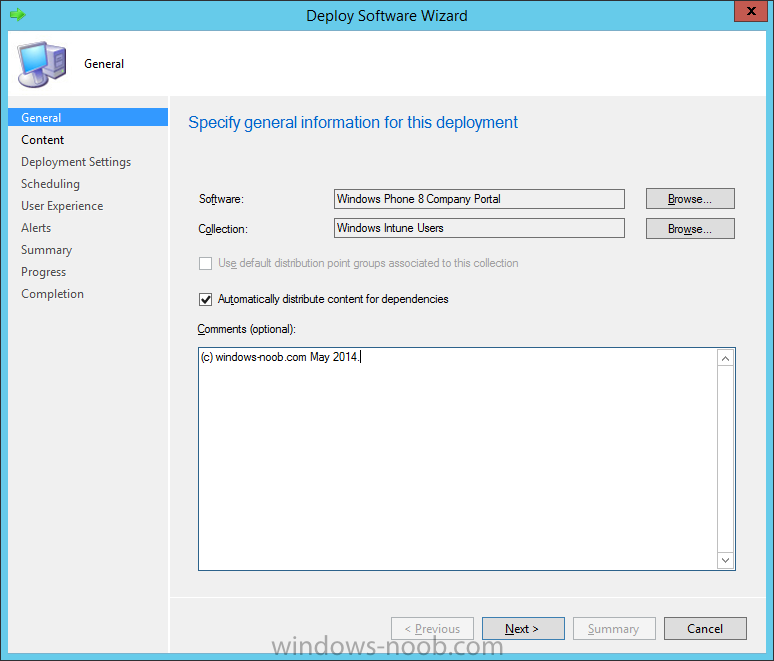
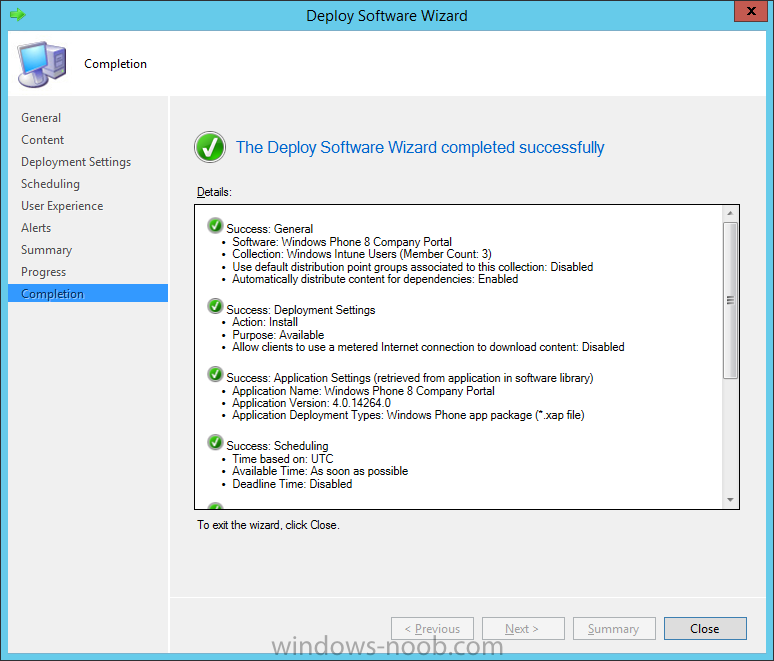
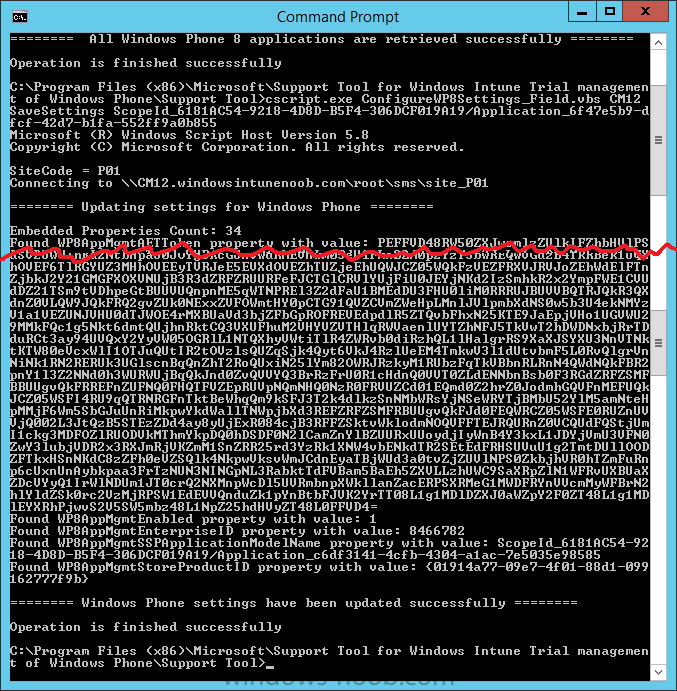
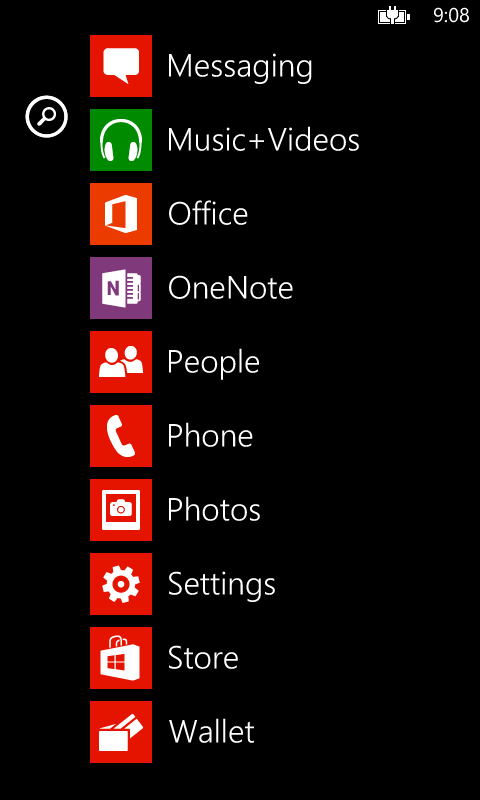
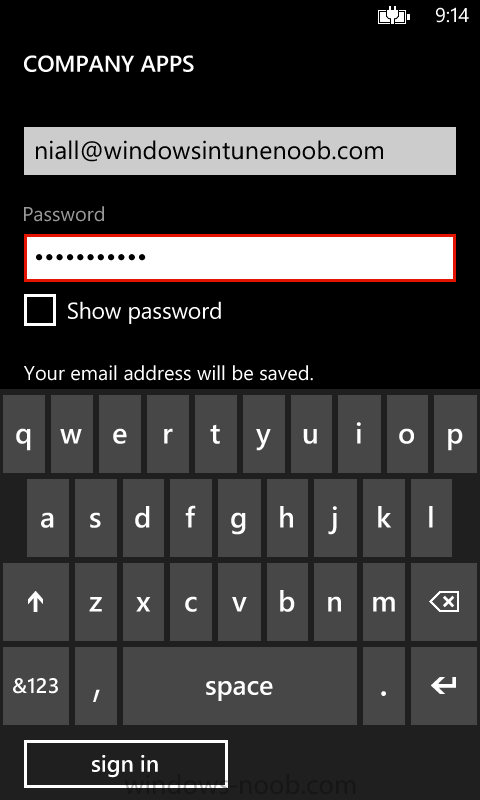
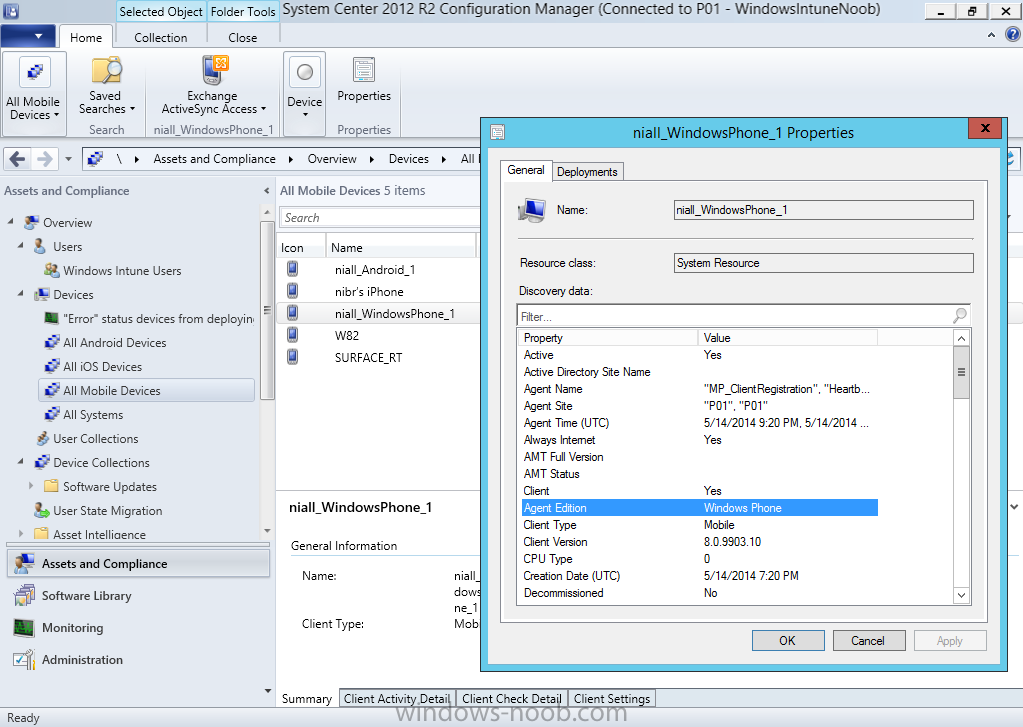
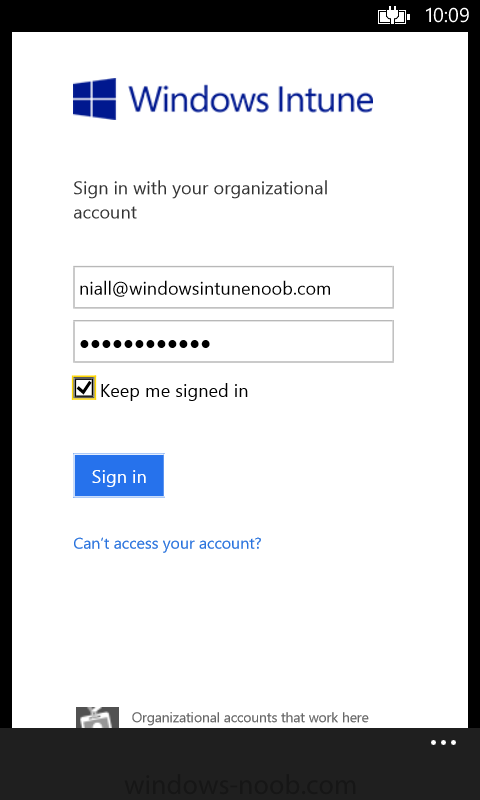
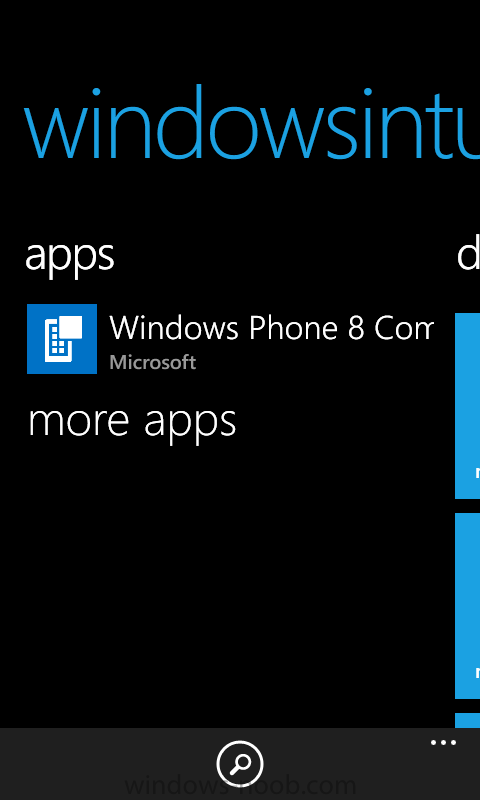
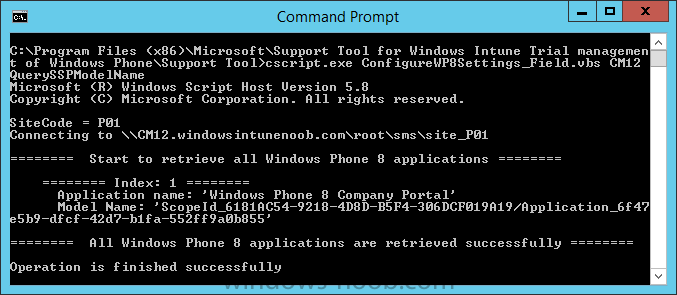
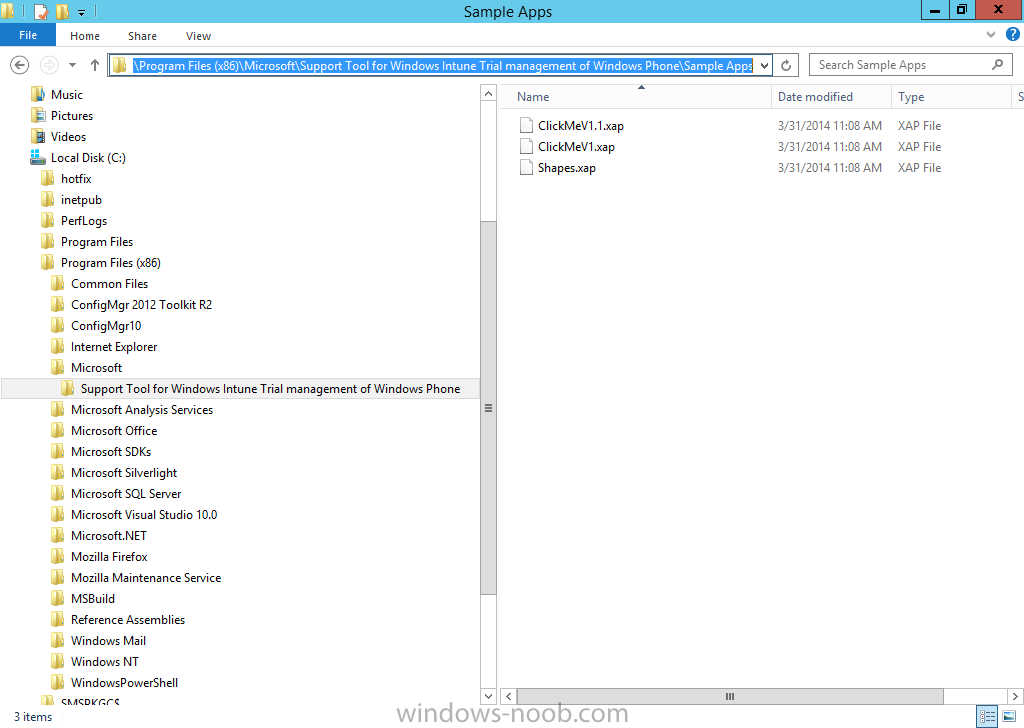
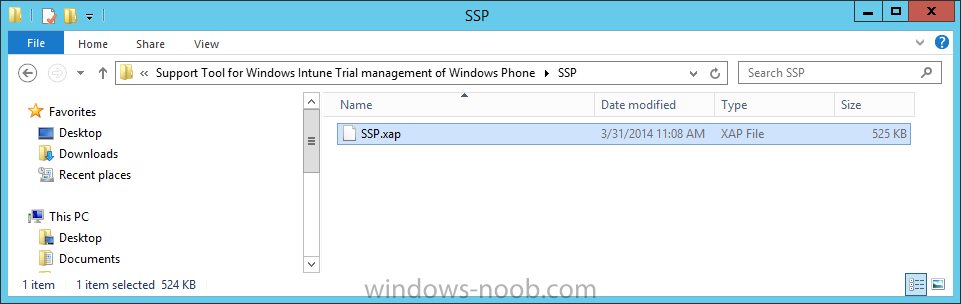
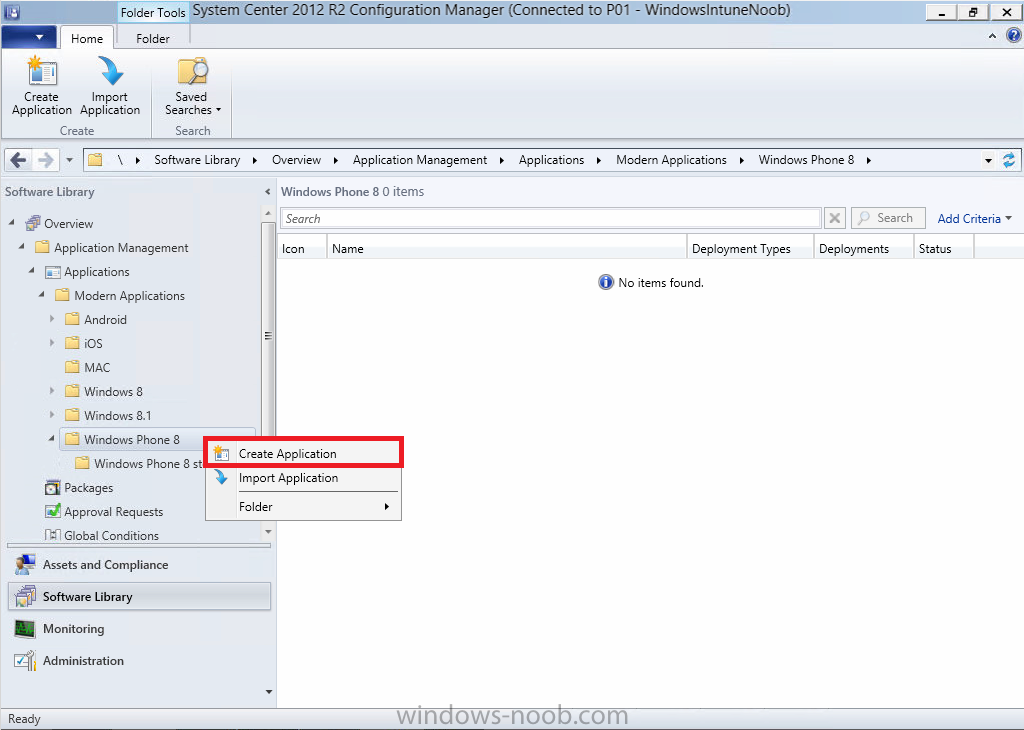
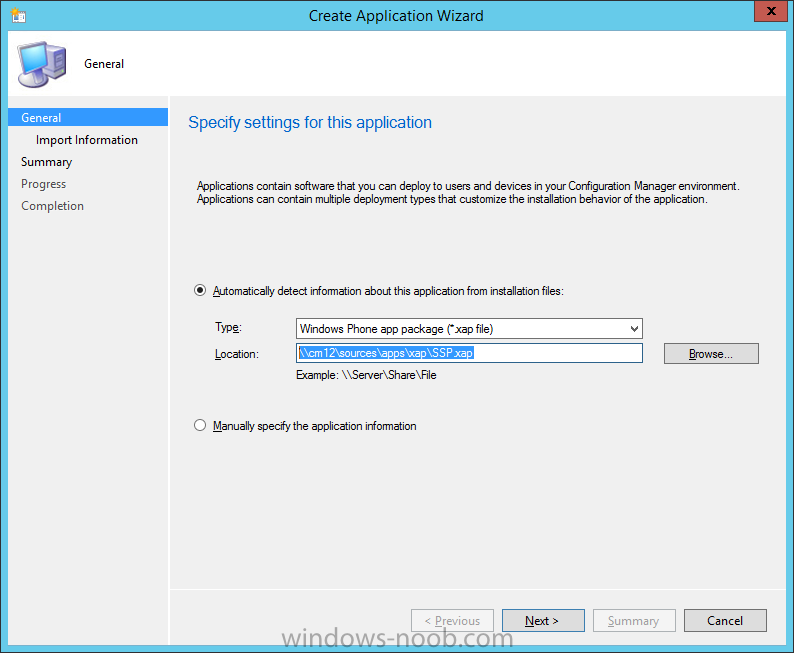
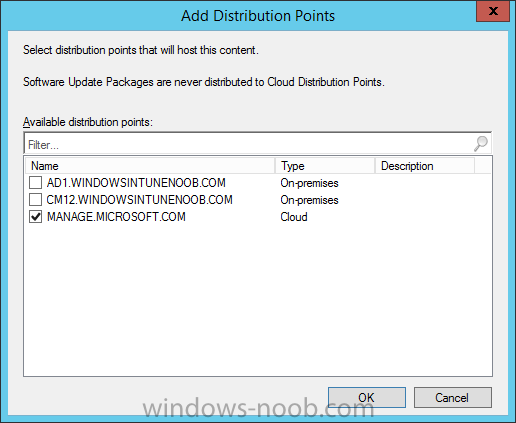
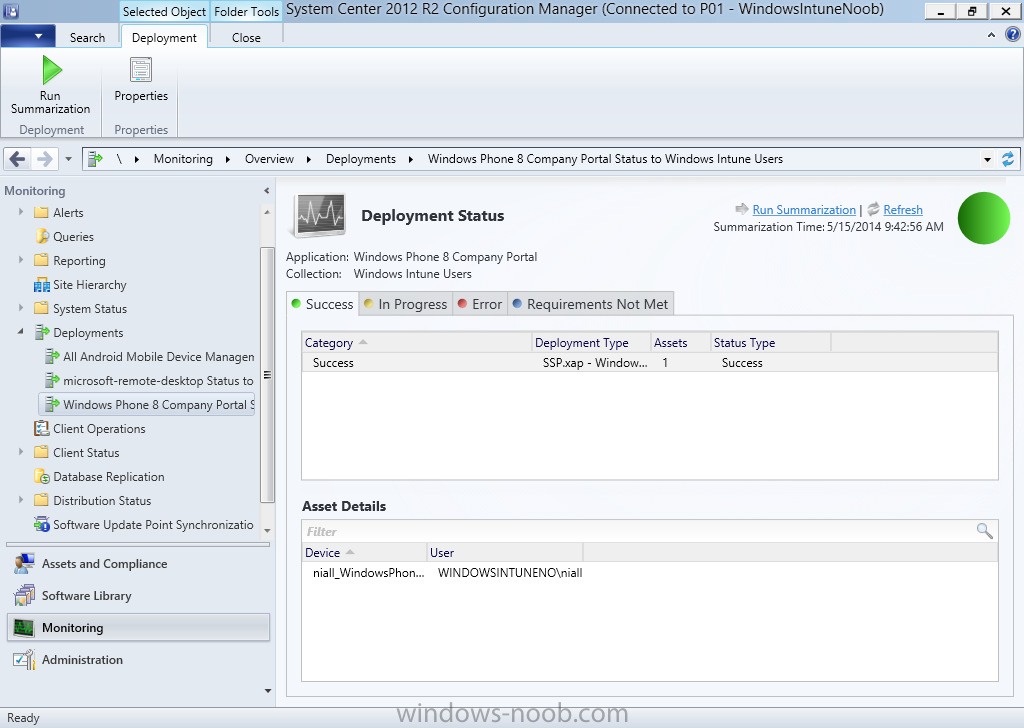
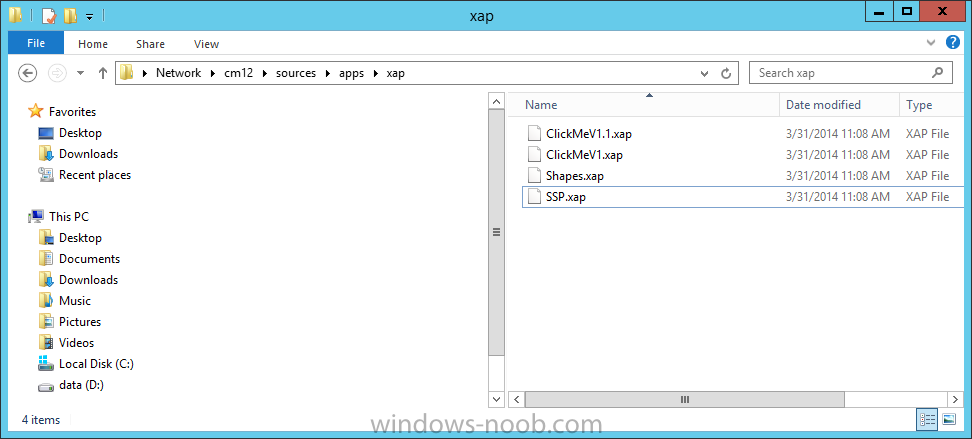
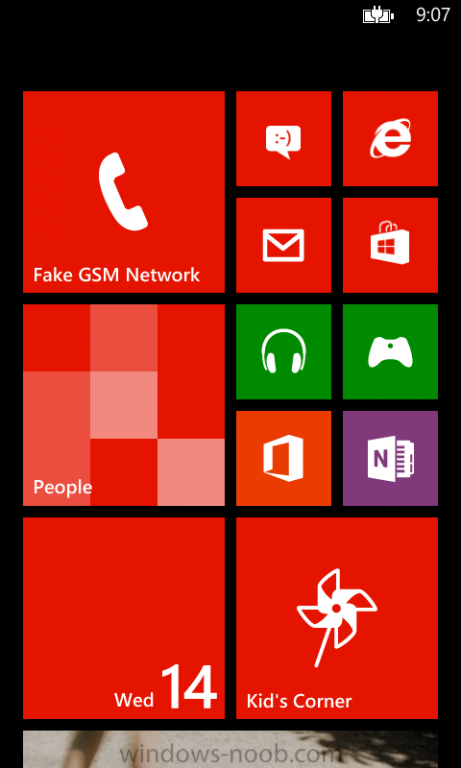
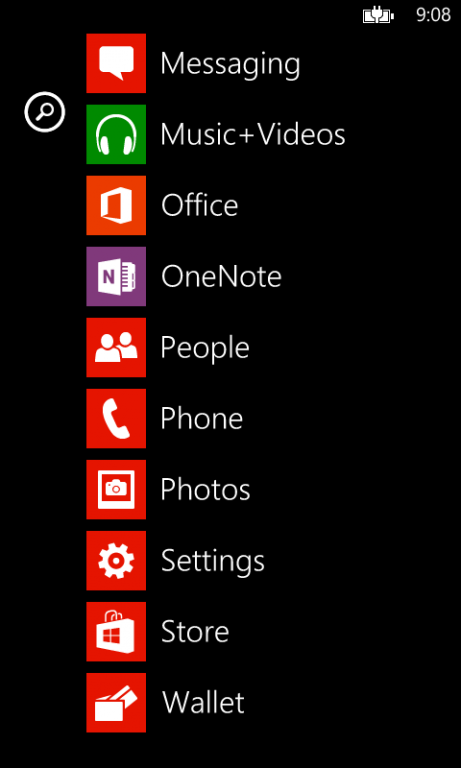
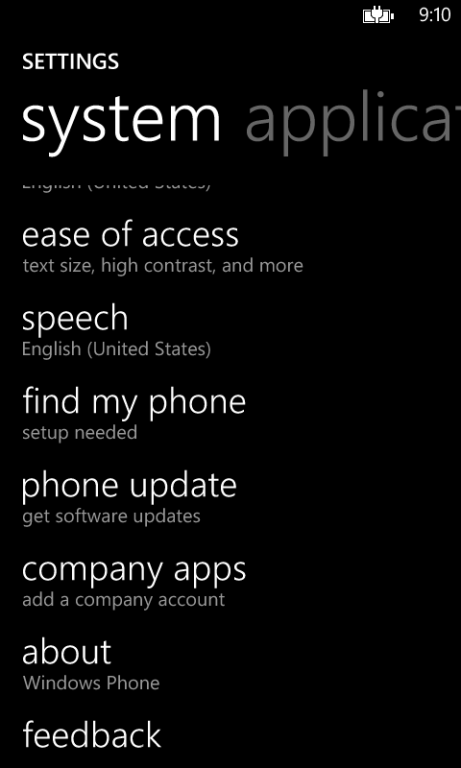
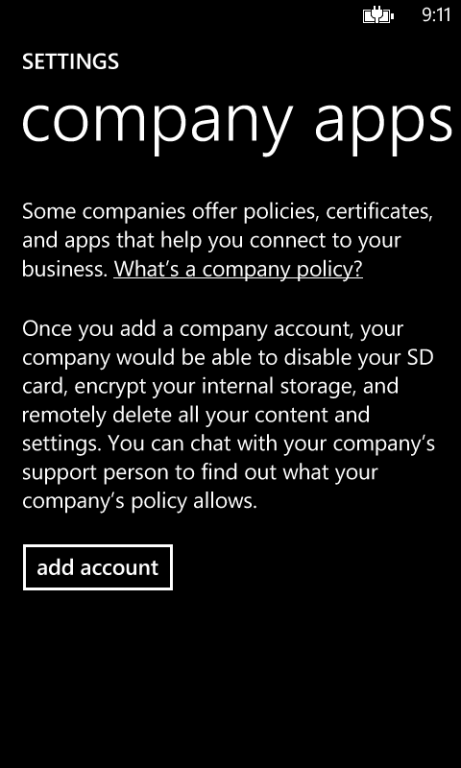
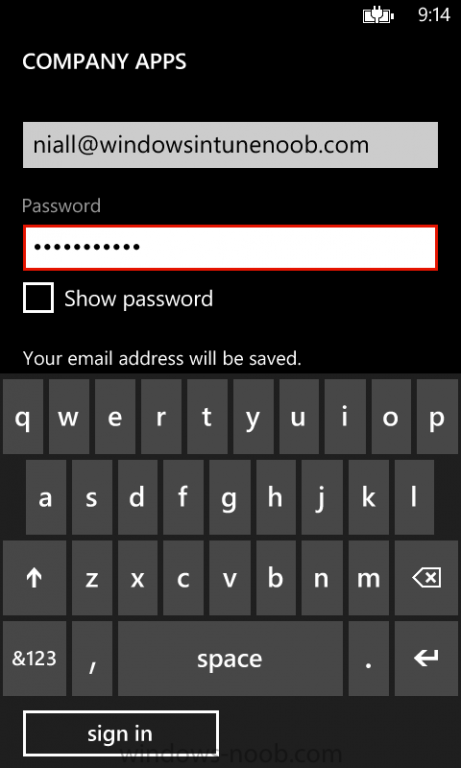
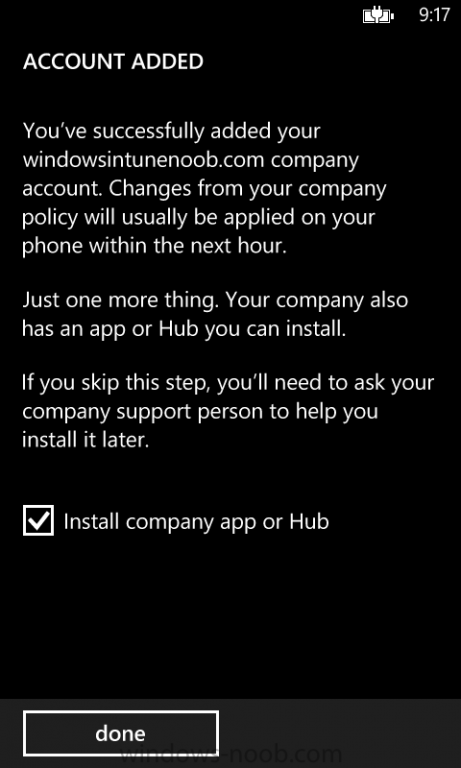
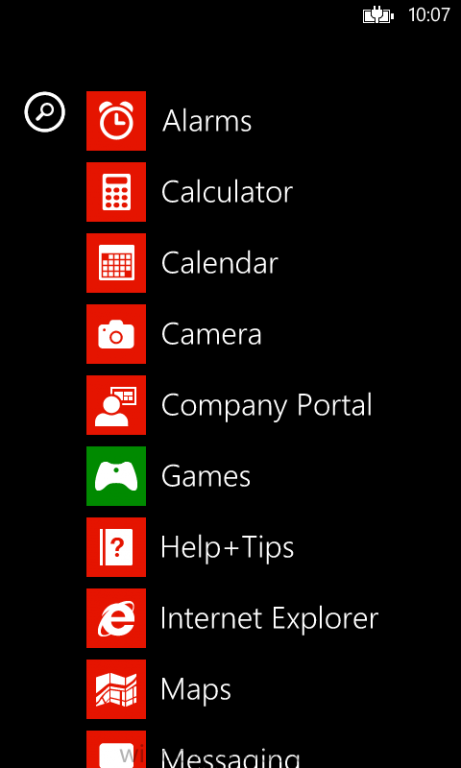
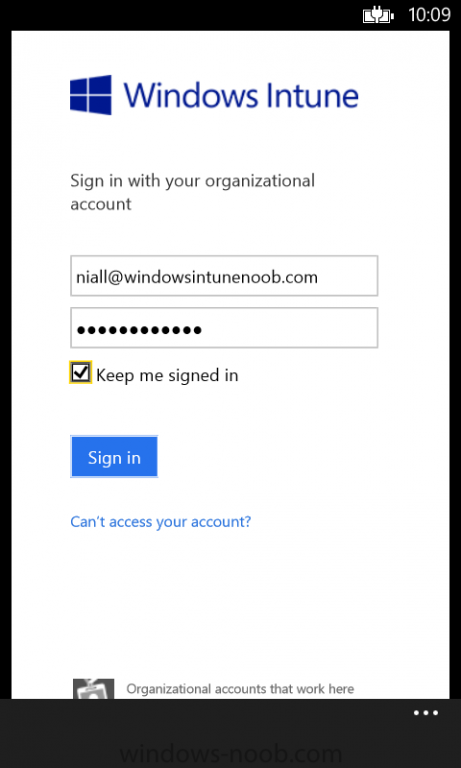
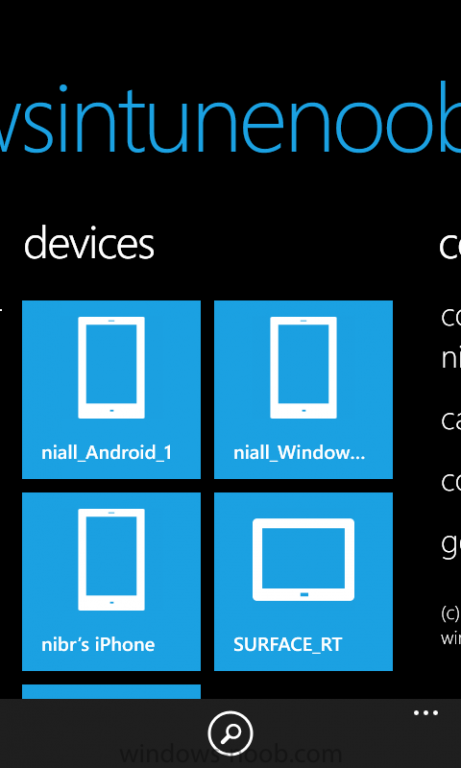
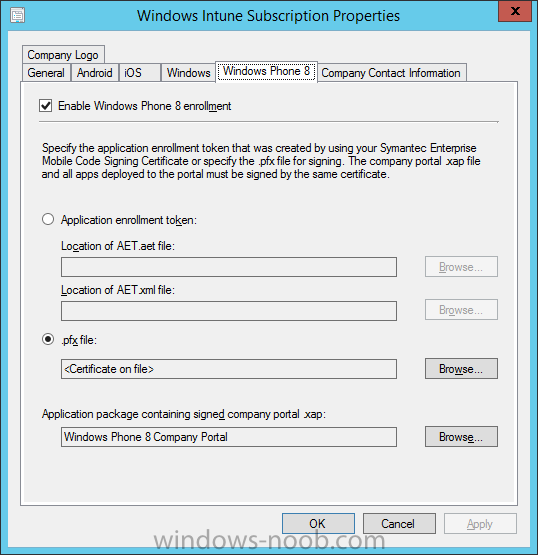
In Part 1 of this mini series we integrated Windows Intune with System Center 2012 R2 Configuration Manager. In Part 2 we added Support for iOS devices (Iphone, iPad). In Part 3 we learned the difference between App Package for iOS (*.ipa file) and applications from the Apple App Store. We learned how to deploy them to iOS devices and configured the deployment type so that the applications were made available to the user based on the iPhone or Ipad operating system version, in addition we also checked device Ownership information and deployed the application based on those requirements. In Part 4 we learned how to use and configure compliance settings in order to enable or disable certain configurable features on iOS devices. We enforced a Password requirement and enforced a minimum password length as this is a common requirement for organizations. In Part 5 we enabled support for Windows 8.1 devices (both Windows RT 8.1 and Windows 8.1 Enterprise) so that they could be managed via System Center 2012 R2 Configuration Manager integrated with Windows Intune. In Part 6 we deployed Windows 8.1 apps (appx) to Windows 8.1 devices. In Part 7 we looked at how to make Windows 8.1 store apps available in the Company Portal and how to make them featured apps with their own categories. In Part 8 we added support for Android and learned how to deploy mobile device settings to Android devices. We enforced a Password requirement and saw how to enable File encryption on Android devices and we used resource explorer to browse the phone properties and to see if the device was a Jailbroken or rooted device. In Part 9 we learned how to deploy native APK (Android application package file) apps and how to deploy apps from Google Play. We learned that Available deployments to Users work but Available deployments to devices fail and we saw how to make our deployed app a featured app within the Company Portal and with it's own category. In this part we will add support for Windows Phone 8 and we will do so using free trial software already signed from Microsoft. Unfortunately I do not have a Windows Phone (if anyone would like to send one to me to review please drop me a line) so I used a Windows Phone 8 emulator instead. This guide assumes you want to test Windows Phone 8 support in Configuration Manager 2012 R2 with Intune Integration using the trial version of the Self Service Portal (SSP) and 3 sample apps, all of these are signed by Microsoft using the same cert (A-Datum), therefore no PFX is provided or needed with this trial. If however you want to manage these in Production then you'll need the proper certificates from Symantec and that process is well documented (see recommended reading at the end of this guide). Step 1. Download and install the Support Tool for Windows Intune Trial Management of Window Phone 8 To add Windows Phone 8 platform support, you will need a Symantec Enterprise mobile code signing certificate which is available from Symantec at a cost of 300 USD. You will also need a Windows developers license which costs approx 99 USD) . However if you simply want to test this functionality in a lab (or pilot), you can use this trial software which contains a sample Self Service Platform (SSP) and three sample Windows Phone 8 applications and these are all signed by the same certificate from Microsoft (A. Datum). The name of the file is WPTrial.MSI. When you run the msi you'll see the Welcome to the support tool for Windows Intune Trial Management of Windows Phone Setup Wizard. Install it to the default folder which is C:\Program Files (x86)\Microsoft\Support Tool for Windows Intune Trial management of Windows Phone\ Browse to the Windows Phone 8 sample apps folder in C:\Program Files (x86)\Microsoft\Support Tool for Windows Intune Trial management of Windows Phone\Sample Apps and copy those sample apps Copy those apps to your CM12 source folder for example to \\cm12\sources\apps\xap like in the screenshot below Step 2. Copy the Windows Phone 8 Company portal app The trial version of Windows Intune Company Portal for Windows Phone (SSP.xap) is available in the C:\Program Files (x86)\Microsoft\Support Tool for Windows Intune Trial management of Windows Phone\SSP folder. This version is signed by Microsoft already with the A. Datum certificate so it's perfect for testing in a Lab. Note: Do not use the trial version of SSP.XAP for Production use as it is signed with a test certificate (A. Datum) from Microsoft. Instead, download the SSP.XAP from Microsoft from here and sign that SSP.XAP file using the XapSignTool and your Symantec Certificate. If you are unsure which SSP.XAP file you have then check the Digital Certificate that it is signed with. The trial version of SSP.XAP is signed with a A. Datum certificate as are the sample apps provided with that download. This is ok for pilot use (lab) but not ok for Production. If you want to support Windows Phone 8 in production then you'll need to use the proper certificate from Symantec and you'll need to sign both your SSP.XAP with that and any apps you make available to your Windows Phone 8 users. If you have your own cert, you can either run the AET generator from the WinPhone SDK on your own and then upload that, or you can just upload the PFX directly and we’ll run the AET generator behind the scenes. Copy the file named SSP.XAP to our sample XAP apps folder. Step 3. Add the Windows Phone Company Portal In the Configuration Manager console, browse to Applications, then Modern applications, Windows Phone 8, choose Create Application When the Create Application wizard appears select Windows Phone xap package from the drop down menu and select the SSP.xap file which you have copied to your application source folder (eg: \\cm12\sources\apps\xap\SSP.xap) Continue through the wizard (and change the Name of the app to Windows Phone 8 Company Portal) until completion Step 4. Deploy the Company Portal to the Windows Intune Users collection Right Click our newly created application and choose Deploy. select the Windows Intune Users collection On the Content Distribution screen click on Add and select Distribution Point from the drop down, then select Manage.Microsoft.com from the list of available distribution points Tip: Choose an Available deployment purpose as Windows Phone 8 does not support Apps being deployed with a Required Purpose. Continue through that wizard until completion. Step 5. Enable support for Windows Phone 8 Note: In this guide we are using the trial certificate from Microsoft and we'll allow that tool to Enable Windows Phone 8 support in our Windows Intune Integrated subscription within Configuration Manager 2012 R2. If you are enabling support for Windows Phone 8 in production, do not use the trial certificate or tools mentioned here, and instead add your certificate from Symantec in the options provided. Using a command prompt browse to the support tools folder located here C:\Program Files (x86)\Microsoft\Support Tool for Windows Intune Trial management of Windows Phone\Support Tools. In the command prompt, run the script ConfigureWP8Settings_Field.vbs in query mode to get the Windows Phone 8 Company Portal associated ScopeID. To run the script in query mode do as follows: cscript.exe ConfigureWP8Settings_Field.vbs CM12 QuerySSPModelName as in the screenshot below Now we have the ScopeID and it's value is listed below, your ScopeID will of course be different. ScopeId_6181AC54-9218-4D8D-B5F4-306DCF019A19/Application_6f47e5b9-dfcf-42d7-b1fa-552ff9a0b855 Tip: If you add and remove the app for whatever reason you must run this process again as the ScopeID will change. Next, we need to save our settings, to do this we run the Script in Save mode. To run the script in save mode do as follows: cscript.exe ConfigureWP8Settings_Field.vbs CM12 SaveSettings ScopeId_6181AC54-9218-4D8D-B5F4-306DCF019A19/Application_6f47e5b9-dfcf-42d7-b1fa-552ff9a0b855 If everything was entered correctly and you encountered no issues you'll see output similar to the below screenshot, note that the command prompt text scrolled off screen so I've stitched the output together and omitted some of the spurious output. Step 6. Verify that Windows Phone 8 support is enabled After completion of the steps above, you can verify that Windows Phone 8 device management has been automatically enabled by the process we just followed. In the Configuration Manager console, browse to Administration and expand Cloud Services, then right click on Windows Intune Subscriptions, choose Properties and select the Windows Phone 8 tab, you should see that it is now enabled, and that the PFX certificate is present, and the company portal app should be populated with the SSP app we selected above in Step 5. Step 7. Start your Windows Phone 8 emulator If you have a Windows Phone 8 phone then you can skip this step. I'll assume you've installed the Windows 8 SDK which includes the emulator if not you can download it from here. I had Visual Studio 2013 installed and I opted to include the SDK when installing it. To start the Windows Phone 8 emulator, start the Default Windows Phone Emulator Virtual Machine in HyperV and then open a Command Prompt in Administrator mode and issue the following commands: cd "C:\Program Files (x86)\Microsoft XDE\8.0”. then xde -vhd "C:\Program Files (x86)\Microsoft SDKs\Windows Phone\v8.0\Emulation\Images\Flash.vhd" This should start your Windows Phone 8 emulator Step 8. Enroll Windows Phone 8 Move the start screen to the left and then scroll down to Settings and scroll the screen up until you see Company Apps Note: For Windows Phone 8.1 it's called Workplace instead of Company Apps. Select that and click on Add Account Enter your credentials and click on Sign In if you enter your credentials correctly, it will tell you that your account was added and click on Install and it will install the Company Portal (do not deselect the installation of the comany portal). Step 9. Verify enrollment in the Console In the Configuration Manager console, browse to Device Collections, and check the All Mobile Devices collection, after updating membership you should see your Windows Phone 8 device appear and you should check the status of your Company Portal deployment, if it failed, then the first thing to check is what certificate the SSP.XAP tool was signed with (in this guide we are using the trial certificate called A. Datum). A successful deployment is shown below. Step 10. Use the Company Portal on a Windows Phone On your Windows Phone go to apps and you should see the Company Portal listed. Click on it and you'll be prompted to login and then you'll see the company portal showing whatever apps you've deployed to the Windows Phone 8. and you can browse the other devices and functionality of the Company Portal on the Windows phone. Success ! Recommended Reading Symantec Enterprise mobile code signing certificate - http://www.symantec.com/code-signing/windows-private-enterprise Support Tool for Windows Intune Trial Management of Window Phone - http://www.microsoft.com/en-us/download/details.aspx?id=39079 Windows Intune Company Portal for Windows Phone - http://www.microsoft.com/en-ie/download/details.aspx?id=36060. Windows Phone Emulator for Windows Phone 8 - http://msdn.microsoft.com/en-us/library/windowsphone/develop/ff402563%28v=vs.105%29.aspx#BKMK_Installation Managing Windows Phone 8 with Windows Intune includes handling of the Symantec Certificate - http://www.microsoft.com/en-us/download/details.aspx?id=36174 Technical Reference for Log Files in Configuration Manager - http://technet.micro...y/hh427342.aspx How to Create and Deploy Applications for Mobile Devices in Configuration Manager - http://technet.micro...y/dn469410.aspx CM12 in a Lab - How can I manage modern devices using System Center 2012 R2 Configuration Manager ? - Part 1 CM12 in a Lab - How can I manage modern devices using System Center 2012 R2 Configuration Manager ? - Part 2 CM12 in a Lab - How can I manage modern devices using System Center 2012 R2 Configuration Manager ? - Part 3 CM12 in a Lab - How can I manage modern devices using System Center 2012 R2 Configuration Manager ? - Part 4 CM12 in a Lab - How can I manage modern devices using System Center 2012 R2 Configuration Manager ? - Part 5 CM12 in a Lab - How can I manage modern devices using System Center 2012 R2 Configuration Manager ? - Part 6 CM12 in a Lab - How can I manage modern devices using System Center 2012 R2 Configuration Manager ? - Part 7 CM12 in a Lab - How can I manage modern devices using System Center 2012 R2 Configuration Manager ? - Part 8 CM12 in a Lab - How can I manage modern devices using System Center 2012 R2 Configuration Manager ? - Part 9 Summary Adding support for Windows Phone 8 is a breeze but you need to be aware of the Certificate requirements when using the Configuration Manager 2012 R2 with Windows Intune Integration. You have two choices, use the trial software from Microsoft for your Lab (small pilot), or use the Enterprise certificate from Symantec for your production deployments and sign any of your Windows Phone 8 apps (.xap) and the SSP with the correct certificate from Symantec for production deployments. Thanks to Cathy Moya for clarifying points with me in this guide. Downloads You can download a Microsoft Word copy of this guide here. How can I manage modern devices using System Center 2012 R2 Configuration Manager Part 10.zip


-
packges and applications are different things, if you create a package in Configuration Manager 2012 what do you notice happening ? and I quote - source - http://blogs.technet.com/b/arnyg/archive/2012/11/16/system-center-2012-configuration-manager-understanding-content-management-storage-options.aspx
-
Scheduled Updates failed to apply to image
anyweb replied to nhottinger's topic in Configuration Manager 2012
what do the smsprov.log and OfflineServicingMgr.log say about the error ? -
OSD and driver package issues
anyweb replied to vikrammidha's question in Deploying Operating Systems
how about posting some logs, starting with the SMSTS.log file. chances are you are missing a network driver... -
try installing ISAPI filters and IIS 6 Management compatibility within IIS, then see does it work.
-
Build and Capture not installing applications [2012 R2]
anyweb replied to SMSNewb's topic in Configuration Manager 2012
and the boundary it is in is NOT ad-site based, correct ? -
Build and Capture not installing applications [2012 R2]
anyweb replied to SMSNewb's topic in Configuration Manager 2012
double check that the ip address that the computer has during b&c is in the boundary defined for this, please -
Customization of Internet Explorer 9 (HKCU key!) problems
anyweb replied to Atomic12's topic in Configuration Manager 2007
to be clear, the defuser process explained here is to apply a registry change to All Users (using a task sequence) while the video above, is to apply registry changes to the current logged on user only and does not involve any task sequence and does not use the defuser process at all. ok ? -
Customization of Internet Explorer 9 (HKCU key!) problems
anyweb replied to Atomic12's topic in Configuration Manager 2007
ok i've done a very quick test in CM12 and created a simple package and program to deploy registry settings to a user, it worked fine and i did a little video which hopefully helps you resolve this once and for all, in the video you can see that the registry keys do not exist prior to running the package in Software Center, the package is deployed to a Device Collection as available. I can run/test this over and over by deleting the registry keys on the client and then re-running the package from software center. the key takeaway here is that I use the defuser process in a task sequence to apply the change to ALL Users, but in this example I apply a change only to the current logged on user so the Defuser process is not used at all. -
Customization of Internet Explorer 9 (HKCU key!) problems
anyweb replied to Atomic12's topic in Configuration Manager 2007
ok i'll test it out here and post something as soon as i can -
Customization of Internet Explorer 9 (HKCU key!) problems
anyweb replied to Atomic12's topic in Configuration Manager 2007
ok is your goal to apply the reg key via a package instead of via a task sequence ? -
Customization of Internet Explorer 9 (HKCU key!) problems
anyweb replied to Atomic12's topic in Configuration Manager 2007
i'm not following you exactly, the registry settings that you export are whatever keys you'd normally export (for HKCU) except that you must modify any HKCU paths to instead point to HKLM\Defuser if using the process I explained above -
in applications you have 'detection method' which can be used to detect for installed apps in many many ways (registry, msi, path, file)
-
hey Garth why do the reports not give powermanagement info on vms ? are they excluded due to being virtual ?
-
check your firewall, test by disabling it and see does it work, if so you need to open the appropriate ports (udp)
-
which report are you running ?
-
drive letter being D: before the reboot is totally fine, what i was looking for is logs relating to your apply operating system step, you may have to search on c: or D: for more logs or increase the logging capability or add a pause before and after that step.
-
Build and Capture not installing applications [2012 R2]
anyweb replied to SMSNewb's topic in Configuration Manager 2012
your client is in a workgroup so being in an AD SITE boundary will not work ! try the boundary trick, it takes only a few minutes to do, i had the Execution status received: 24 (Application download failed ) InstallApplication 5/7/2014 2:02:01 PM 2988 (0x0BAC) problem and it solved it for me. -
looking for help to start learning USMT with sccm 2012
anyweb replied to P3nnyw1se's question in How do I ?
start by learning how USMT works, and to do so i'd recommend you read this old post i wrote. Create two custom task sequences as it describes and start testing capture user state (get that working first) and once it's working 100% everytime, then test restoring that data in a separate task sequence, once you have mastered that, you can start looking at the complexity that there is in refresh scenarios. You obviously wobn't be using USMT 3 listed in the guide, however you can use USMT as provided in your ADK (assesment and deployment kit), here are the usmt requirements http://technet.microsoft.com/en-us/library/hh824913.aspx and here's the version of ADK used in your version of Configuration Manager - http://www.microsoft.com/en-us/download/details.aspx?id=30652 -
no errrors in that log are you sure it was the right one ? check in x:\windows\temp\smstslog
-
having to 'clean' in diskpart before f12
anyweb replied to P3nnyw1se's topic in Configuration Manager 2012
if you use the mdt integrated task sequences they have multiple steps for dealing with partitions, are you ? -
SCEP should be able to automaticallyt uninstall Microsoft Security Essentials, however i'd test it first on a test system and see what happens.
-
please attach your latest smsts.log files and i'llt ake a look