anyweb
-
Posts
9278 -
Joined
-
Last visited
-
Days Won
371
Everything posted by anyweb
-

SCCM 2007R2 and Windows 8 - Software Updating?
anyweb replied to brink668's topic in Configuration Manager 2007
there was an announcement from Microsoft today, check it out, thanks Jorgen for alerting me to it -
have you a screenshot of your computer association ? and how did you do the new install of XP ? via PXE or within windows ?
-
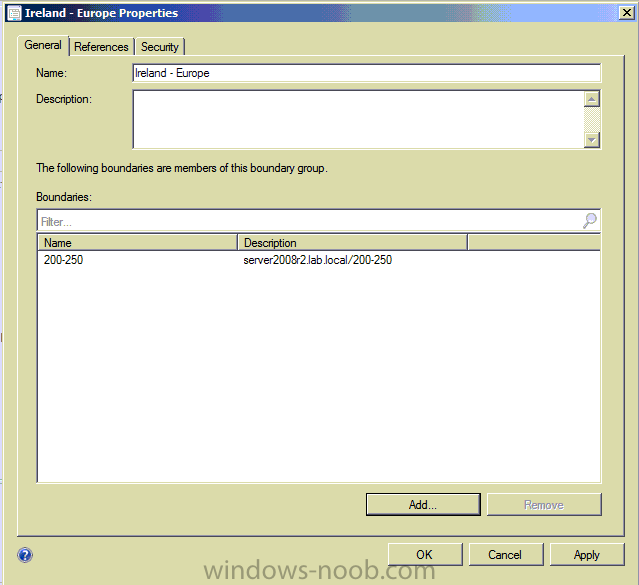
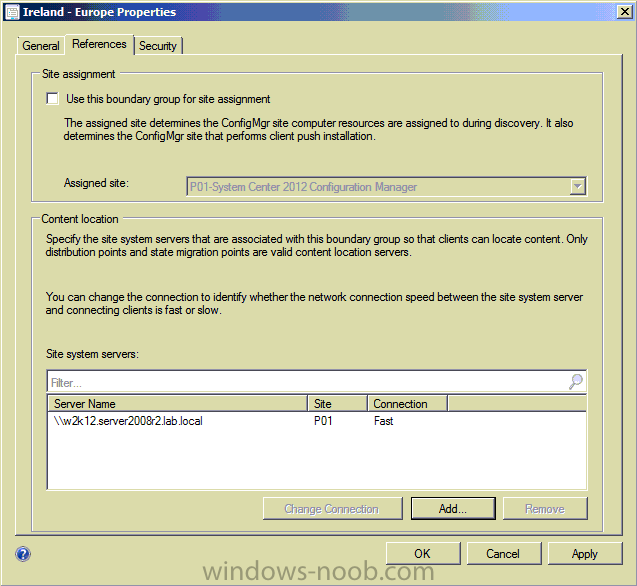
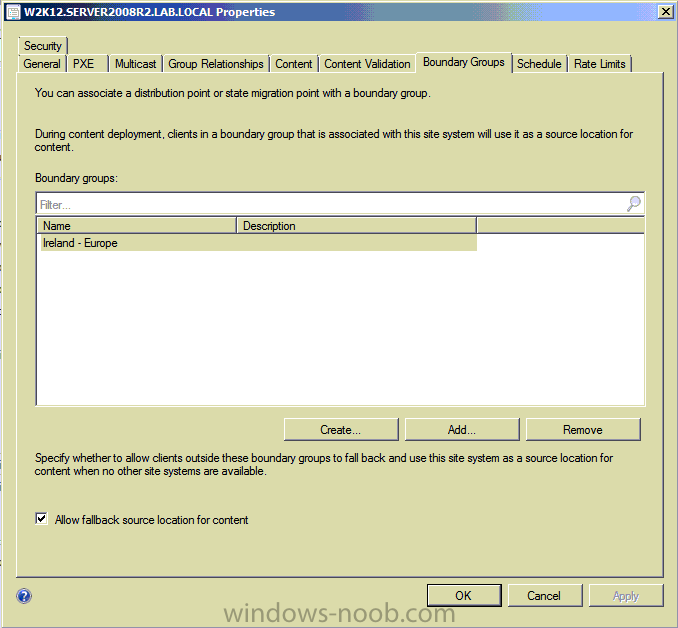
no, this is a DP it's not used for assigning sites it's only used for Content. So what you do is add this dp to a boundary group, the boundary group in turn has one or more boundaries. to do so right click on a boundary group that you've already made, if it has no boundaries add one then click on the references tab and add your site system server that hosts the DP in question and click apply, this means that clients that fall into that boundary will get their content from that dp unless you've specified Allow fallback source locations for content in your distribution points Boundary Groups tab.
-
that;'s about it, but i'd review the logs between point 3 and 4 to be sure the wim was updated successfully, in addition you may want to deploy the new wim image using a separate duplicate task sequence to verify it's working ok prior to rolling it out.
-
read my earlier comment about site code above, short answer=no. they will use the nearest distribution point based on boundaries that you define. The smsts.log file will reveal this on the client
-
can you show me a screenshot of what you are seeing please
-
ok i meant to create the keys only if you deleted the collection, but at least you can see your collections even if you have one extra now... back to square one, as you probably don't see any Unknown computers listed, what happens when you PXE boot now ?
-
but it should also be pointed out that currenlty SP1 is in Beta and as such you should only install it in your test environment and wait until SP1 ships in Early 2013.
-
have you looked at the following yet ? What you are interested in is actually Out Of Band Management Deploying the Certificates for AMT - http://technet.microsoft.com/en-us/library/gg682023.aspx#BKMK_AMT2008_cm2012
-
that IS a collection, if you deleted the other one (X64) then read this post to figure out how to restore it
-
can you explain exactly what you mean ? what did you do and what post are you referring to ?
-
did you follow the guide and every step ? did you create the Network Access Account ? did you check that everything referenced in the task sequence is distributed to your dp's if you are still stuck then post your SMSTS.log file here (as an attachment)
-
what do you need to know exactly ?
-
done - you can find it here
-
you do realise that this is ONLY for delivery of the Configuration Manager Client using Microsoft's own best practice method and that after that point all updates will come via Configmgr...? if you want to do that here you CAN, these are very different products and therefore they are not configured the same way.... not following.. everything that is delivered via the Software Update Point is downloaded via WSUS, the SUP role is Configuration Managers method of controlling what WSUS does or doesn't do. if you want to do things using Microsoft best practice methods then you can go ahead and follow my guides here, or read what is posted on Technet, I do explain that there are more than one way to do things, If you choose to deliver the Configuration Manager client via Client Push, GPO or another method then use the method that suits you, I am merely offering alternatives and advice (I focus on Microsoft Best Practice) cheers niall
-
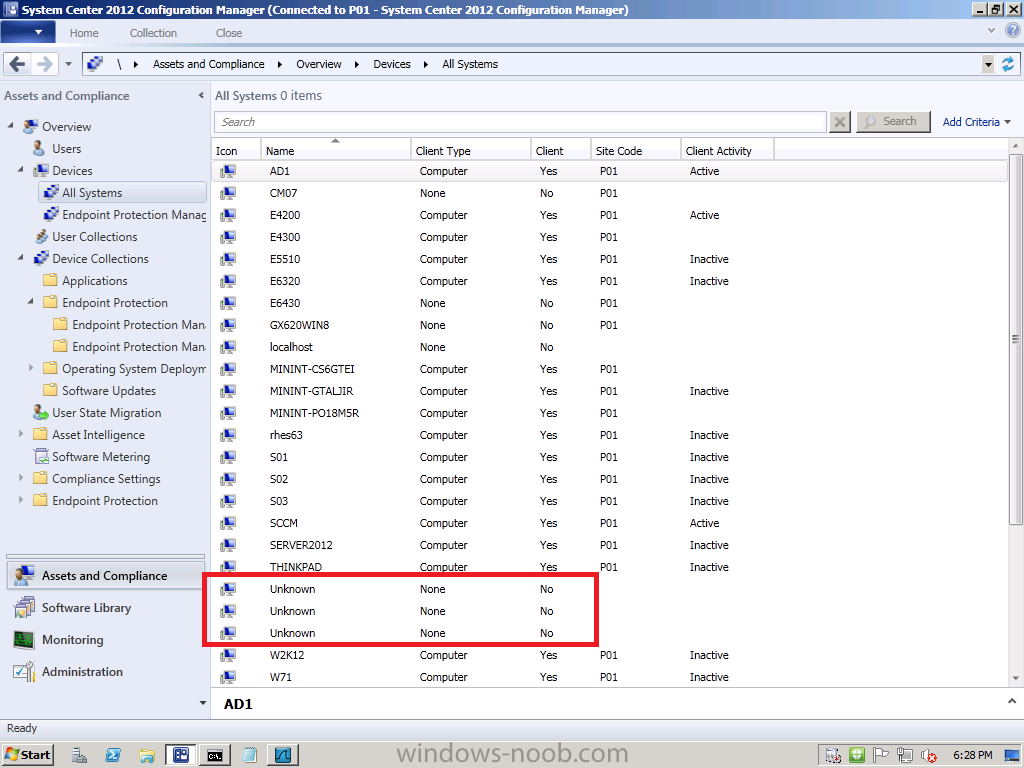
don't delete the collections, i'm referring to computer objects listed as Unknown in the All Systems collection like in this screenshot.
-
Microsoft formally launched its Windows 8 operating system today, sabering the champagne bottle (so to speak) on one of its two cash cow software platforms. (The other is the Office productivity suite.) The event, which was live-streamed on the Web, featured chief executive Steve Ballmer, Windows chief Steven Sinofsky, Windows program management chief Julie Larson-Green and Windows client and ecosystem chief Michael Angiulo. Heavy on pomp and light on substance, the presentation nonetheless gave us a view into what kind of bet the Redmond, Wash.-based tech company is making with the announcement. Five key quotes and what they tell us: 1.) "We shunned the incremental. We boldly reimagined Windows." (Sinofsky) Thanks to the new "chicletized" user interface, anyone who looks at a Windows 8 computer will instantly realize that Microsoft is departing from the traditional desktop computing experience. It's hard to understate the importance of this, because it was Microsoft that popularized the old convention. (The company didn't do away with it completely -- look hard enough and you'll find the original tucked inside.) Apple's success is due in large part to it bringing computing conventions to pocket-sized mobile devices; thankfully Microsoft mirrored those motives, and not just the UI. Finally, the Windows 8 experience marks a significant step away from the fundamental idea of many-windows-on-one-screen multi-tasking, which was Windows' calling card for most of its life. Now, it's one vista at a time. (Pun intended.) 2.) "We see today as a grand opening." (Sinofsky) Here, Sinofsky is talking about the Windows online store, which (like Google's) is modeled after Apple's App Store. But forget that detail for a second -- consider the fact that this is the final nail in the coffin for store-bought, disc-bound software, now delivered in bits over the air. For almost two decades, the Internet was the computer's killer app. Here, they are one in the same. 3.) "Windows 8 shatters perceptions of what a PC now really is." (Ballmer) The term "PC" was popularized by IBM's 5150 but quickly became synonymous with Microsoft as it conquered the consumer sector. (Nowhere is that more clear than in the long-simmering argument "Mac or PC?" -- since when are MacBooks not personal computers?) Over the last decade we've seen phones move away from pagers and toward computers, likewise gaming consoles, likewise televisions, and likewise those funny things called tablets. Microsoft has always approached this from a desktop-first perspective; today, it's finally embracing the idea that a PC could be shaped like a pack of cigarettes or a Ford Fiesta, even if the needs are similar. 4.) "Picture your start screen filled with everyone and everybody who's most important to you." (Ballmer) This is a minor quote in the grand scheme of the event, but it actually hints at something quite important. The term "social" has been thrown around quite a bit with regard to Facebook and Twitter and the like, but the point is that computers are regressing as simple machines to be manipulated and progressing as platforms to enable some of our most basic human needs -- such as communication. Other people (and their computers) were hardly on the radar of early Windows machines; today, we can't imagine computers without imaging the communities their users occupy. People have replaced files. 5.) "Windows 8 is a major milestone in the evolution and revolution of computing." (Sinofsky) Microsoft kicked off the event with this proclamation, but it's only partially true -- Windows 8 is a reflection of computing's greater evolution but it's far more of a revolution for Microsoft itself. It's hard to believe that the user experience we see today originated on the Zune portable media player, of all things, but in many ways that makes complete sense: Zune was, of course, portable, and that's the point. This is also remarkable: instead of Microsoft trickling down elements of its preeminent product, Windows, to other platforms, the reverse occurred: the Metro UI crept from Zune to Kin to Phone to Windows. For Redmond, that's swimming upstream. None of these points are surprises, of course, but it's good to take a moment and reflect on what this means for Microsoft and personal computers in general. After years of incremental change (yet monumental declarations), we're finally getting a major leap to justify the bluster. There's no turning back now. via Zdnet > http://www.zdnet.com/microsofts-windows-8-event-5-key-points-7000006411/

-
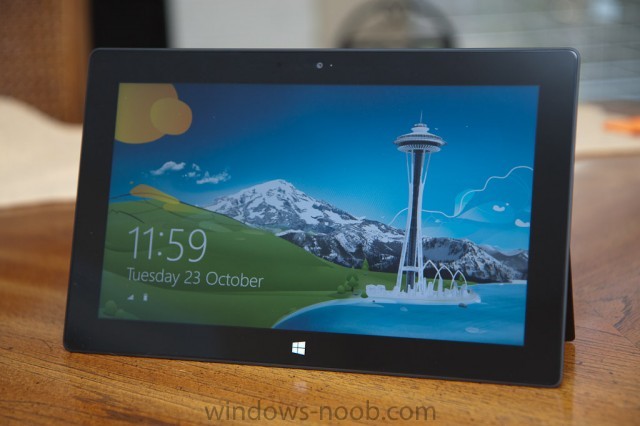
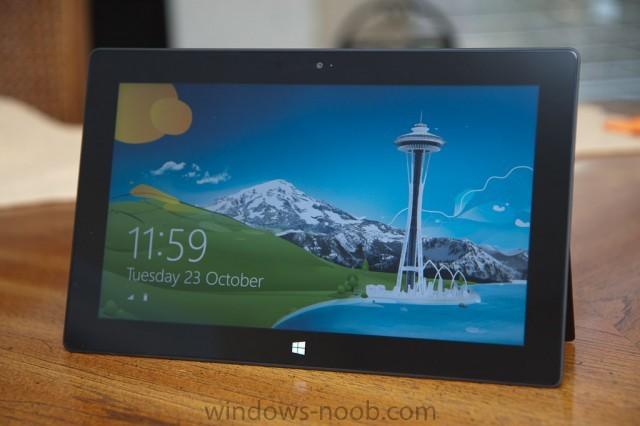
So Microsoft has gone and done it. The company has sold operating systems for other companies' computers for more than 30 years. Sticking to the software and letting other people deal with the hardware side is what made Microsoft the multinational behemoth that dominated the computing landscape through the 1990s and much of the 2000s. MS-DOS; 16-bit Windows 1, 2, and 3; the hybrid Windows 95 family; and the 32-bit (and, later, 64-bit) Windows NT family that is still with us to this day: all were sold primarily to computer OEMs for preinstallation on new machines. With Surface, Microsoft is diving headlong into a new business model. Let's be blunt here: Redmond is going the Cupertino route. Microsoft is not merely writing the software. It's designing hardware to go with that software, and contracting manufacturers in East Asia to turn its designs into millions of units of real, shipping hardware, that Microsoft will be selling directly to customers. Why the change of heart? The president of Windows and Windows Live Division, Steven Sinofsky, says that Microsoft has its own point of view when it comes to tablets. He pointed at Google, Amazon, and Apple, saying that each of them have their own tablet take. Google's world is centered on search and collecting data; Amazon's tablets are intended to drive purchases from Amazon's store; Apple's is designed to capitalize on the iPhone's familiarity. Microsoft's take is the same as it has always been: the tablet is a sort of PC, with all the flexibility, extensibility, and variety that that entails. This mindset is fundamental to understanding why Windows 8 is the way it is. It's also why Microsoft continues to sell its operating system to OEMs; it knows that there's too much variety in the market for one company to meet every need. But Microsoft has a competing pressure. It wants to show off its software in the best light possible, and controlling the whole experience—software, hardware, and even retail—is how it plans to achieve that. Quite how Microsoft will sit in the broader tablet market isn't yet entirely clear. The company is keeping very quiet about production volumes and expected sales figures. There are a few predictions and rumors floating around, putting expectations in the region of low millions. That's a smaller scale than, for example, Amazon's Kindle Fire or Google's Nexus 7, but still substantial for a first product. If nothing else, the limited distribution—Surface will initially be available in just eight markets—will serve to limit Surface's ability to disrupt the OEMs, making the computer more of a Nexus-like benchmark than a complete transformation of Microsoft's business model. But we can expect that to change with time. Studio B, the building in Redmond that houses the Surface team, is taking hardware seriously, and Microsoft wants to create a sustainable, profitable hardware business to position itself as a "devices-and-services" company. Surface is the first product to reflect this devices-and-services ambition and I've been test driving one for about a week. Does Microsoft have what it takes to be a player in the hardware market? Can it take on not just the OEMs, but the Apple juggernaut? read the rest at arstechnica
-
did you make your deployment Required or Available ?
-
those look like DNS issues (or lack of network connectivity can you bring up a command prompt during the task sequence (press f8) when it fails and ping the FQDN of the management point ?
-
can you attach the entire smsts.log file please (as an attachment) edit out any urls if you are worried about revealing info.
-
Endpoint Protection Scheduled Scan Issue
anyweb replied to jeffpoling's topic in Configuration Manager 2012
were the systems off when the job was supposed to run ? anything in eventviewer ? To get extensive logfiles open an administrative command prompt and CD to the following directory on the client, C:\Program Files\Microsoft Security Client\Antimalware and execute the following command MpCmdRun.exe -getfiles the log files are stored in C:\ProgramData\Microsoft\Microsoft Antimalware\Support and that directory in turn will contain a CAB file (MPSupportFiles.cab) which has several relevant log files to examine. -
Task Sequence: Break down of each step?
anyweb replied to pbalderos's topic in Configuration Manager 2007
if you download the MDT Toolkit and examine the printed documentation that comes with it it does a pretty good job of explaining what steps do what, for Configuration Manager you have Technet - see here. -
Endpoint Protection Scheduled Scan Issue
anyweb replied to jeffpoling's topic in Configuration Manager 2012
start by verifying what policy is applied to those clients, then if it's the wrong policy you need to find out why it's not applying the correct policy -
OSD Fails when installing the first package/application
anyweb replied to P.Keen's topic in Configuration Manager 2012
you could target that task sequence deployment to another collection that has a membership rule setup to Exclude the Laptops collection.