


anyweb
-
Posts
9271 -
Joined
-
Last visited
-
Days Won
371
Everything posted by anyweb
-
upgrade from Release Candidate was not supported and there are many changes in the database that can only be created at install time so sooner or later you may hit an issue related to the 'upgrade' that will not be supported by Microsoft as it's not supported to upgrade from release candidate to RTM (sorry to repeat it but the message needs to be said). back up what you have, export everything you can think of, and start again, that's my advice. Is it a big environment ?
-
no problem, it is doable without MDT but i see NO reason to NOT use MDT integration in Configmgr (no need for an MDT database, just integrate it to get acccess to the mdt scripts etc.)
-
i hope you didnt upgrade from BETA 2 to the RTM release and what you really mean is you did a clean install of Configuration Manager 2012 RTM, on your site server are your component status logs healthy especially for your management point ? anyhow, have you checked that your boot images have the option enabled on them to be deployed on a PXE server, check the data source tab for that on the boot images.
-
 and it's another good reason to use Virtual hardware for this type of exercise as you can snapshot at any time
 -
ConfigMgr 2012 not downloading Software Updates
anyweb replied to P@docIT's topic in Configuration Manager 2012
thanks ! I wrote chapter 16 and contributed content to two other chapters enjoy the read -
as long as you have configured everything correctly i don't see why not.
-
the ADR does not push the updates to the clients, it merely makes the policy available to the clients informing them at their next policy update that these definition updates are available, the ADR also places these updates in the Deployment Package on whatever distribution points you selected, if the clients receive that policy and if they have the source selected as Configmgr (amongst others) then they can retrieve the definition updates via ConfigMgr. When you define additional sources you do so for 'failover', plus as ConfigMgr 2012 RTM sync's the sup only once per day and SCEP updates are released at least three times per day you may want to configure the SCEP antimalware client policy to use other source as i explained, good luck
-
same version, are you trying this on Wireless enabled devices in a place where there are wireless networks ?
-
Configmgr client does not install during OSD
anyweb replied to Robbie Wallis's topic in Configuration Manager 2007
is it expired ? blocked ? -
you can simply create a step in your task sequence to start a HTA (hypertext application) which itself gives the user options such as Deploy Windows 7 using Configuration Manager or use Ghost (for whatever reason) do you know that you can create full wim backups of your images without using ghost ? and migrate the data too ? see this HTA which does it all (and more) cheers niall
-
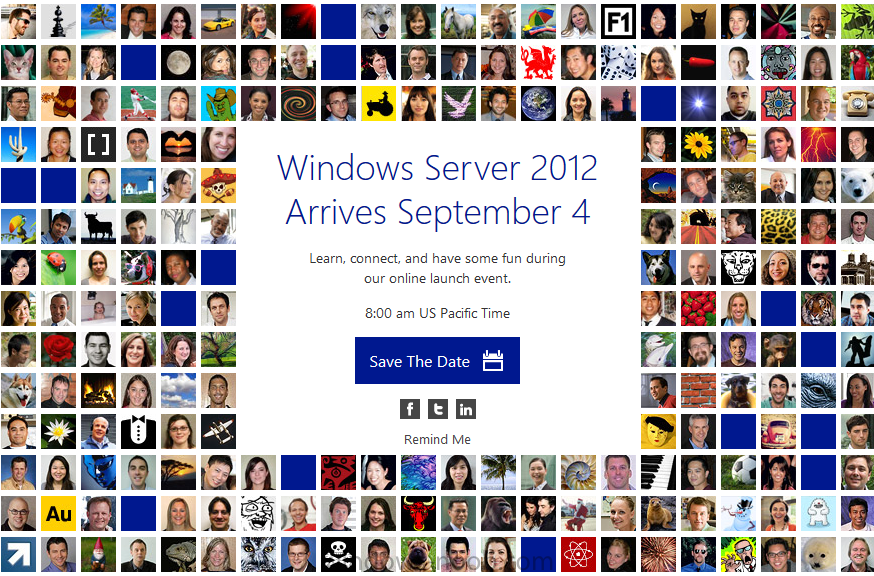
check this link and watch the videos http://www.windows-server-launch.com/Home
-
Configmgr client does not install during OSD
anyweb replied to Robbie Wallis's topic in Configuration Manager 2007
have you verified that your PXE certificate is valid ? -
ConfigMgr 2012 not downloading Software Updates
anyweb replied to P@docIT's topic in Configuration Manager 2012
maybe you just didnt wait long enough for the updates to get to the dp's ? -
today Microsoft launches it's latest Server OS to the general public, Windows Server 2012. it's an online event starting at 8.am Pacific time
-
sounds like you'd have to edit a custom page to call a webservice if thats what you want to do, which version of MDT are you using and what web services are you using ?
-
can you show me a screenshot of the status you are referring to exactly you are prompted for start and end dates in order to create a reporting time scale, if you want daily reports emailed to you in reports then first you'll have to enable email ability within Reporting (SQL Server 2008R2 Reporting Services configuration Manager/E-mail Settings) and then click on create subscription and follow the wizard, does that help ? also have you looked at configuring email alerts for endpoint protection as described here ? cheers niall
-
Visual Studio 2008 Pro Silent package getting failed..
anyweb replied to roshanbhavsar04's question in How do I ?
when i created a package for Visual Studio back in the day, i remember that the prerequisites had to be installed in a certain order, if you didnt install them in the order they wanted the package would fail, the command line to install those three apps if required is>- then install the main msi in conjunction with an MST created for that very purpose vs_setup.MSI ALLUSERS=1 ADDEPLOY=1 /qb! VS2008.mst see here... -
Says updates are needed but they don't show up
anyweb replied to Kevin79's question in Software Update Point
and what happens when you open software center ? do you see the completed changes -
looks like he was using a mixture of X86 settings in his unattend.xml file but he was using an X64 image they must match and in this case, they did not.
-
Password Protect a Task Sequence?
anyweb replied to thadkew's question in Frontends, HTA's and Web Services
you could also use the BitLocker FrontEnd HTA to do this here http://www.windows-noob.com/forums/index.php?/topic/4811-introducing-the-bitlocker-frontend-hta/ -
the only thing to think about is if there are any Group Policies pointing to the old WSUS server you'll need to remove them as ConfigMgr will want to control software update delivery
-
lots of errors in there, can you verify that your management point is working, this link is for cm07 but it works the same way http://technet.microsoft.com/en-us/library/bb932118.aspx and once again, in monitoring, system status, component status, are things looking all green or mostly red ? any obvious issues in there (like management point being dead ?)
-
issues deploying power management SCCM 2007 R3
anyweb replied to jackface_o's topic in Configuration Manager 2007
have you tried pushing the configuration manager client to the client AFTER upgrading to R3 ? -
are the management point and dp configured for HTTP or HTTPS ? what do your component status logs look like (any other obvious problems...)
-
is it definetly restarting ? when you do run chkdsk are you seeing lots of errors found ? if so consider running a chkdsk 'job' on these systems one week before they are to be migrated, as an idea....

