anyweb
-
Posts
9208 -
Joined
-
Last visited
-
Days Won
367
Everything posted by anyweb
-

Introducing the windows-noob.com FrontEnd HTA ver 1.0
anyweb replied to anyweb's question in Frontends, HTA's and Web Services
if you look at the task sequence i've supplied there is a network connect step, and that must occur (it maps to a drive letter) before you can store anything on the network, below is the XML from the step in the task sequence itself, just import the TS into configmgr and you can see the step yourself -<step name="Connect to Network Folder" description="This step is needed otherwise we cannot display any stored States in the Bare Metal/New Computer scenario" successCodeList="0" runIn="WinPEandFullOS" type="SMS_TaskSequence_ConnectNetworkFolderAction"> <action>smsnetuse.exe %SMSConnectNetworkFolderPath%</action> -<defaultVarList> <variable property="DriveLetter" name="SMSConnectNetworkFolderDriveLetter"> Z:</variable> <variable property="Password" name="SMSConnectNetworkFolderPassword"> </variable> <variable property="Path" name="SMSConnectNetworkFolderPath"> \\sccm\USMTStores </variable> <variable property="Username" name="SMSConnectNetworkFolderAccount"> server2008\sccmnaa </variable> </defaultVarList> </step> -
Businesses have dragged their feet on upgrading from the ten-year-old Windows XP to newer versions of Microsoft’s operating system. First, they skipped Windows Vista en masse after the OS was the target of scorn from critics and IT analysts. Now, they are making the upgrade to Windows 7, but analysts at Gartner are worried some XP-using businesses will consider skipping Windows 7 in anticipation of next year’s release of Windows 8. This would not be wise, Gartner and other analyst firms say. Microsoft will end support for Windows XP in April 2014. For a home user, that is a long time away. But enterprises have long deployment cycles for new operating systems that depend heavily on budgets, internal processes and third-party vendors updating applications to support the latest version of Windows. “Windows 8 is an ambitious product, and organizations running late with Windows 7 may be considering it,” Gartner analysts wrote in a research note published this week. “However, enterprises running XP should stick with Windows 7 migration plans to avoid the risk of a gap in support.” Gartner’s Michael Silver has argued that many businesses will opt for Windows 7 and skip Windows 8 because of “migration fatigue.” But a minority may be tempted to do just the opposite because Windows 8 is so tantalizingly close. “Since Microsoft unveiled Windows 8 in June, and even before that, people would call up say, ‘hey can we get away with skipping an extra release?’” Silver tells Ars. “It’s human nature.” Gartner is telling those clients not to wait. “Even if Windows 8 ends up shipping in the middle of 2012, which is pretty ambitious, the typical organization won’t be able to deploy it until the beginning of 2014, and thats three months before support ends for XP,” Silver says. “If you’re talking about a 10,000-user organization, that could be 1,000 applications, 500 of which require Windows. Preparing, planning, testing and remediating applications for an operating system generally takes an organization 12 to 18 months.” Businesses had trouble moving to Vista because software vendors did not immediately update applications to fully support the new OS, Silver says. The same could happen with Windows 8, which will introduce a drastically different interface that business users may have difficulty adjusting to. “You’re going to be better off on Windows 7 than you are on Windows 8, at least in the short term,” Silver argues. Windows XP still accounted for 59.9 percent of corporate desktops in March 2011, down from 67.5 percent a year prior, according to research the analyst firm Forrester conducted using its clients as a sample base. Windows 7 was up to nearly 21 percent of corporate desktops by March of this year, while Vista had only 6.2 percent, Forrester said. While those numbers are a bit old and based on a limited data set, research from Net Applications shows that Windows XP is still king. Based on data from users worldwide, including both businesses and consumers, Windows XP accounts for 52.46 percent of desktop usage today, compared to 30.6 percent for Windows 7. After April 2014, Microsoft won’t offer security fixes for XP to the general public. Businesses can purchase custom support after that date, but this could cost up to $200,000 in the first year, according to Silver. That price is for customers who pay for Software Assurance. If you don’t have Software Assurance support, getting custom support for XP after 2014 could cost $500,000 in the first year. Analyst Wes Miller of Directions on Microsoft doesn’t believe there’s a big danger of organizations skipping Windows 7 to wait for Windows 8. Microsoft has made it clear that “if you have a machine that will run Windows 7, it will run Windows 8 just as well, if not better,” he says. “Waiting to deploy Windows 7 would probably be a mistake.” Windows 7 has appealed to businesses with greater security, stability and performance than XP, Miller noted. “It had an enterprise draw that Vista didn’t have,” he said. While Windows 8 brings a new touch-friendly interface designed to compete against the iPad and Android devices, it won’t necessarily have the same appeal for businesses. “There hasn’t been an enterprise theme given for Windows 8 yet,” Miller says. Windows 8 does bring the appeal of being designed for new hardware form factors, however. Microsoft and hardware partners are planning handheld tablets, touchscreen monitors and ARM-based devices. Windows 8 PCs are also expected to ship with a secure boot technology to prevent rookits and other attacks, and have faster startup and shutdown times. While you’ll be able install Windows 8 on a PC running Windows 7 today, you may not get all the benefits available to those who purchase new hardware next year. If you buy now, Miller notes, “you take a gamble that hardware will be upgradeable.” That being said, moving from Windows XP to 7 already poses problems related to application compatibility. Going from XP to Windows 8 would be even more complicated. Miller recently spoke with a petroleum company that is migrating to Windows 7 today, and has little immediate interest in Windows 8. According to Miller, officials at the company say “We won’t do anything with [Windows 8] until it is released and we’ve seen more enterprise readiness.” via > http://arstechnica.c...-to-upgrade.ars

-
Introducing the windows-noob.com FrontEnd HTA ver 1.0
anyweb replied to anyweb's question in Frontends, HTA's and Web Services
well download the task sequence associated with this hta and look at the backup steps, it does cater for backing up to a network share using ztibackup, you should be able to copy those steps out and into your own task sequence but you may have to set the variables somehow (either in the task sequence or computer variables or collection variables) -
Can't see Configuration Manager Upgrade Client
anyweb replied to liquidcourage1's topic in Configuration Manager 2007
are you logged on as the same user that you installed Configmgr as ? if you click to the left of the RED icon does anything happen ? -
SCCM Client not discovering site
anyweb replied to matty3021's question in Troubleshooting, Tools, Hints and Tips
check your boundary group, click on the properties/references tab select Use this boundary Group for site assignment and select your site, click apply, try again on the client.. -
tp install the client on existing machines you need a separate client push account, THAT account must be a member of the Local Administrators group on the machines you intend to install the client on
-
thanks for the kind words Joe ! much appreciated :-)
-
did you add a boundary to a boundary group, and did you then assign a site to that boundary group ?
-
the System Center Configuration Manager SMSadmin user only needs to be a Local Administrator of the SCCM server itself, no need to be a domain admin, that's overkill and a security risk
-
thanks for the kind words I'd say double check that the captured image is indeed the image you are deploying in your deploy task sequence, perhaps you didn't update your distribution points or something else ?
-
have you tried restarting the WDS service itself, it has a registry timeout cache of 60 minutes by default..
-
double check that those applications are installed/not installed, look in the start menu/add remove programs what applications were they ?
-
and if you initiate a Machine policy (on the actions tab) what happens when you refresh the actions tab a few minutes later, does it populate with all the missing actions
-
are you trying to do this using Configuration Manager 2007 ? or Windows Deployment Services ? or Microsoft Deployment toolkit ?
-
did you use mdt 2012 beta 1 ? when integrating it with CM12 did you run the command in the start menu by right clicking it and choosing Run As Administrator ?
-
using SCCM 2012 beta 2 in a LAB - Part 1. Installation
anyweb replied to anyweb's topic in Configuration Manager 2012
we're here to help and it's easy to get it wrong, the hotfixes can be confusing -
or add exclusions to your collection queries that the updates are targetted to, so that it excludes these computers
-
thanks for the kind words ! i put the OS installation packages and pretty much everything in the following shared path \\sccmserver\sources\ sources is shared out, and within that share (folder) are subfolders such as os captures drivers wsus and so on so basically all you need to do is share out a folder called sources on your sccm server (or call it whatever you want, i've always stuck with sources) then create sub dirs from there for all your content
-
using SCCM 2012 beta 2 in a LAB - Part 1. Installation
anyweb replied to anyweb's topic in Configuration Manager 2012
correct, you are trying to install a hotfix for xxxIA64.exe (itanium) on 64 bit hardware (non-itanium) you selected the wrong hotfix download -
using SCCM 2012 beta 2 in a LAB - Part 1. Installation
anyweb replied to anyweb's topic in Configuration Manager 2012
what error do you get ? did you install CU14 as in the guide ? -
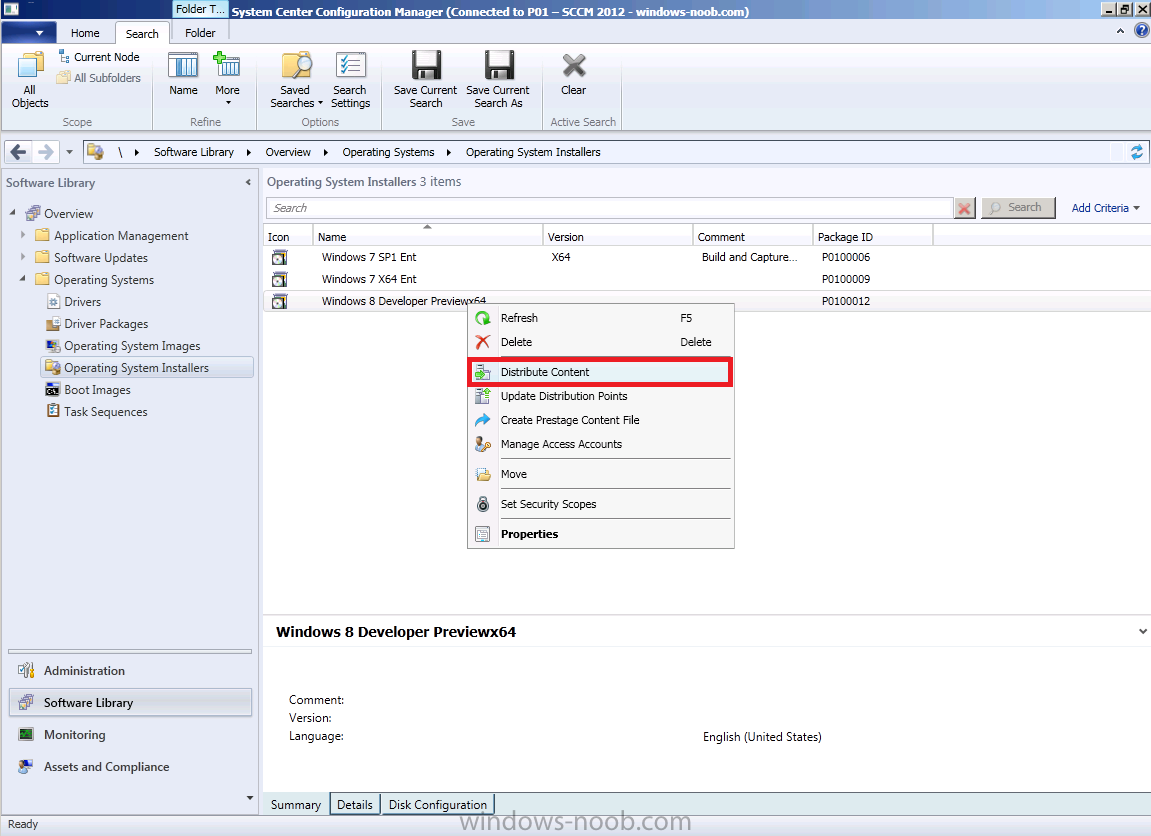
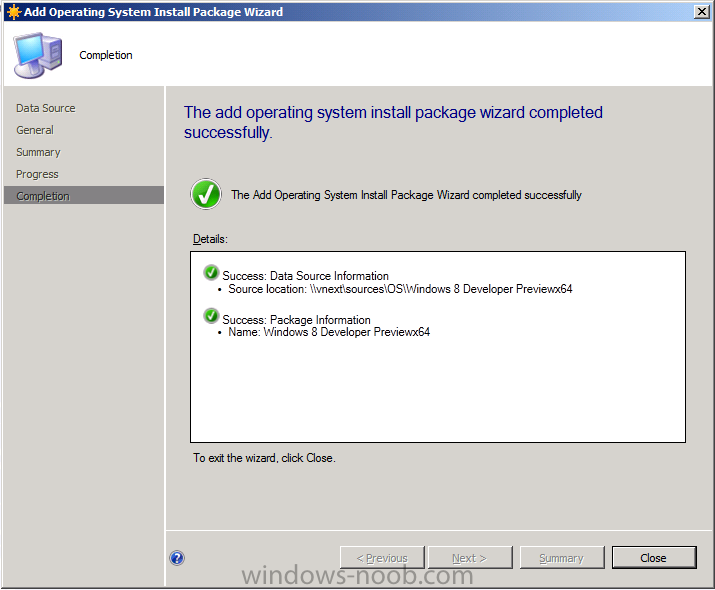
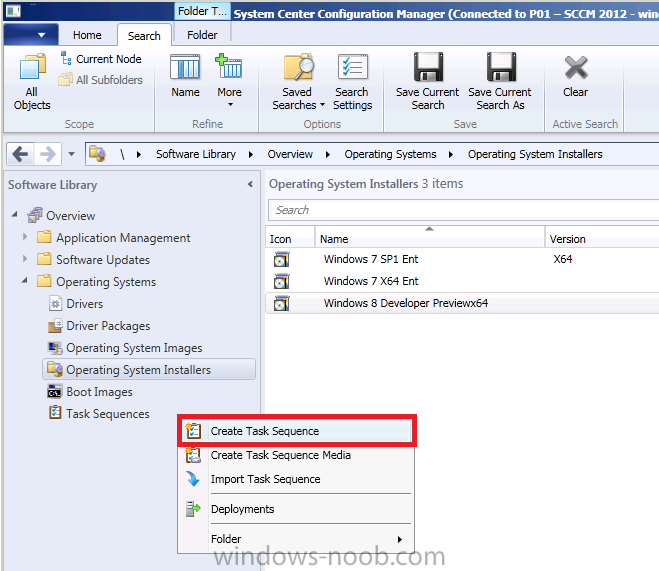
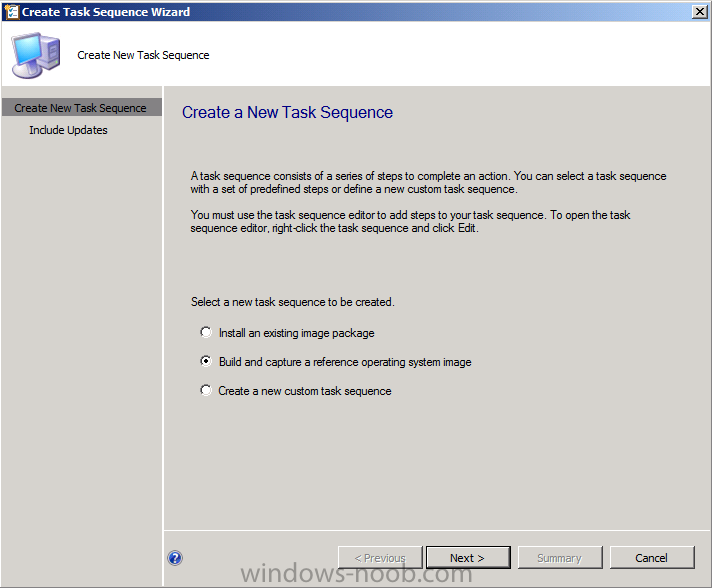
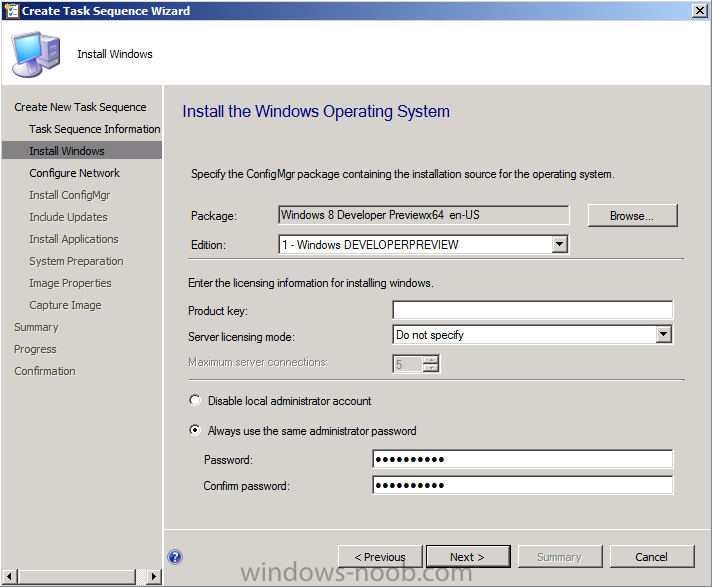
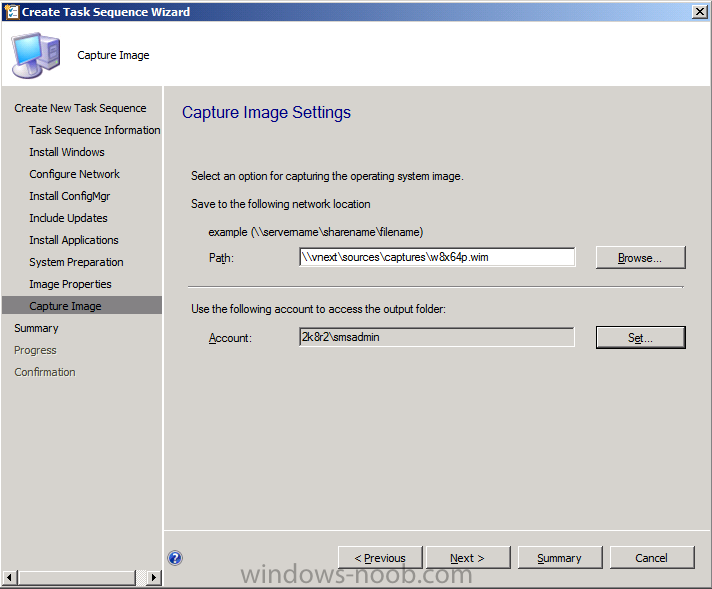
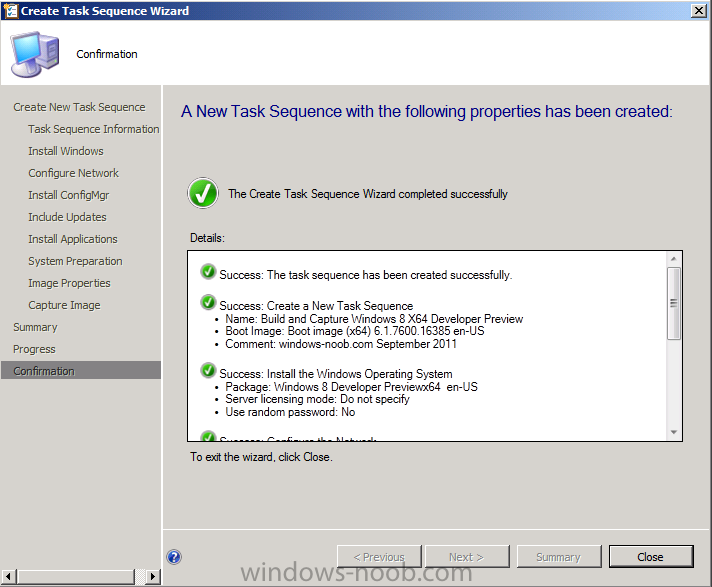
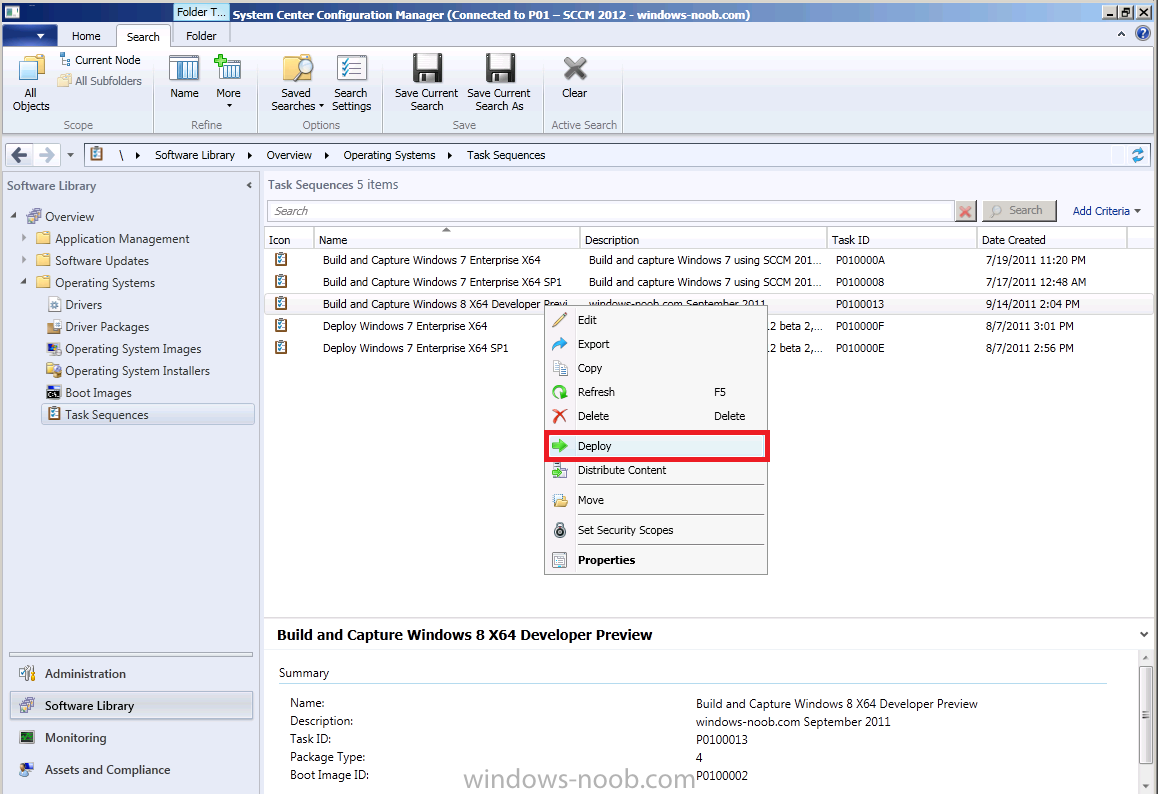
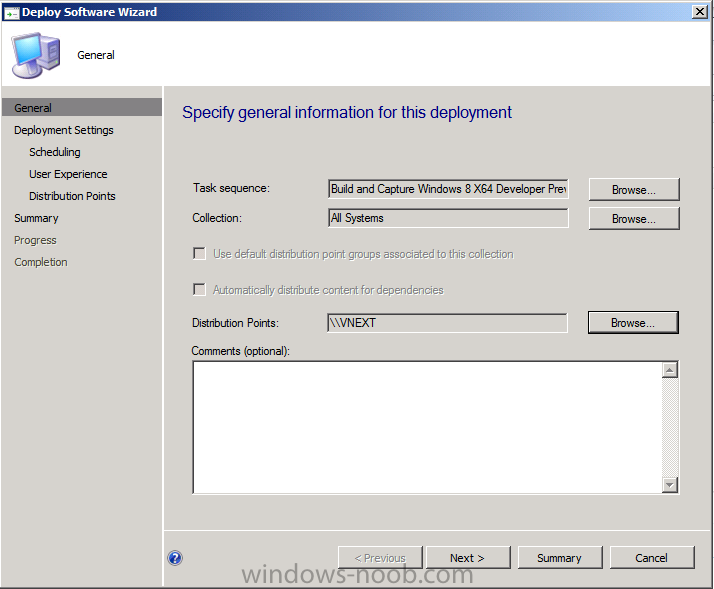
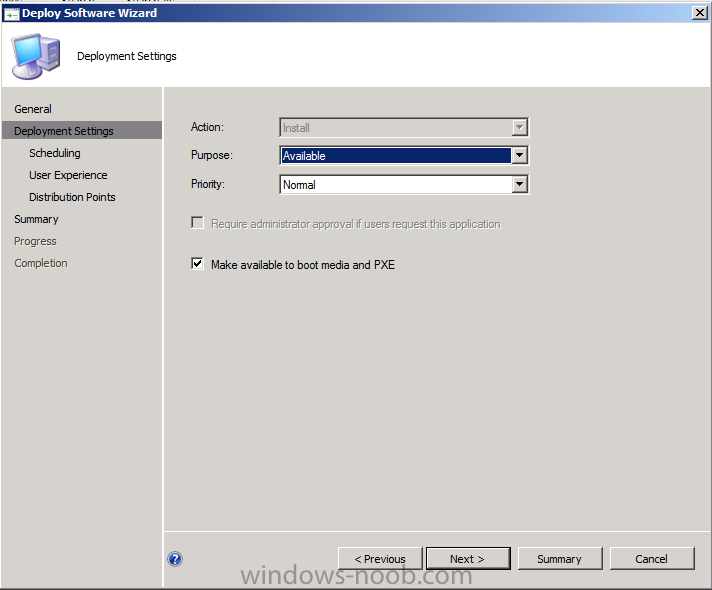
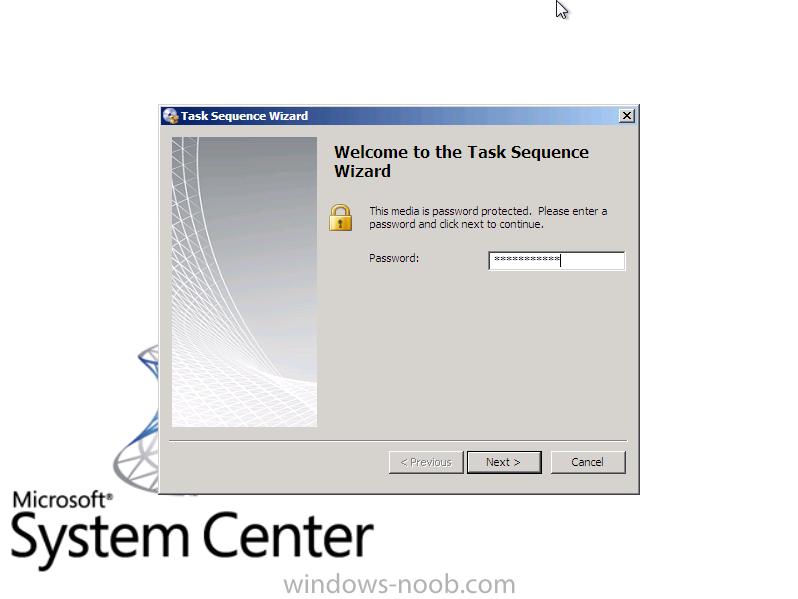
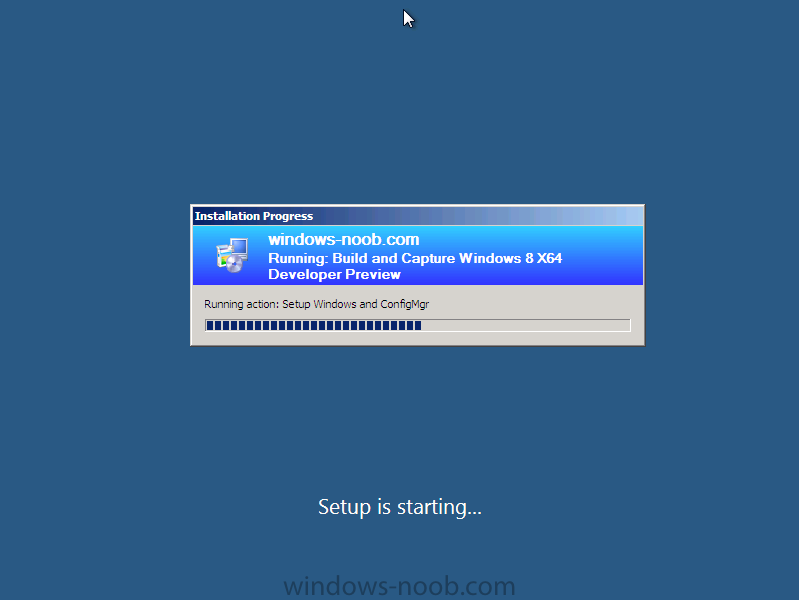
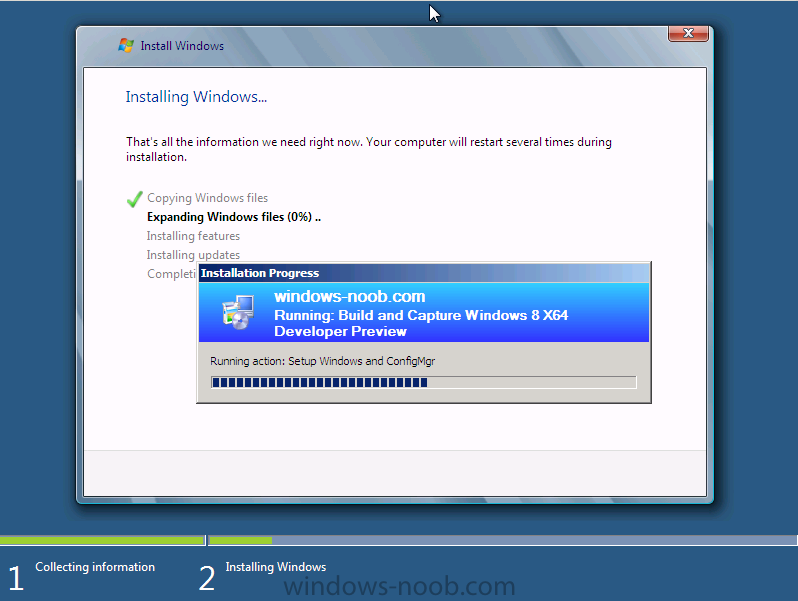
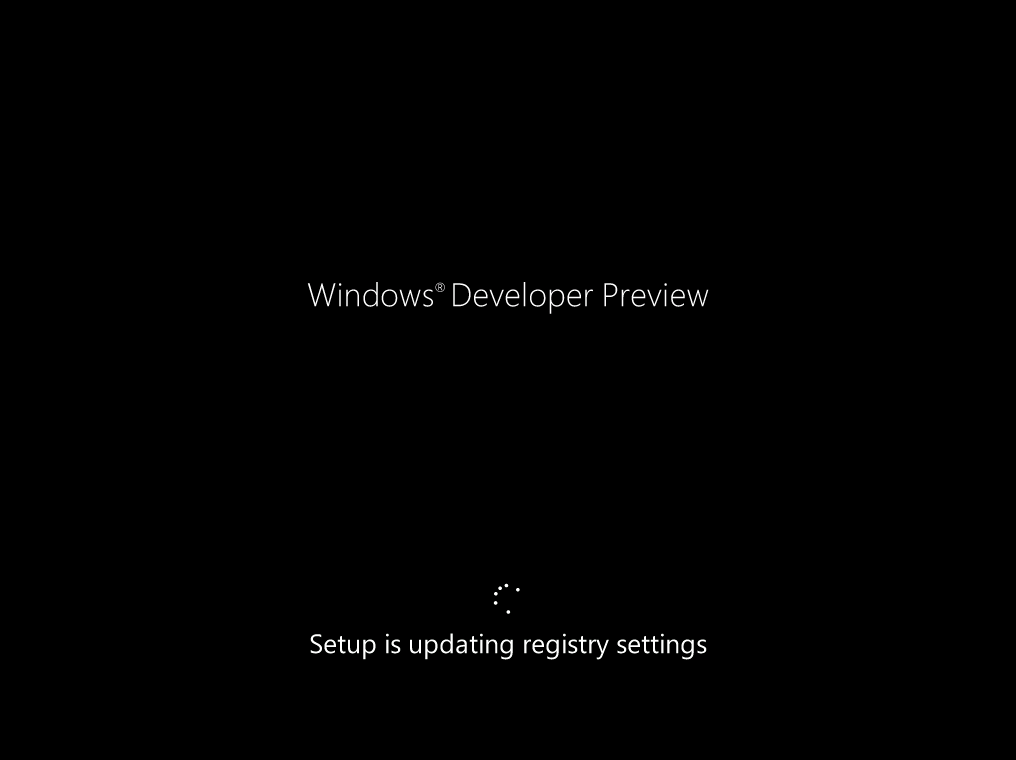
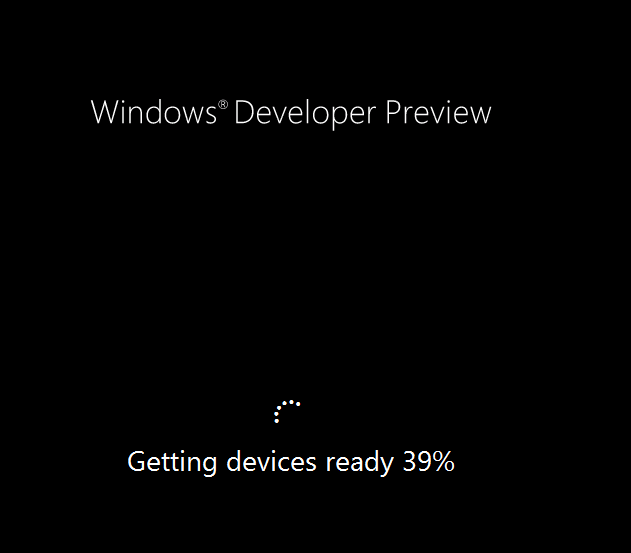
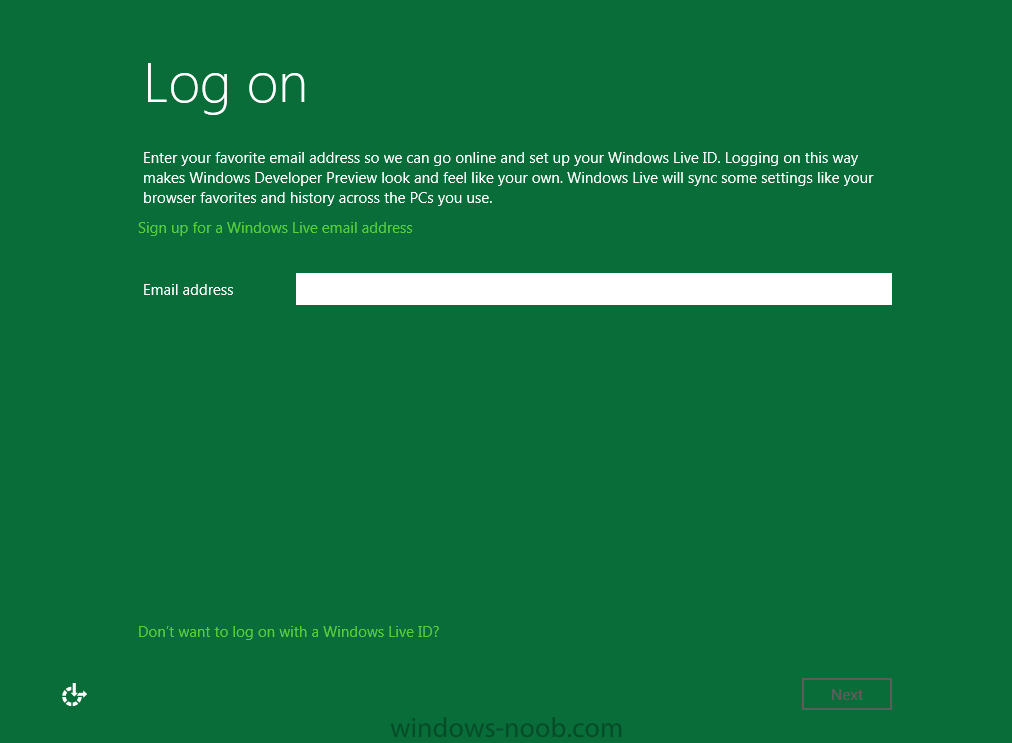
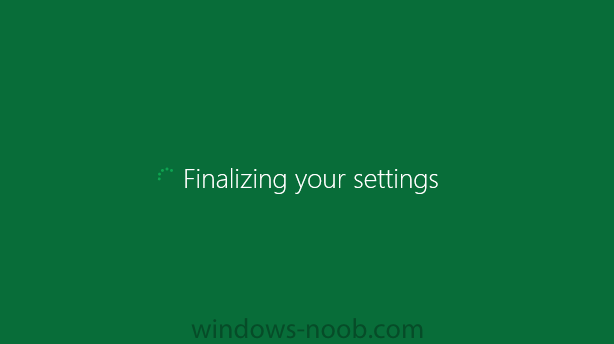
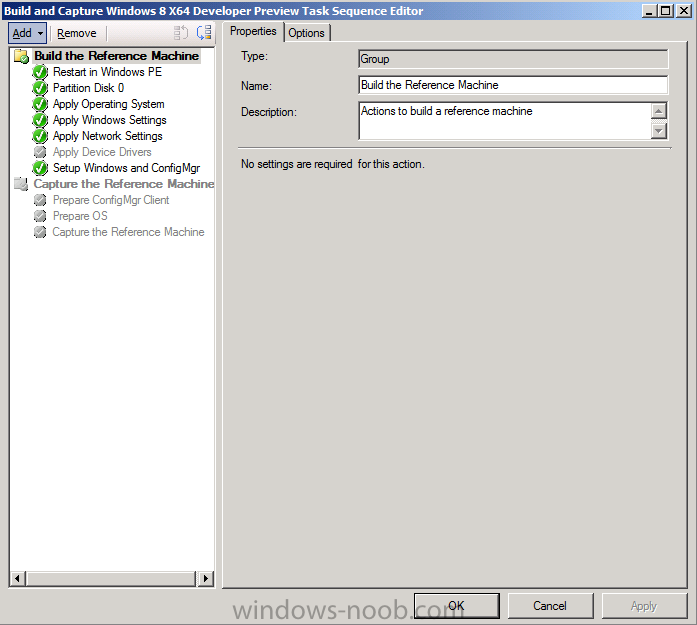
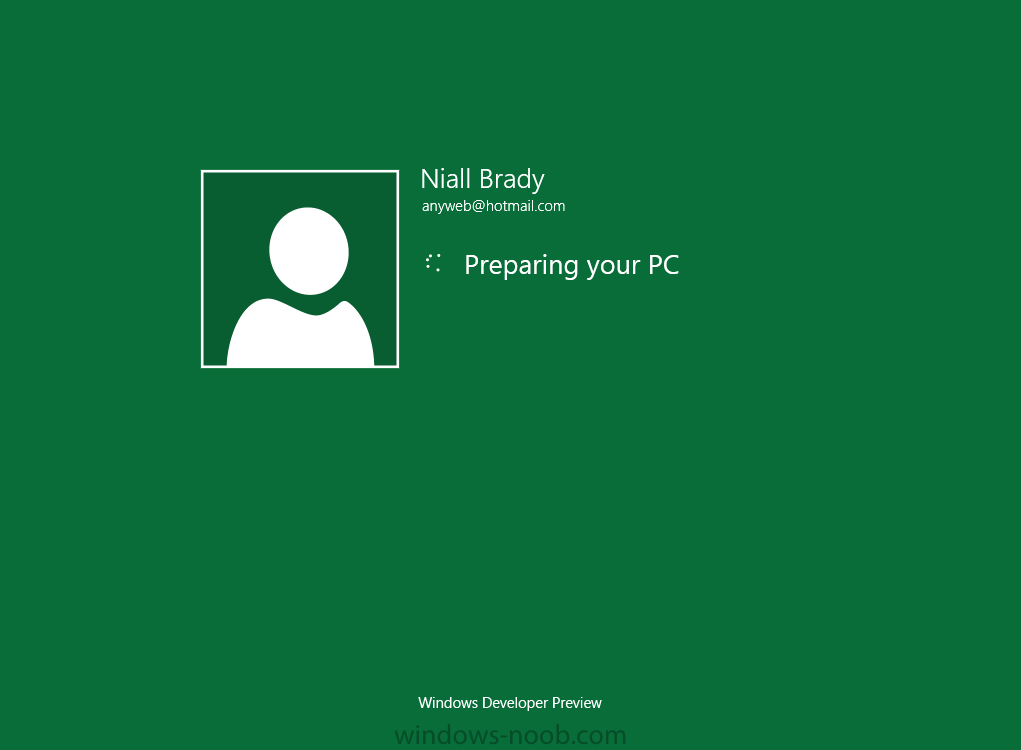
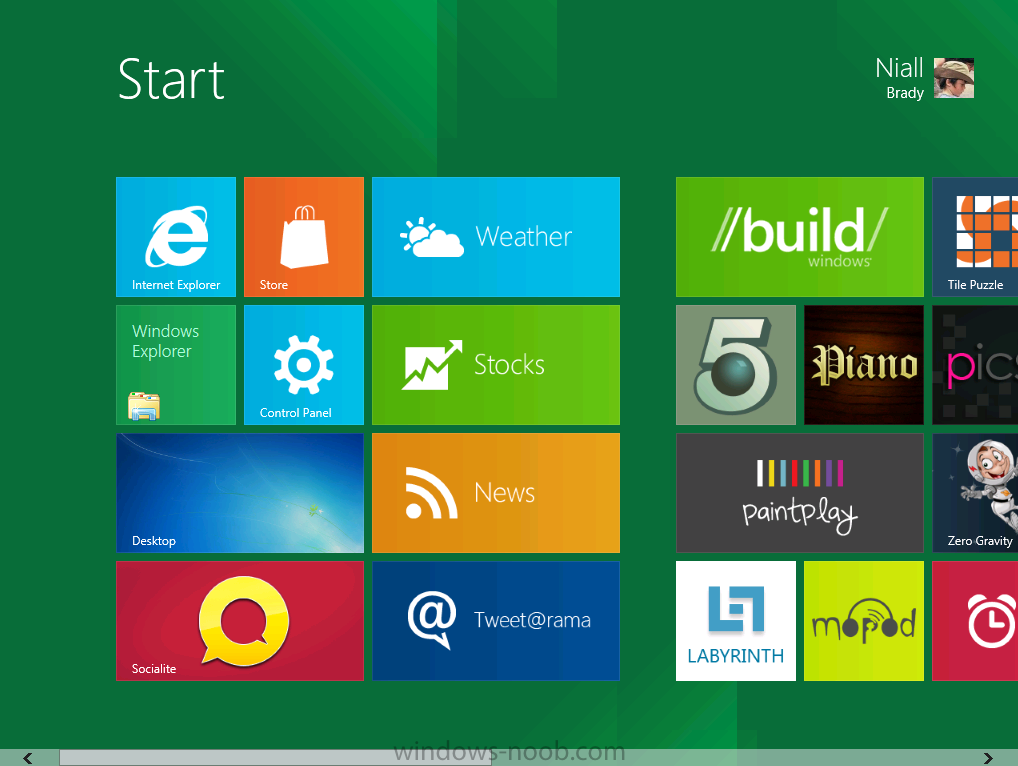
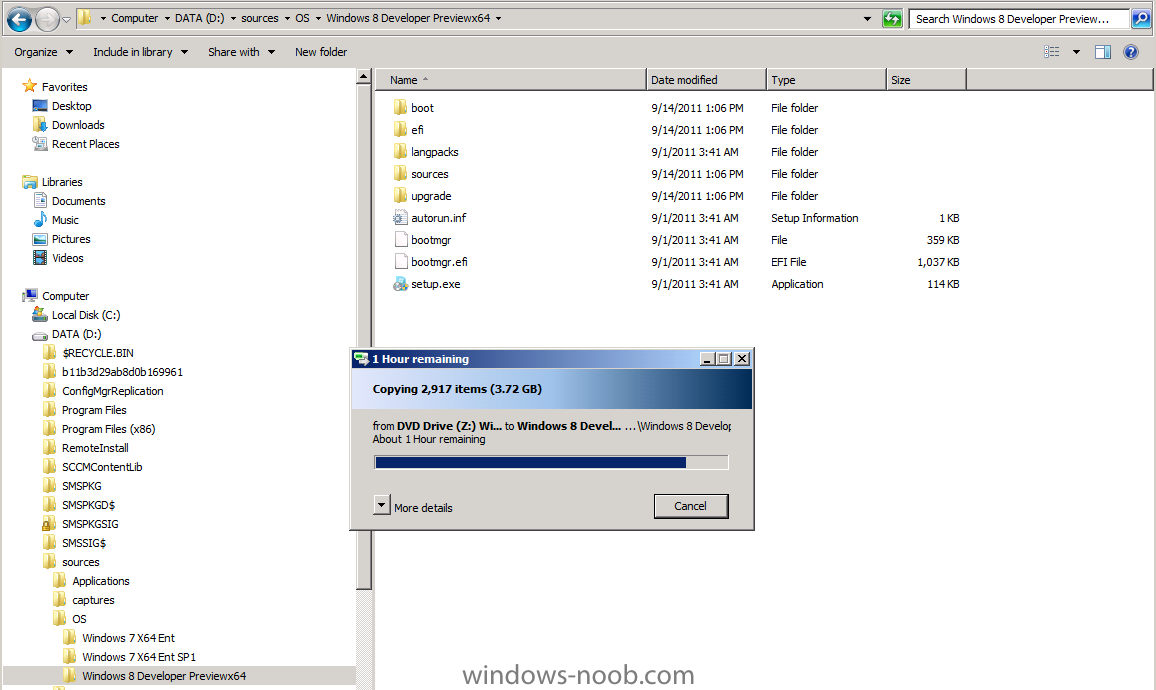
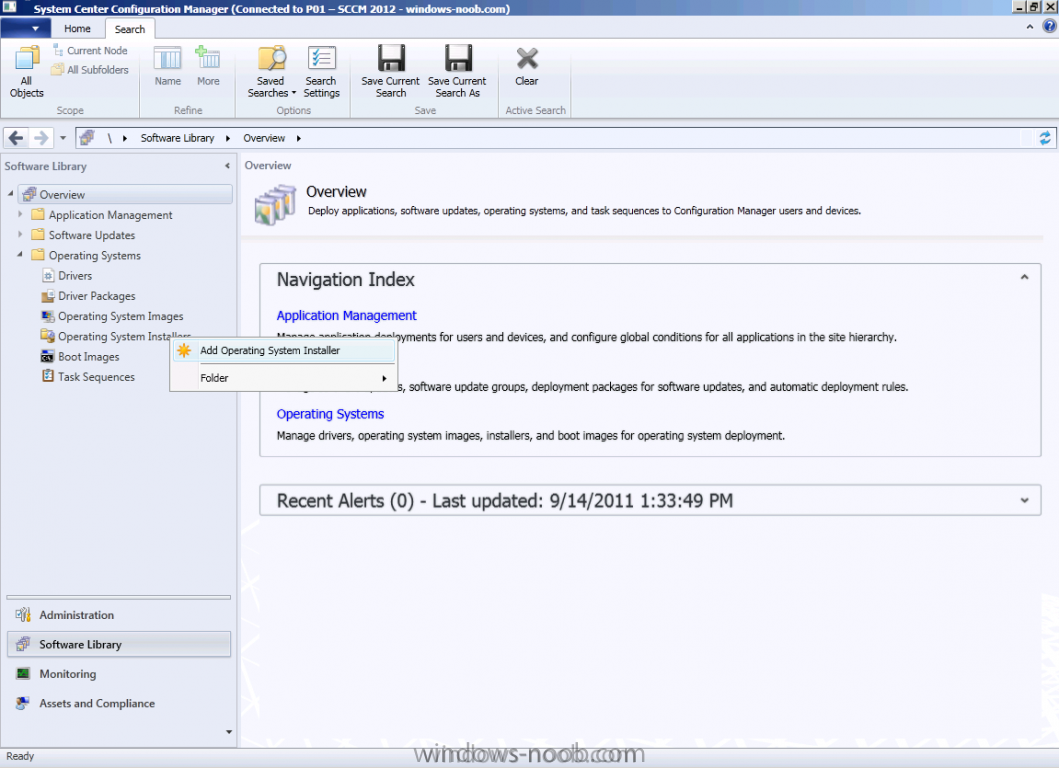
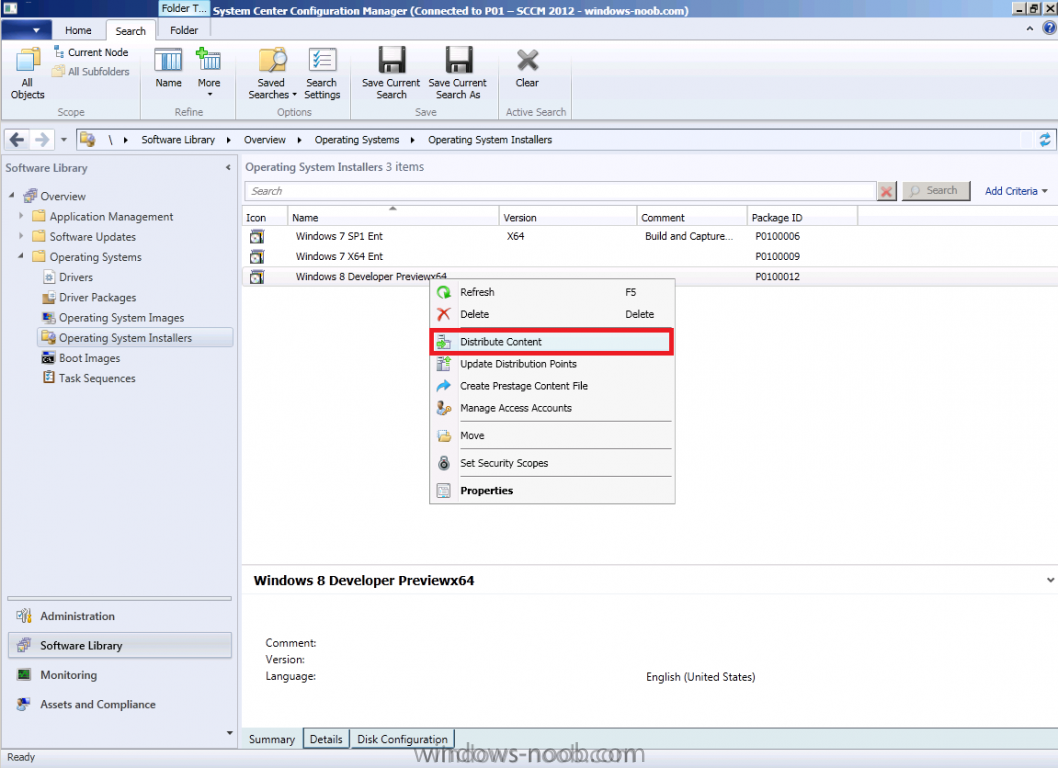
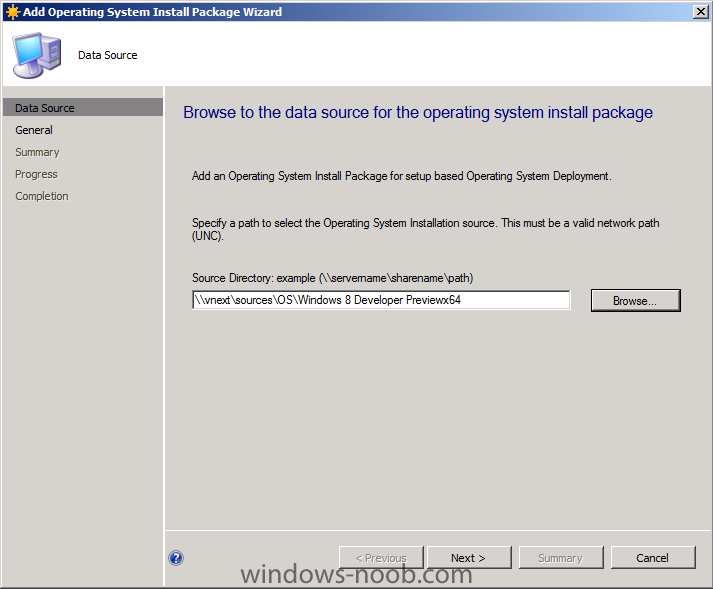
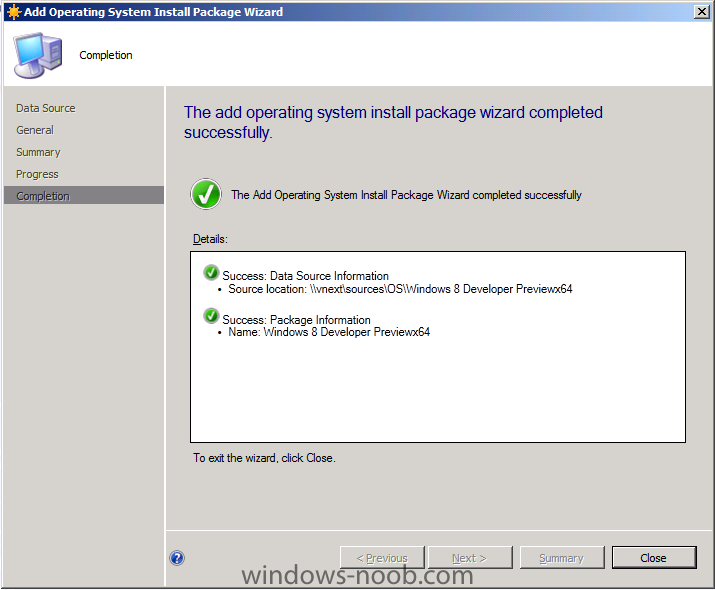
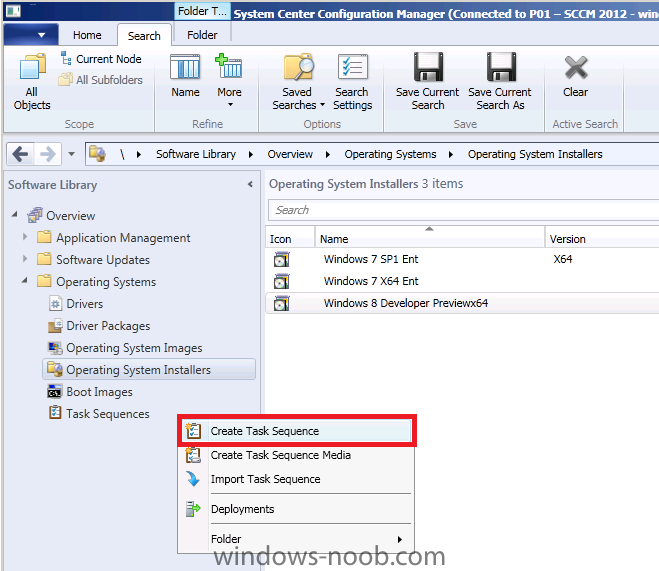
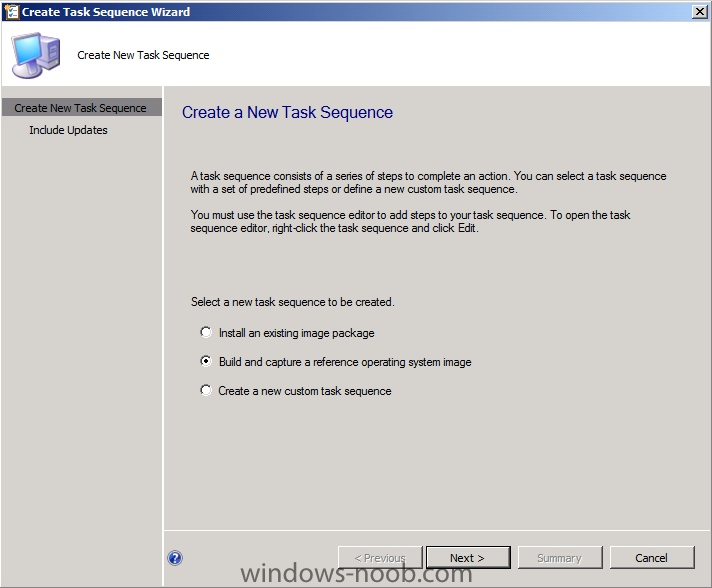
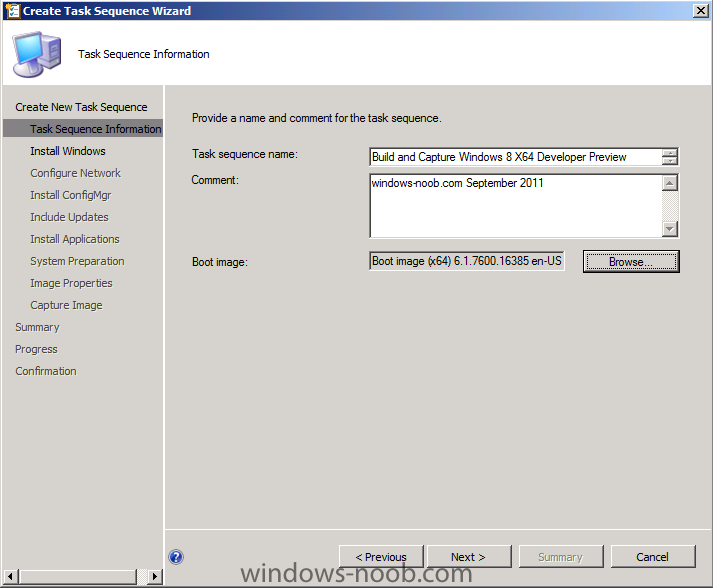
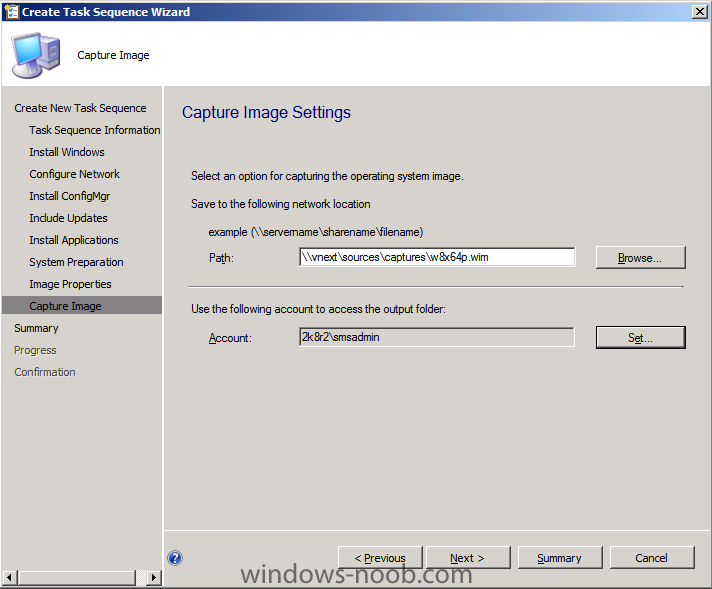
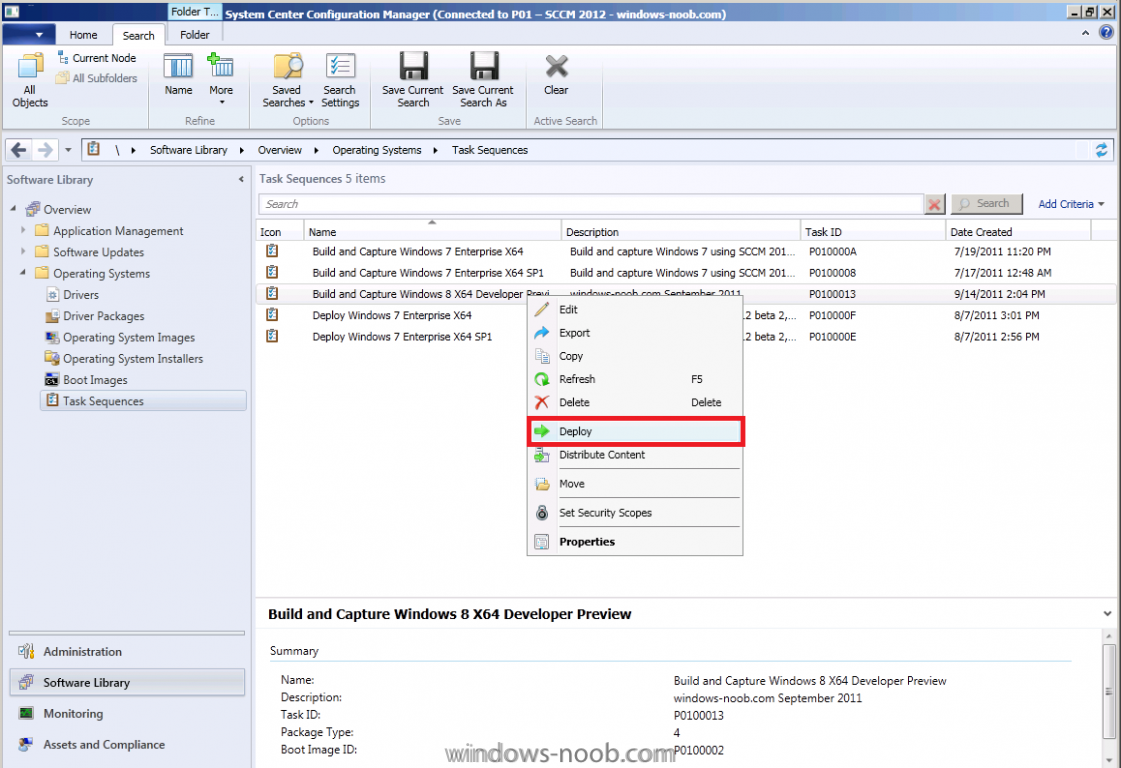
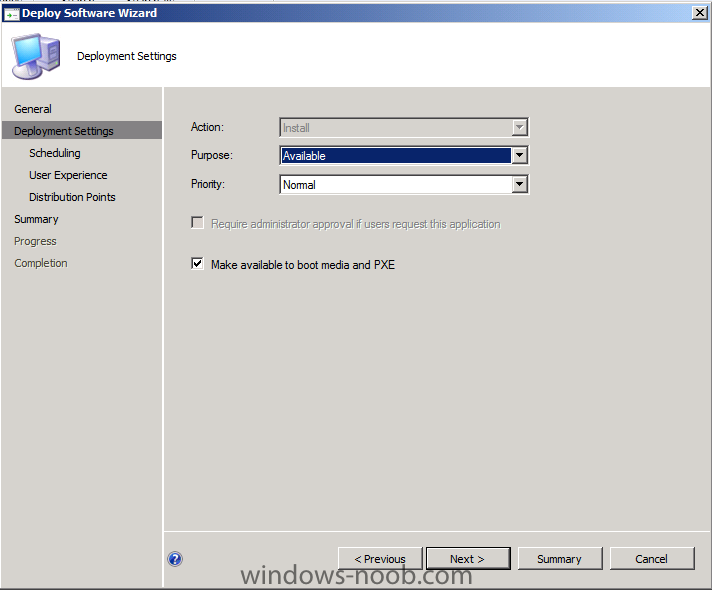
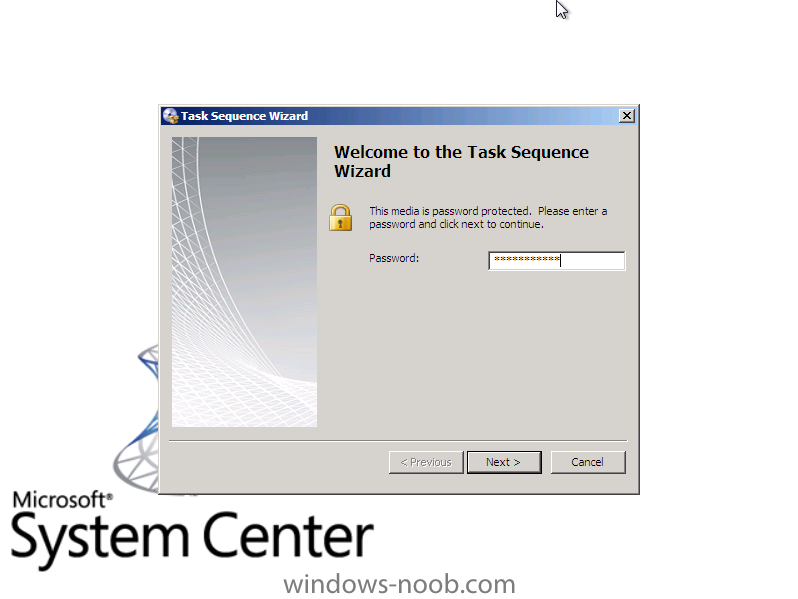
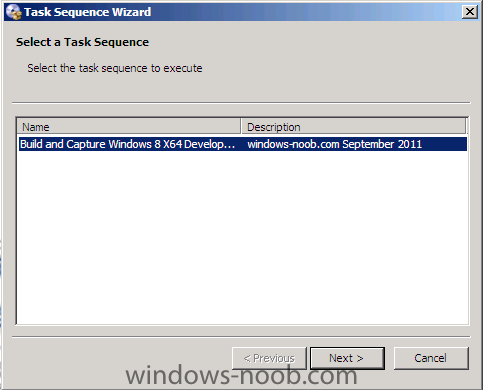
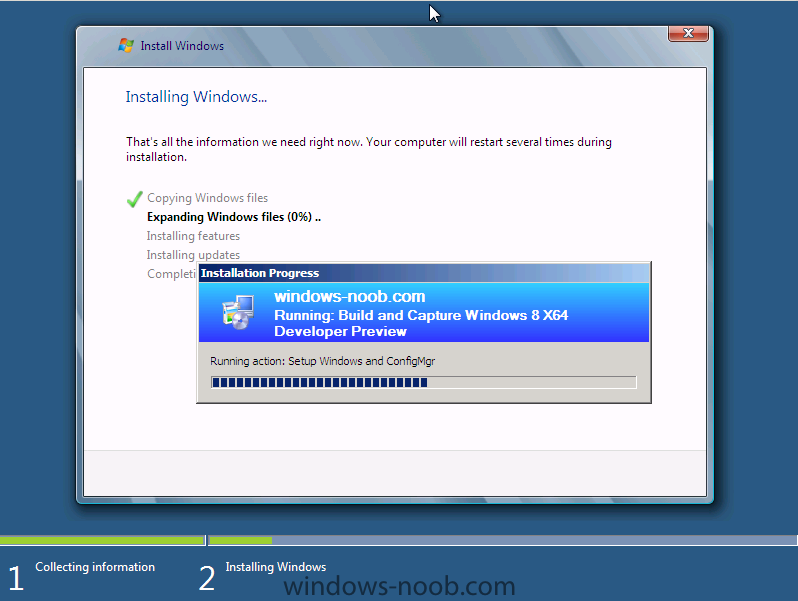
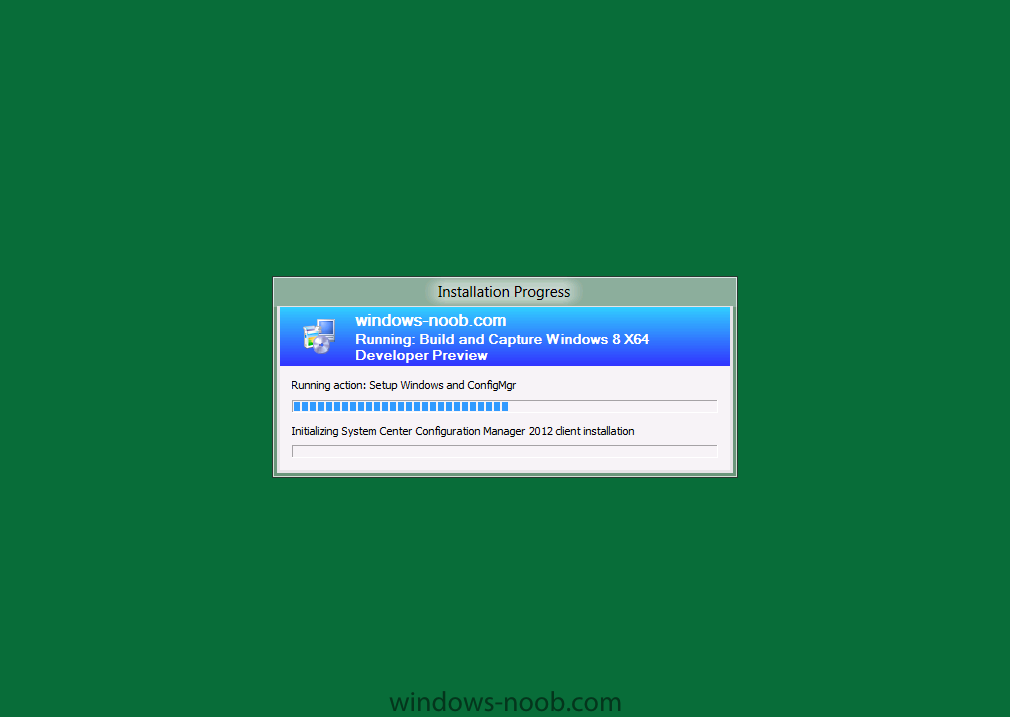
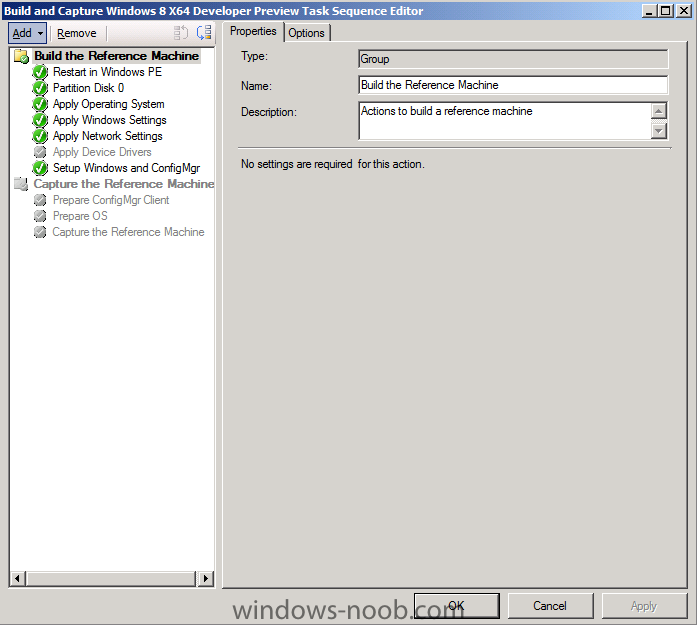
Side Note: This is a break from the normal LAB we've been doing. As the Build version of Windows 8 Developer Preview was released yesteday I wanted to test Deploying it, I will use the same Build and Capture Method as we used below in Parts 6-9 but not go into the same detail, in addition, we will disable the capture part as it just doesn't work.... right now. If I can workaround the issues then i'll post it. Remember: This is a Developer Preview OS being installed using a beta product so results may vary and of course it's not supported by Microsoft. In Part 1. of this series we Installed SCCM 2012, in Part 2 we started to configure it. In Part 3, we configured Beta 2 some more by enabling Active Directory discovery methods, adding some site system roles, configuring the computer client agent and client push settings and finally doing a manual client installation to verify it all worked, in Part 4 we looked at installing an application using Application Management and the Software Catalog and the Software Center features of SCCM 2012, and in Part 5, we added the FSP, SLP, SMP, SUP. In Part 6 we got our SCCM 2012 server ready for Deploying Windows 7 Enterprise SP1 so that we could start deploying some Windows 7 clients to enhance our LAB, then in Part 7 we created a Build and Capture Task Sequence and deployed it to our Build and Capture collection. In Part 8 we created our Network Access Account and captured our Windows 7 SP1 image (and Windows 7 RTM). We deployed that captured image to a new Virtual Machine in Part 9 by importing our captured images, creating a new Deploy Task Sequence and then Deployed Windows 7. In Part 10 we Synchronized Software Updates and verified that they were synchronising using logs, then in Part 11 we Deployed those Software Updates to our Windows 7 Computers. Step 1. Get the ISO and Extract the contents on your SCCM 2012 server Download Windows 8 Developer Preview from here, I used the WindowsDeveloperPreview-64bit-English.iso for my Guide. I then Mounted that ISO in my SCCM 2012 beta 2 Hyperv virtual Machine and extracted the contents to \\vnext\sources\os\Windows 7 Developer PreviewX64 Step 2. Add the Operating System Installer Image and Distribute Content In the Configmgr Console, expand Software Library, Operating Systems, Operating System Installers, right click and choose Add Operating System Installer browse to the path where we extracted it in Step 1 done Once added, distribute the content to your DP's by right clicking the image and choose Distribute Content. and continue through the wizard just like you've done before with Windows 7's installer image. Step 3. Create the Build and Capture Task Sequence In task sequences,right click and choose Create Task Sequence Choose the Build and Capture a reference operating system image option fill in the details and choose a X64 boot image as we are Build and Capturing the X64 Windows 8 image... for the Install Windows step, select the following options for Product key, use the key stored in PID.TXT from the sources folder on the ISO you downloaded otherwise the Setup Windows and Configmgr step will fail (error 31) later on in the process. select your Configmgr Client in the next step then next your way through on to the Capture image step fill in your capture details done.. Now right click the task sequence and choose Edit, Disable the Entire Capture Group (for now) and also disable the apply device drivers step. Step 4. Deploy the Build and Capture Task Sequence Right click on the task sequence and choose Deploy, point it to the All Systems and/or Unknown Computers Collection make it available to PXE Step 5. PXE boot a new virtual machine and start the process PXE boot your Virtual Machine (create a new one in hyperV) then you'll see the now familiar and very nice SCCM 2012 splash screen, enter your PXE password Select the Build and Capture Windows 8 X64 Developer ... task sequence the installation starts and finally Setup Windows and configmgr... and Windows setup starts oooh the excitement !! after a reboot we get our first look at Windows 8 setting up !! doesn't it look cool after another reboot... and it seems that obviously things are different in Windows 8, we see a few screens prompting for email address and password, but that's ok, as this is all beta and fun !!! enter your password... and then it returns to our Build and Capture process :-) and finalizing your settings which will then reboot the computer again into Windows to finish up our process.. finally, Windows 8 ! In later releases of SCCM 2012 I hope to document this process more thoroughly and using best practise of course, however this post, is just for fun ! cheers niall


-
NetAddConnection2 failed (LOGON32_LOGON_NEW_CREDENTIALS) usingaccount test\testuser could that be your issue ? actually i dont see it specifically failing to install, are you sure that is all of the ccmsetup.log file ?
-
what does your ccmsetup.log file say ? are you installing this as a user with local administrator permissions ?
-
Software Update Point Component Properties Products Tab missing os
anyweb replied to thegorre's question in Software Update Point
no, don't sync through the WSUS console, follow the guides here and you'll see the steps you need to take. -
the Server Locator Point will be removed in the next version and merged with the Management Point, you can see reference to that in this presentation from Michael Niehaus (well worth watching)