anyweb
-
Posts
9175 -
Joined
-
Last visited
-
Days Won
366
Everything posted by anyweb
-
you'll need to script it so that is deleted, it's manually created, so likewise has to be manually deleted, just nevergot round to add it to my posts :/
-
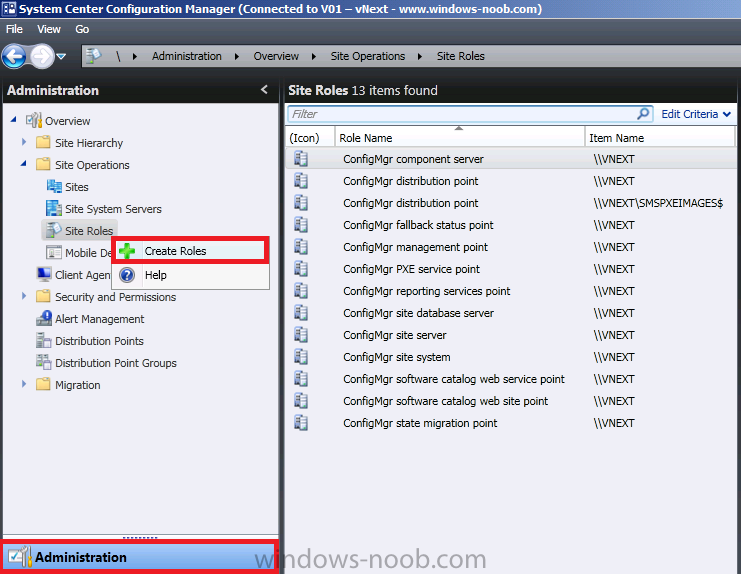
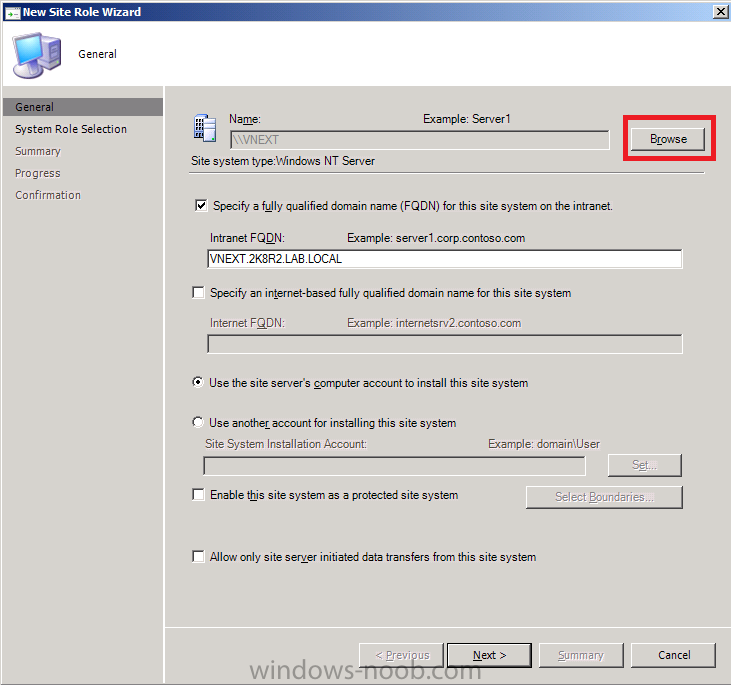
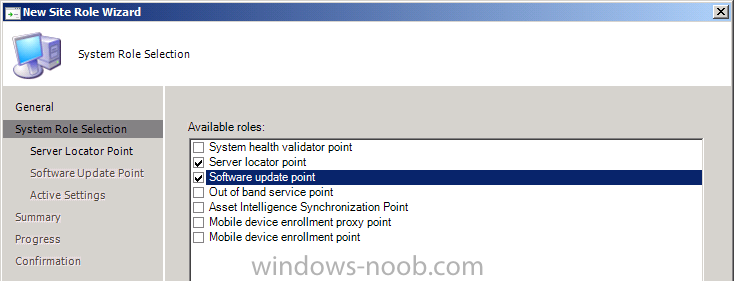
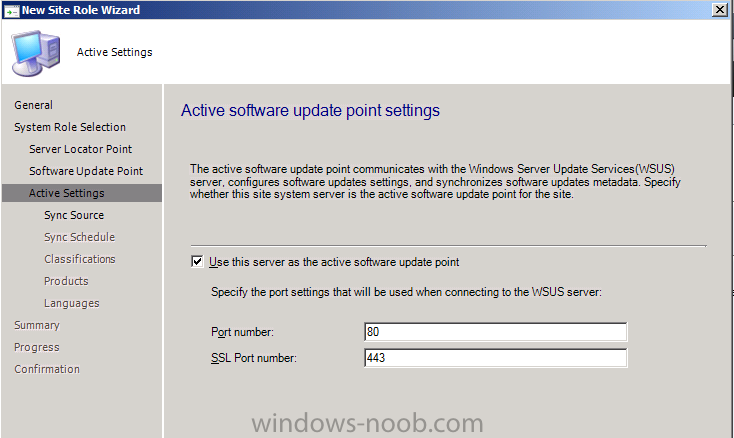
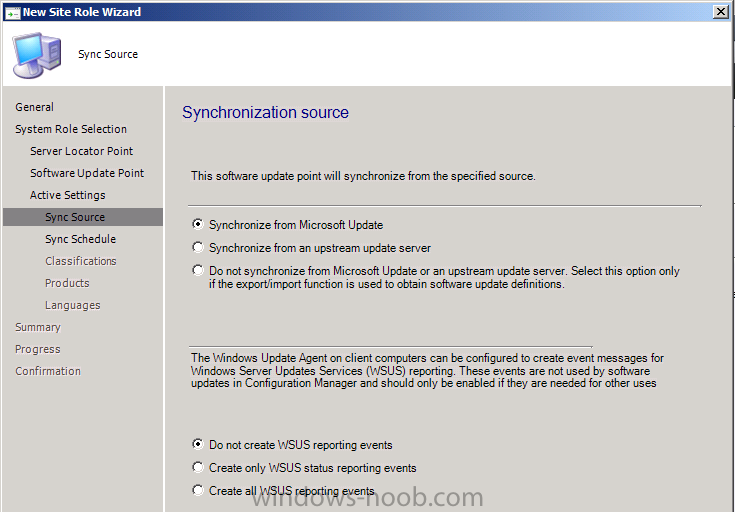
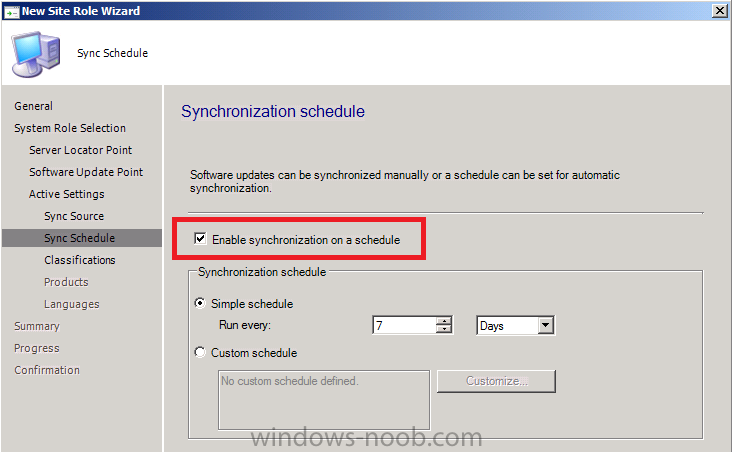
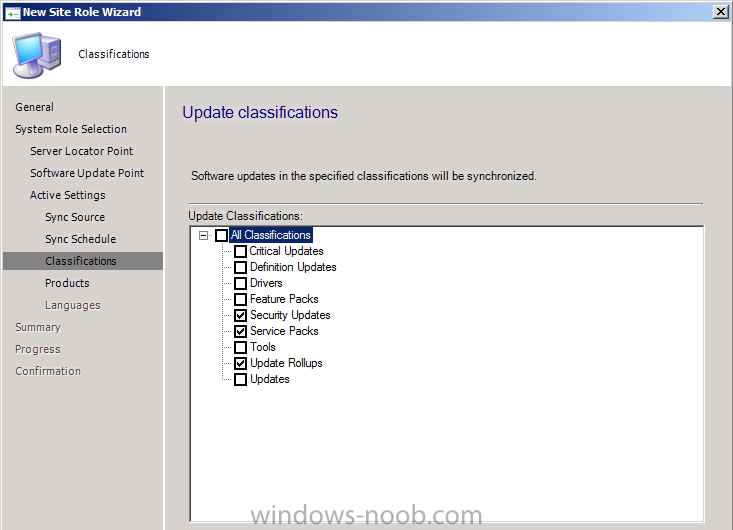
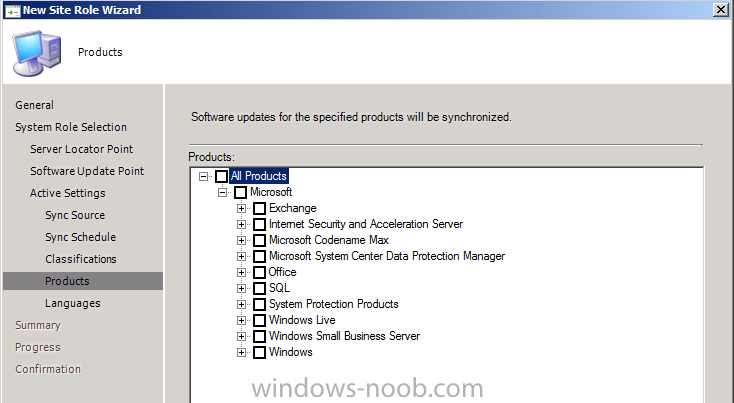
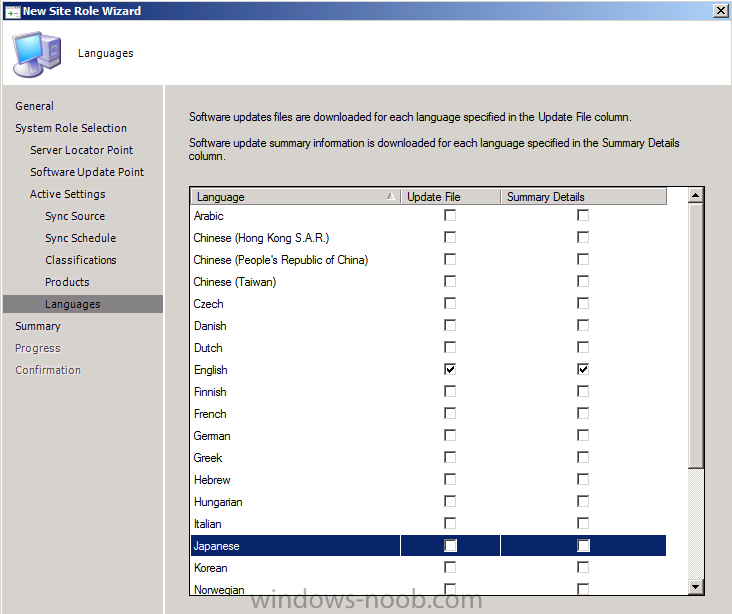
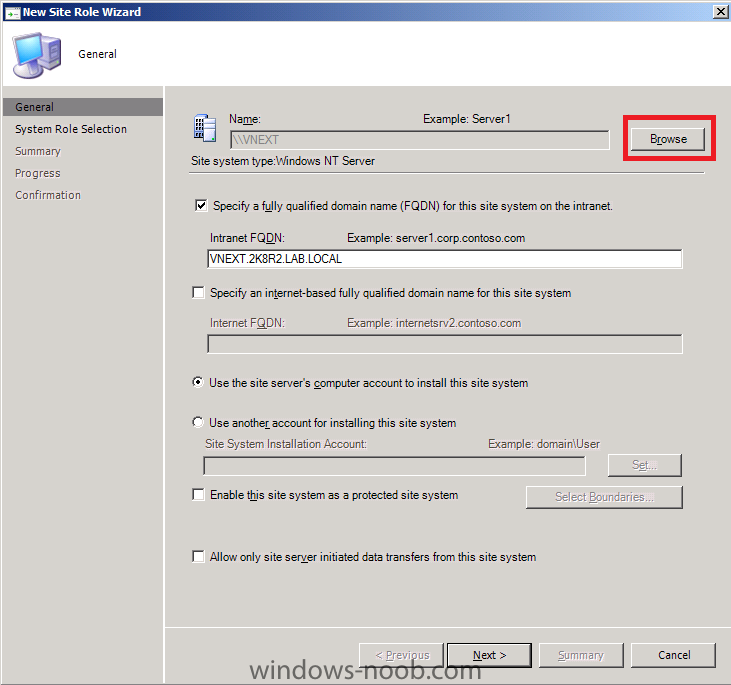
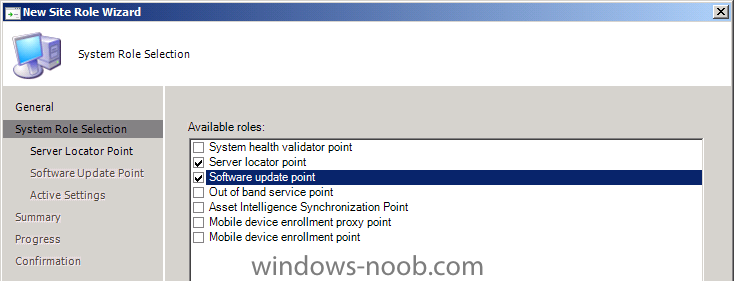
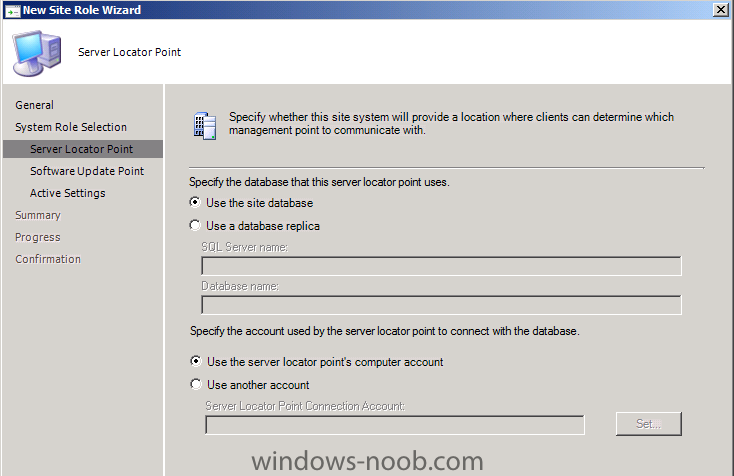
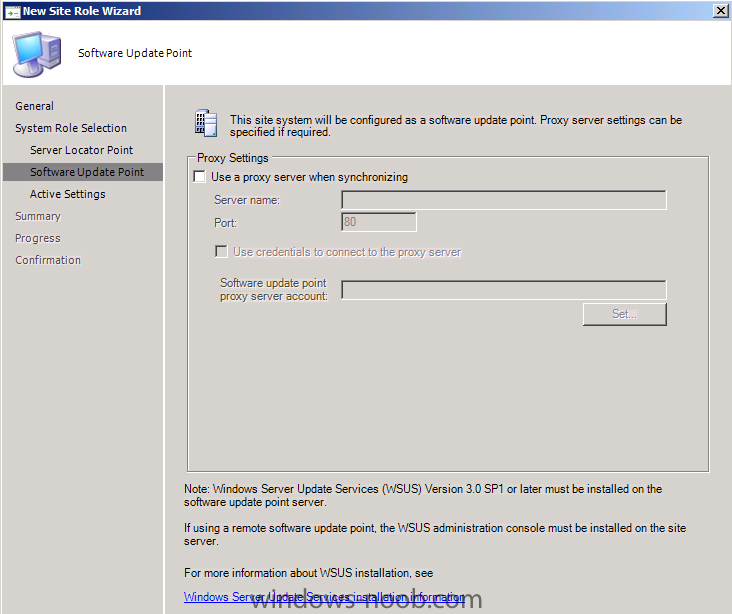
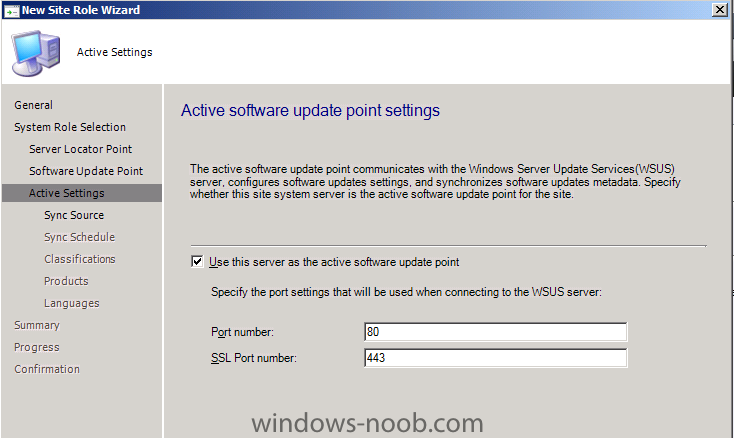
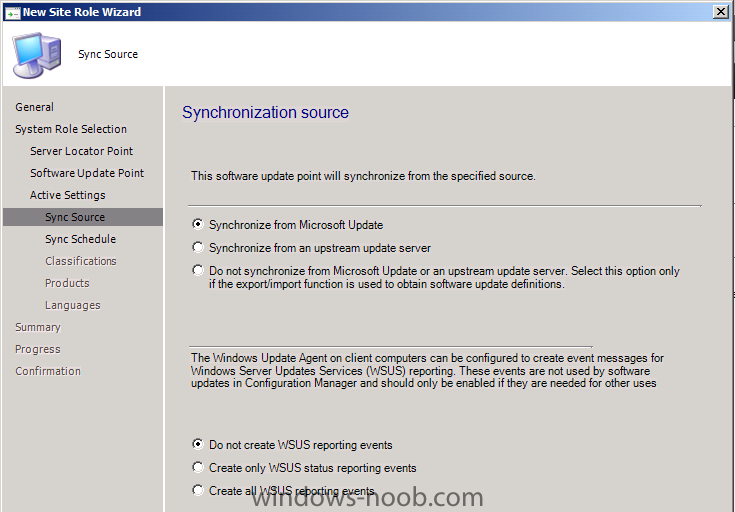
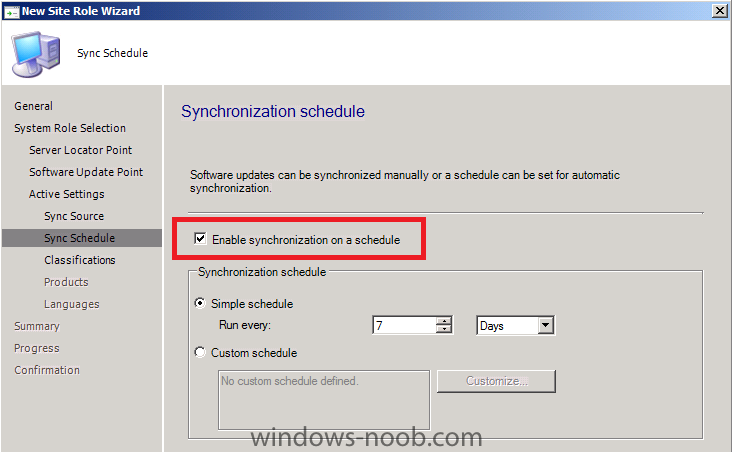
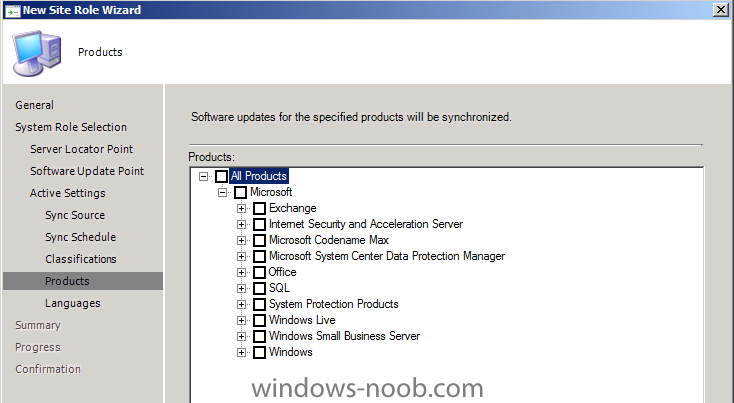
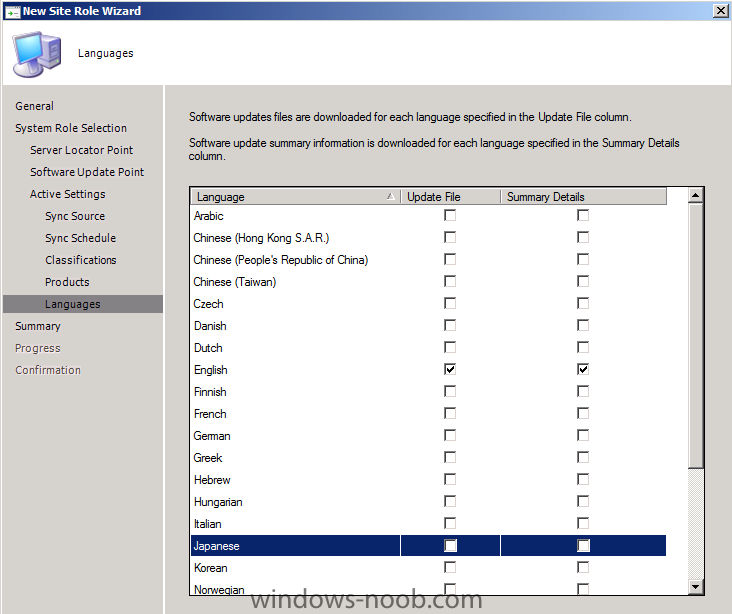
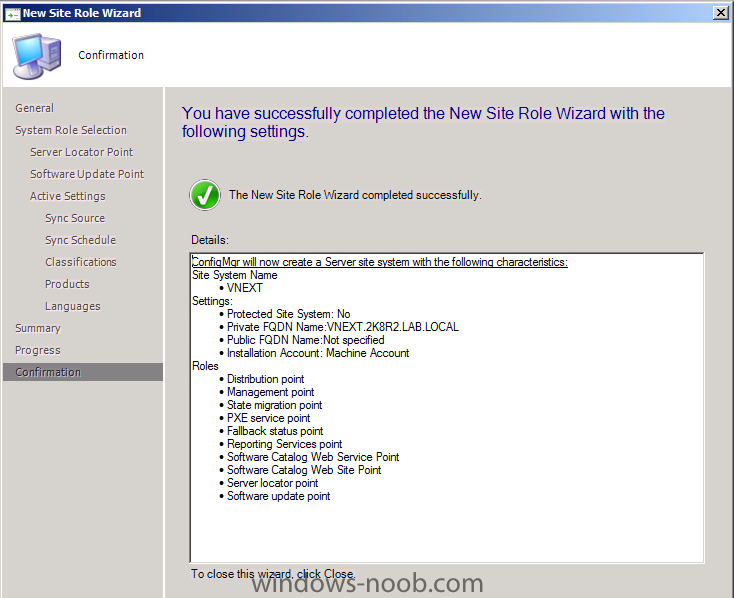
 Step 2. Add the SUP and SLP roles We will now add the Server Locator Point and Software Update Point roles to our vNext server. In the Wunderbar, click on Administration, select Site Operations, Site Roles. Right click and choose Create Roles click on browse and select our vNext server select Server Locator Point and Software Update Point and click next Accept the SLP defaults enter your proxy settings here if you have any otherwise click next select Use this server as the active software update point leave the synchronisation source settings as they are enable the schedule, the 7 day default is good enough leave Classifications as they are de-select all products (we will choose them later) Note: No updates will appear in the vNext console until you select updates from the Products list, we will do this later. make sure only English is selected click next at the summary and review the confirmation
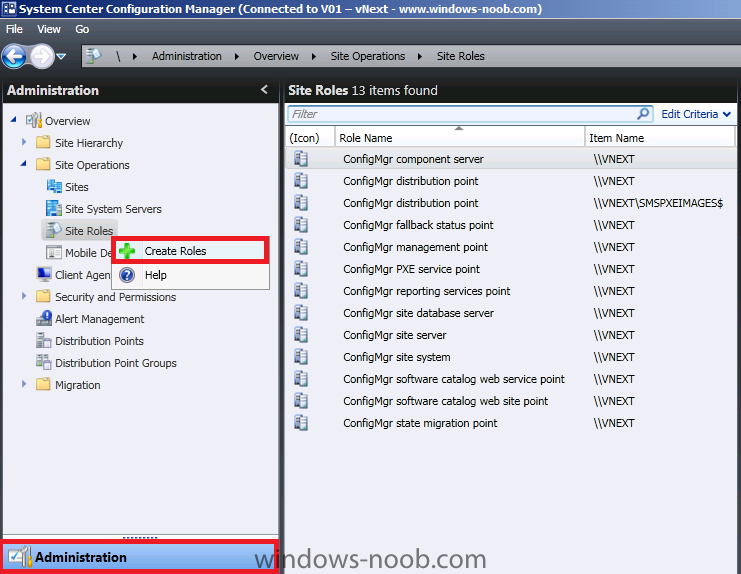

- 1 reply
-
- 1
-

-
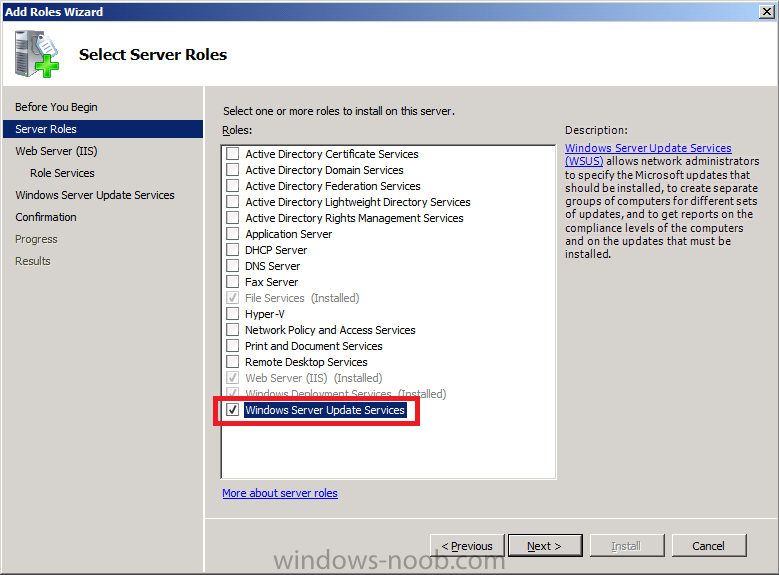
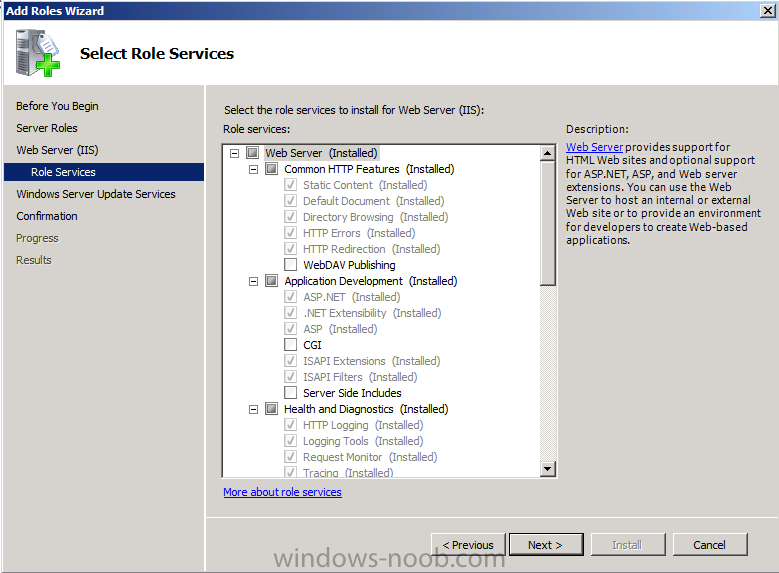
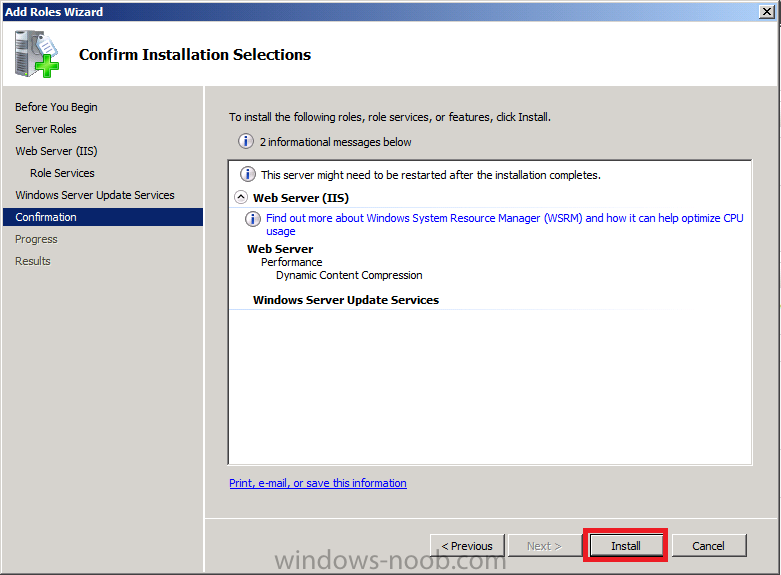
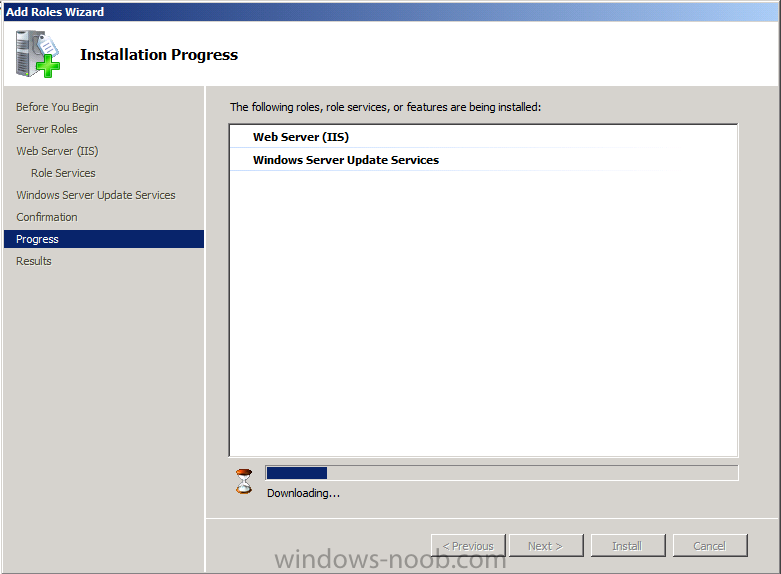
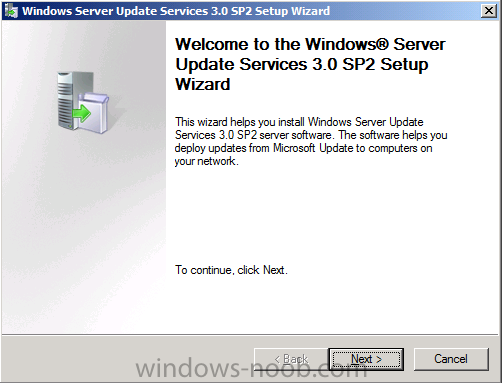
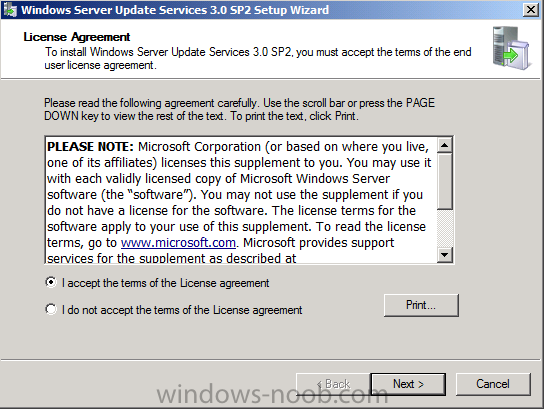
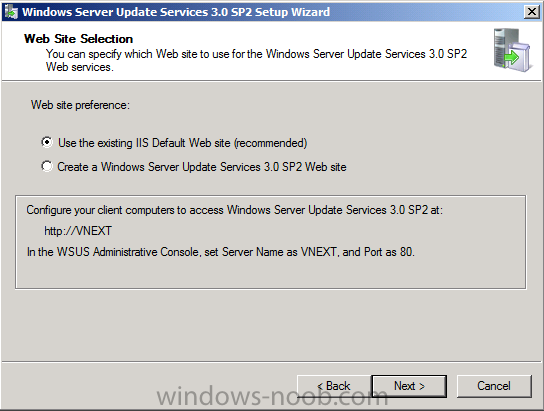
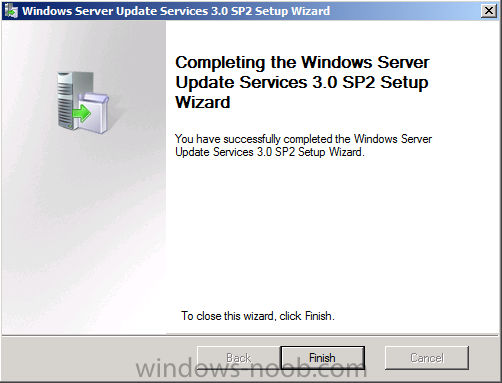
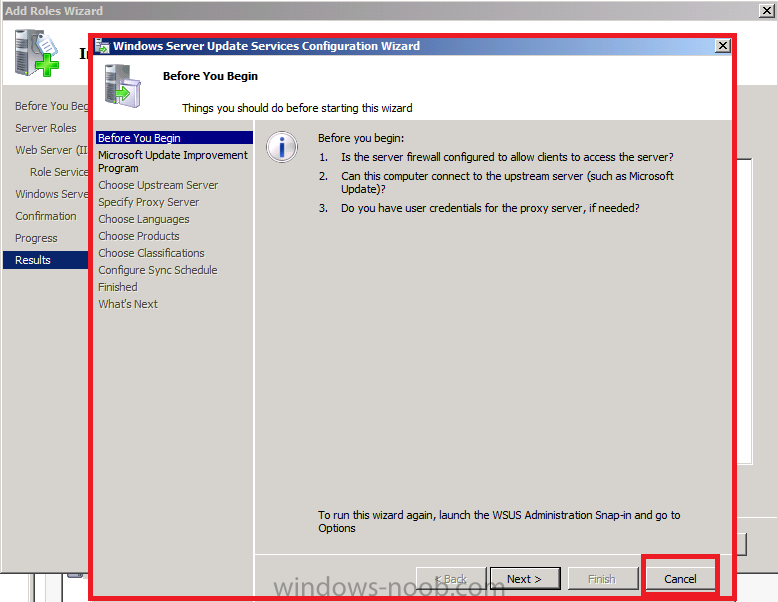
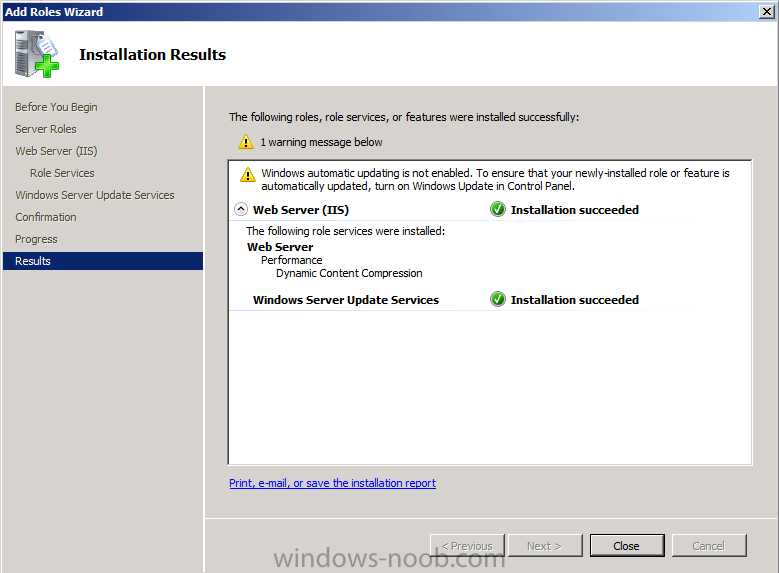
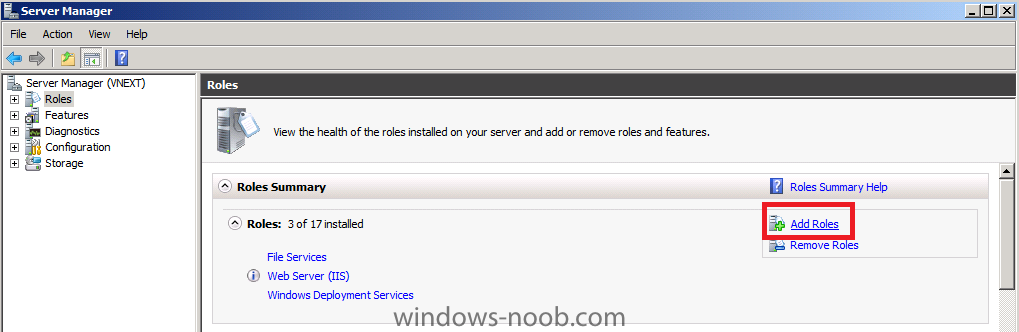
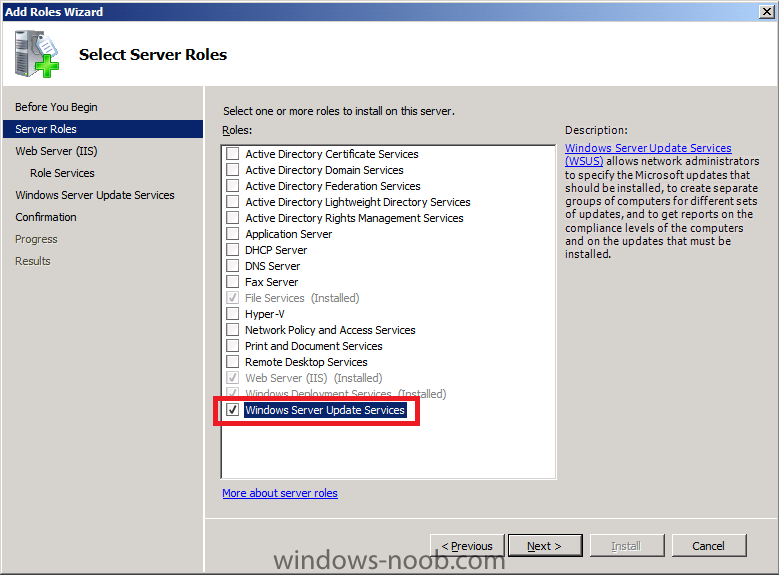
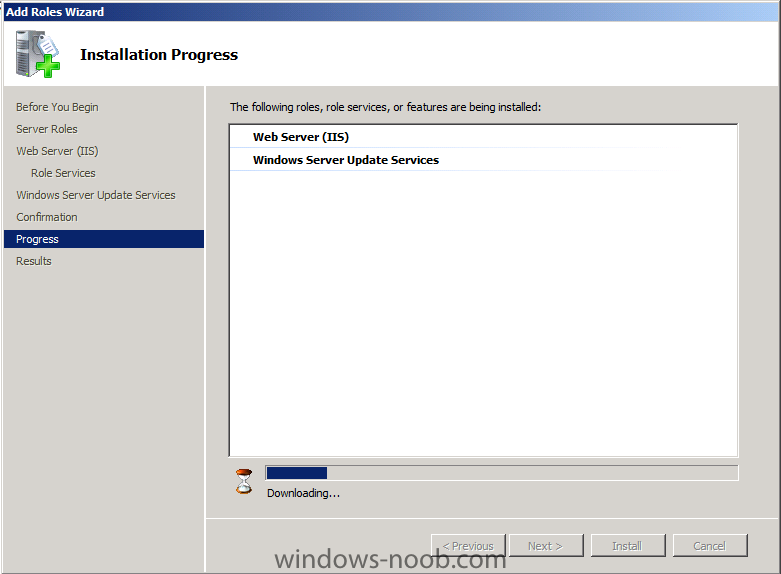
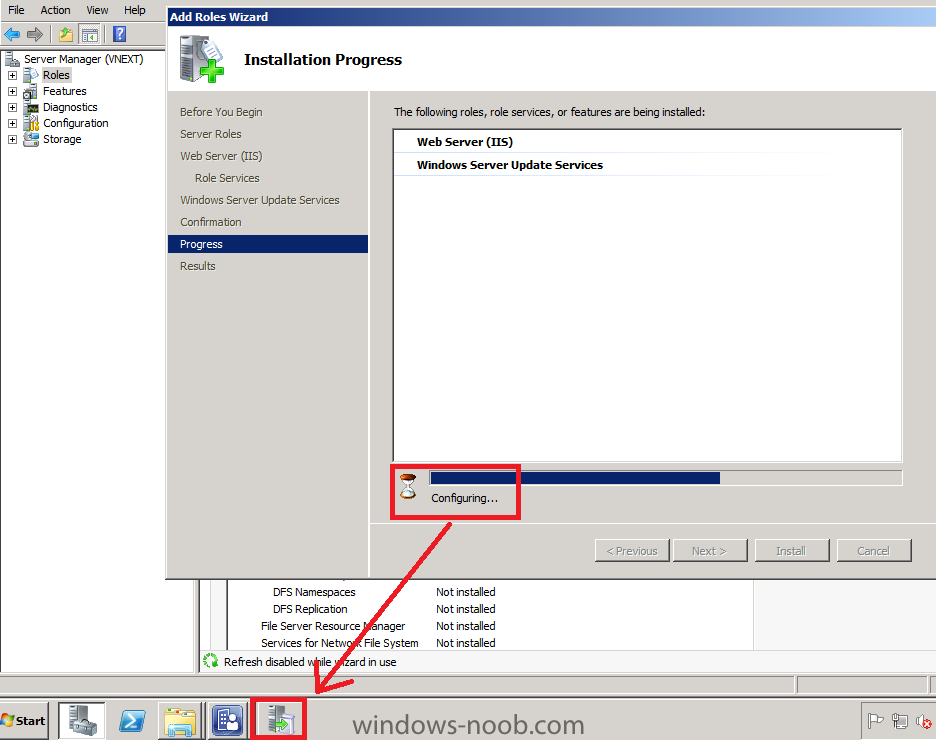
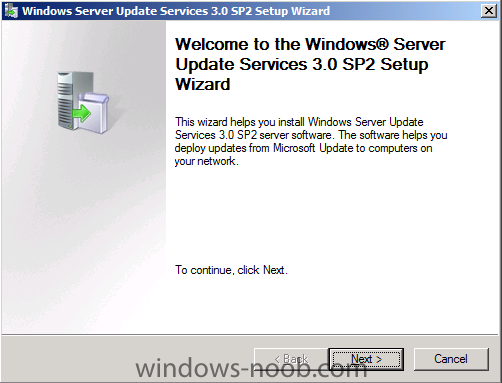
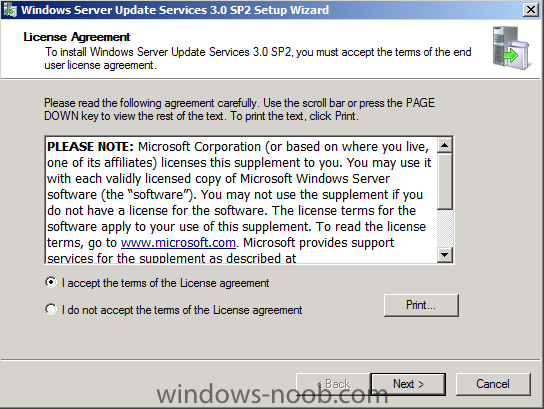
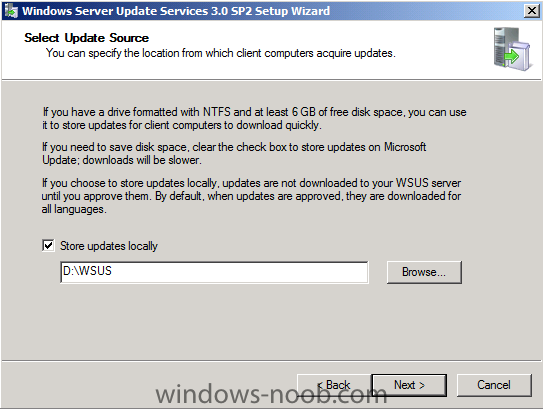
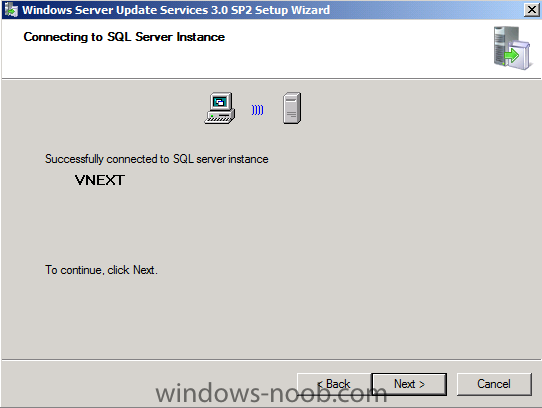
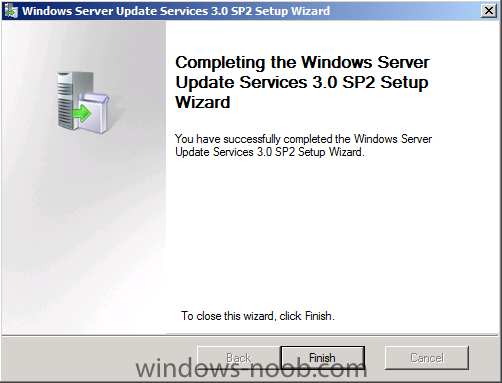
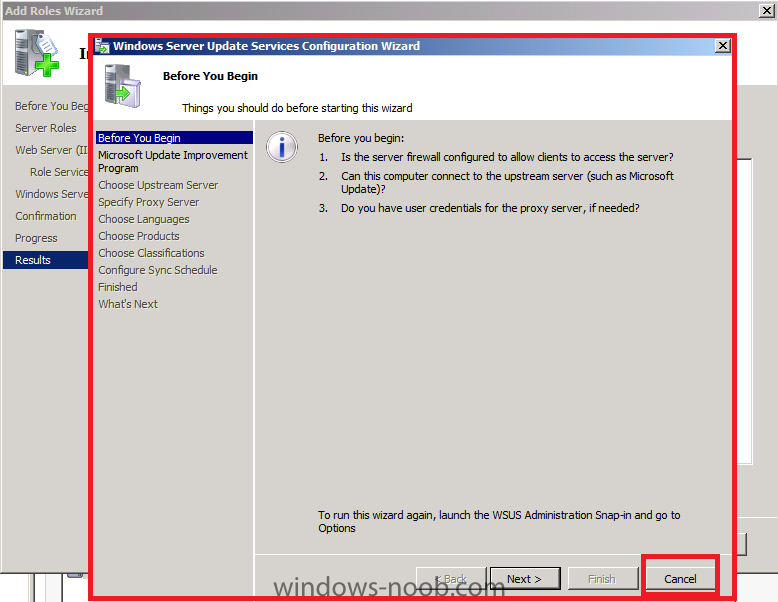
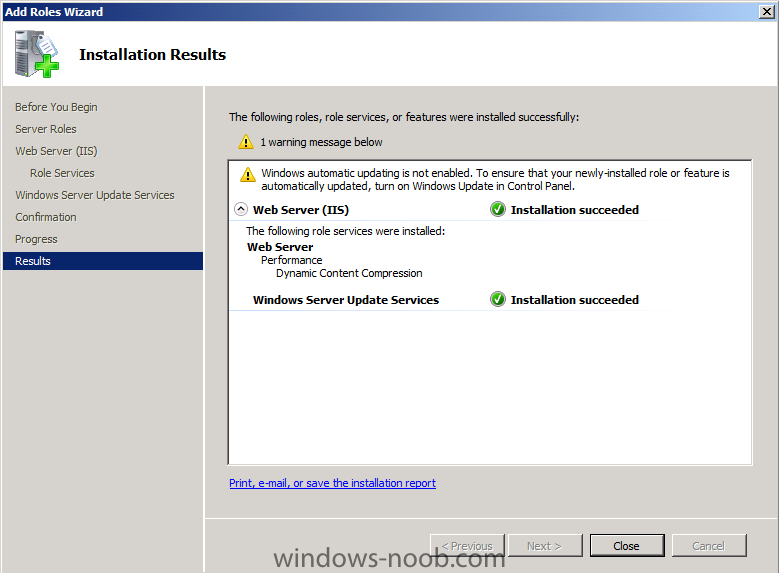
In Part 1. of this series we Installed vNext. In Part 2., we then Configured vNext to use the New AD Site as a boundary and Configured Discovery Methods in vNext. In Part 3, we installed the Reporting Point Role along with some additional roles and configured them. In Part 4 we configured the client Agents and deployed the vNext Client. In Part 5 we deployed an Application to All Users. In Part 6 we added Windows Deployment Services, added the PSP role, added the Windows 7 Enterprise image, and updated our boot image for Deploying Windows 7. In Part 7 we created our Build and Capture Task Sequence, enabled the Network Access Account, Advertised (Deployed) the Task Sequence, and created a new hyper-v virtual machine for capturing the wim on. Step 1. Add the WSUS role to our vNext server. On our vNext server startup Server Manager. Click on Roles and click on Add Roles. click on Next at the wizard welcome page, and select Windows Server Update Services (WSUS) from the list, answer yes to the required role services you'll get a note about Web Server IIS, click next and next again Click Install when prompted and review your results when done. At this point the WSUS role will be downloaded and then installed. Depending on your internet connection this could take some time. after a while it will say Configuring and (hidden from view) will be the WSUS wizard, so click on the wizard to bring it forward you'll now see the Welcome to the WSUS 3.0 SP2 wizard click next to continue and accept the EULA accept the local download defaults (store updates locally) choose Use an Existing Database on this server and it should say successfully connected to SQL Server Instance accept the Use an existing Default website click next at the summary, click Finish followed by Cancel *you must cancel the Windows Server Update Services Configuration Wizard* finally click on Close


-
using vNext in a LAB - Part 10. Deploying Windows 7 Enterprise
anyweb replied to anyweb's topic in Configuration Manager 2012
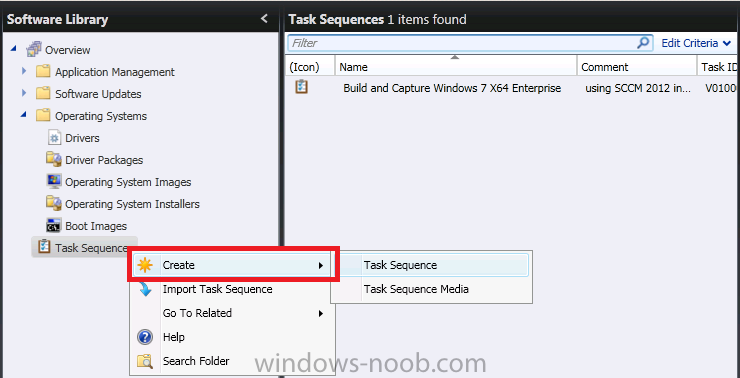
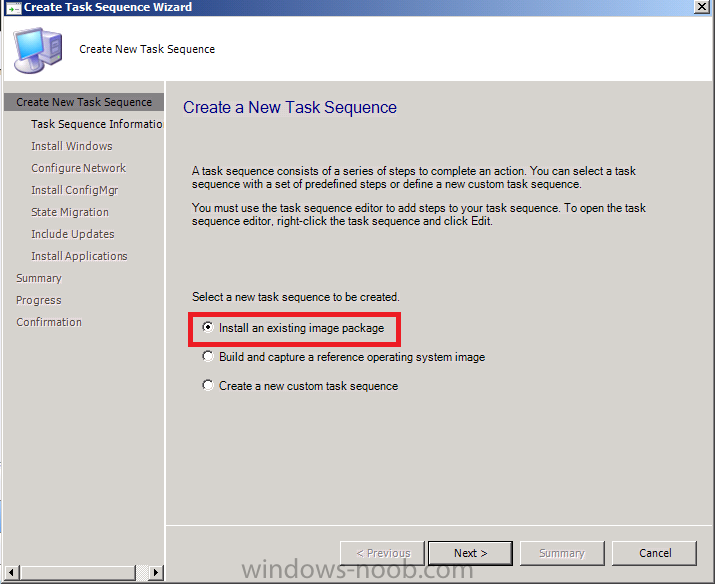
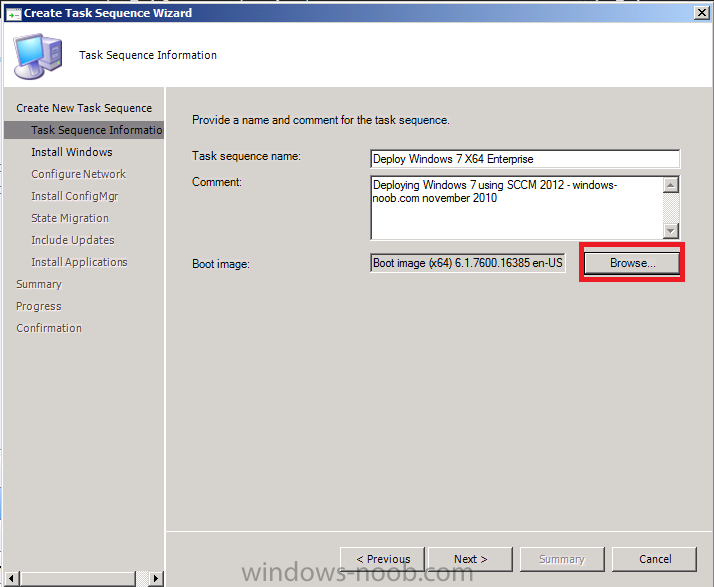
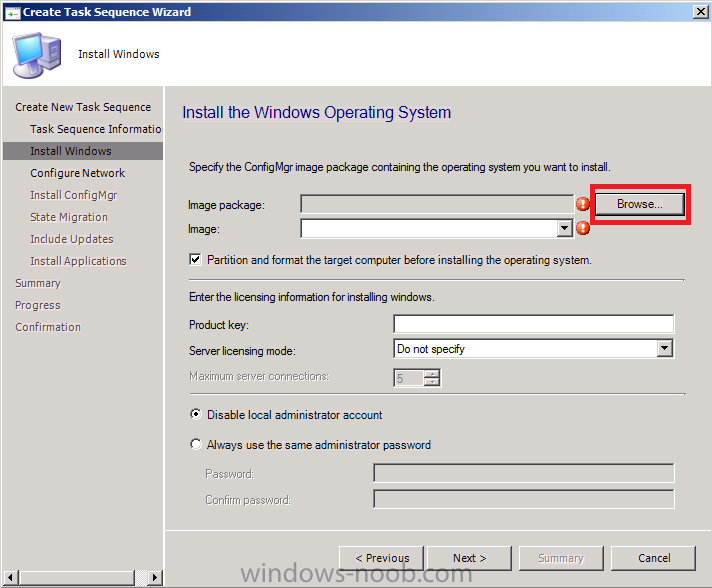
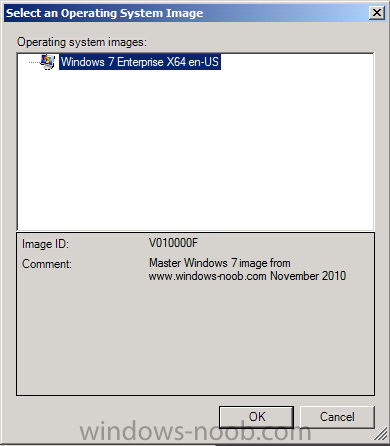
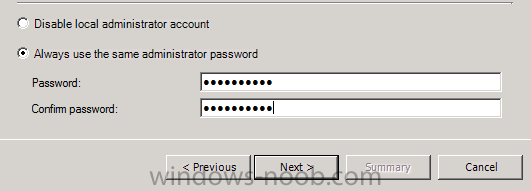
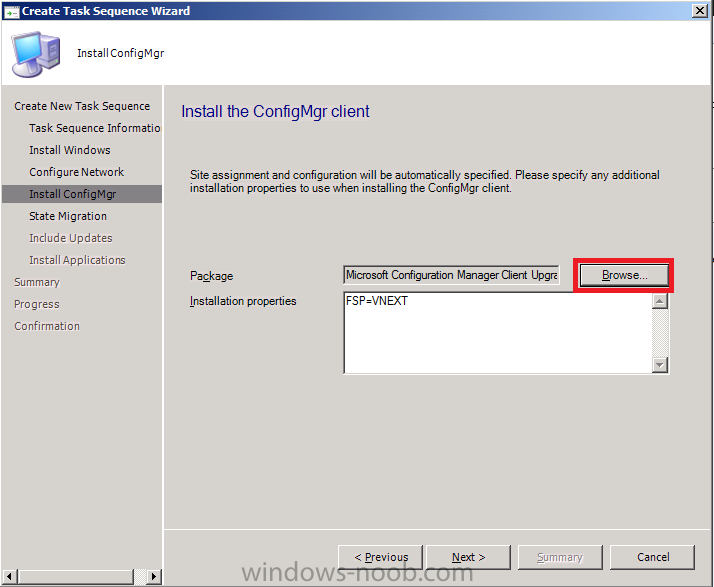
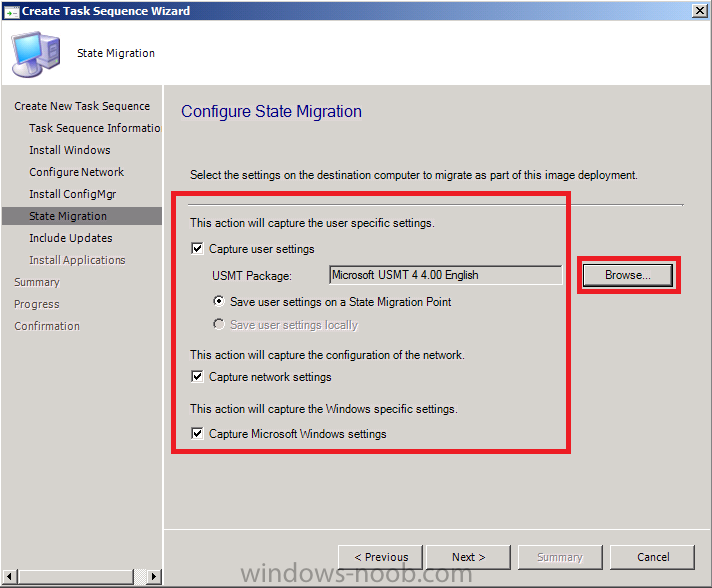
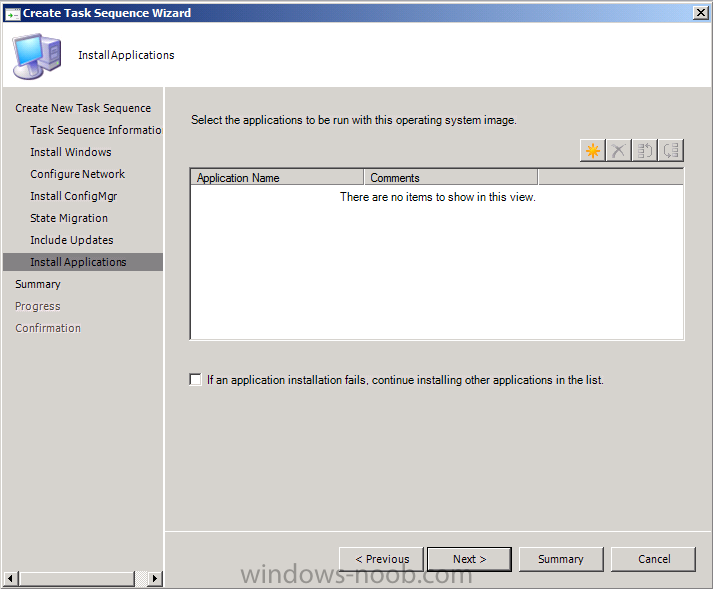
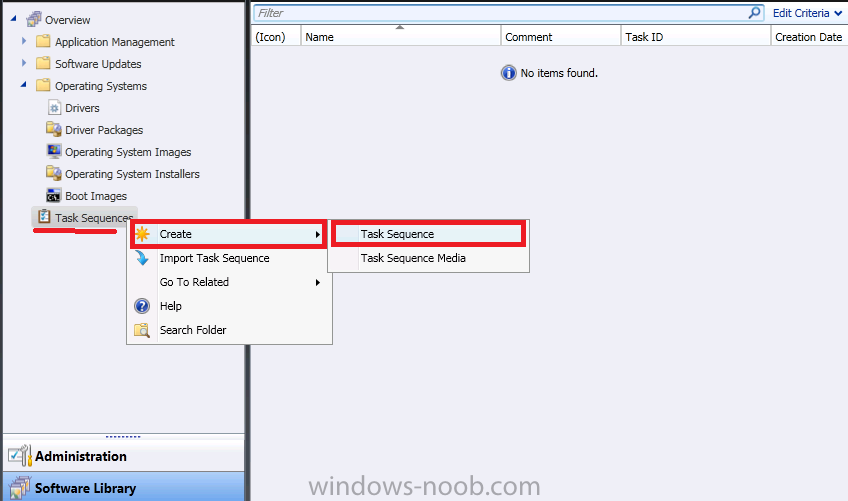
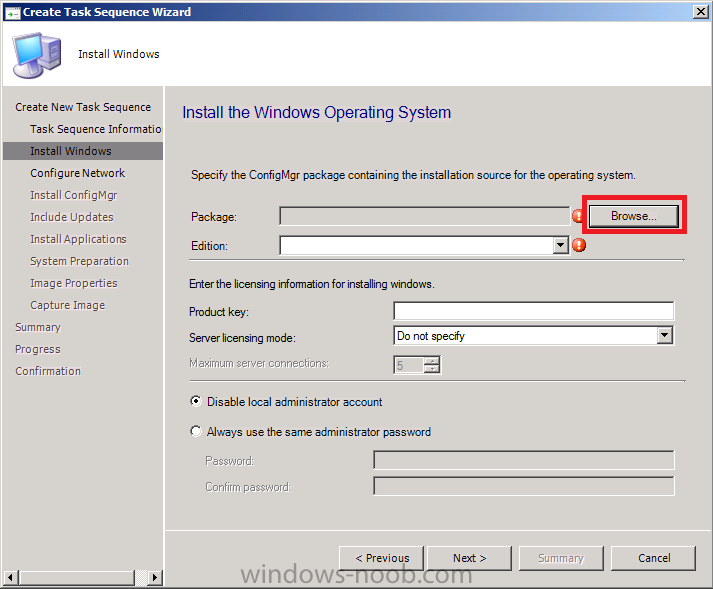
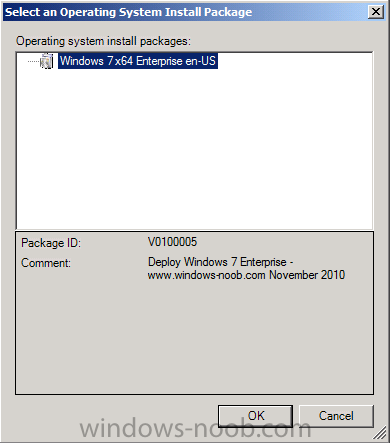
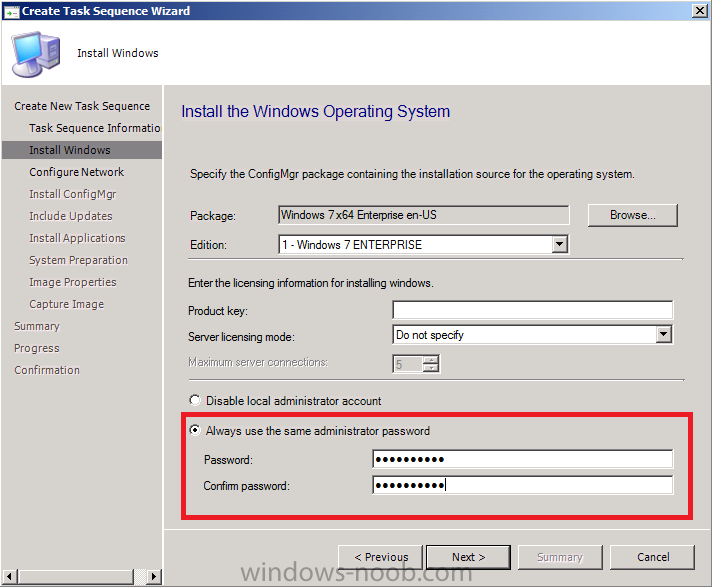
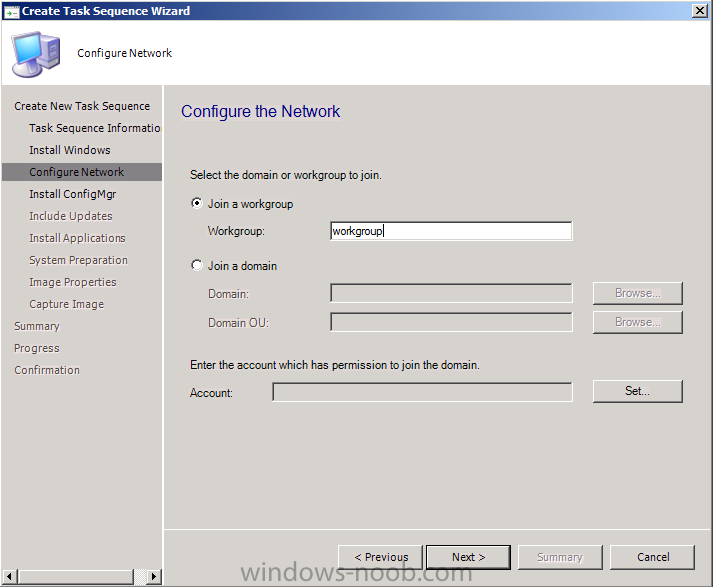
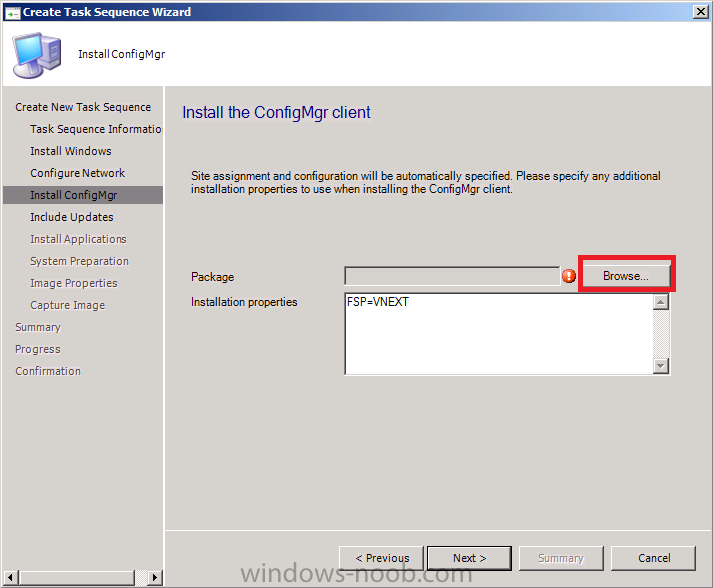
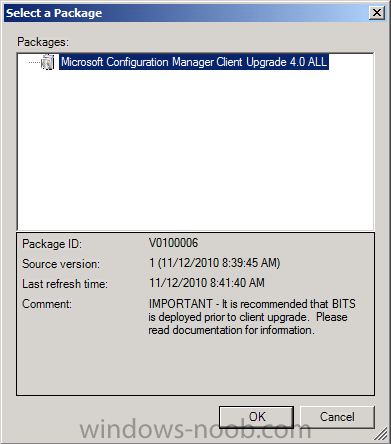
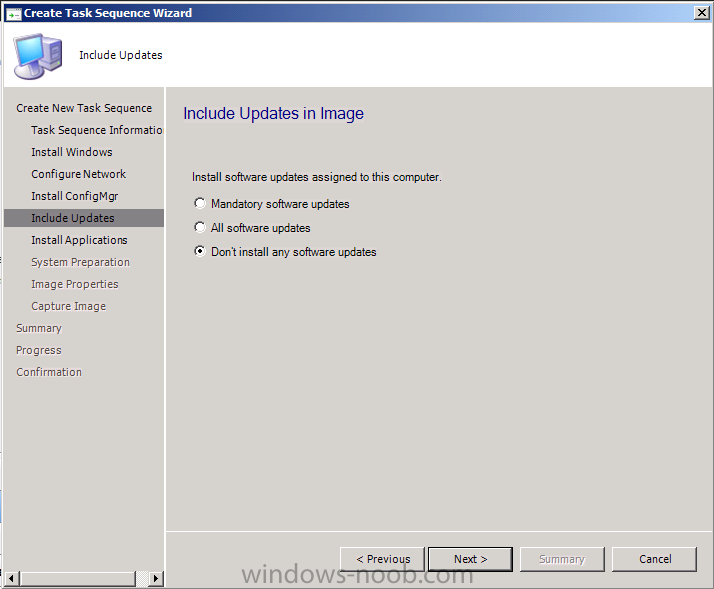
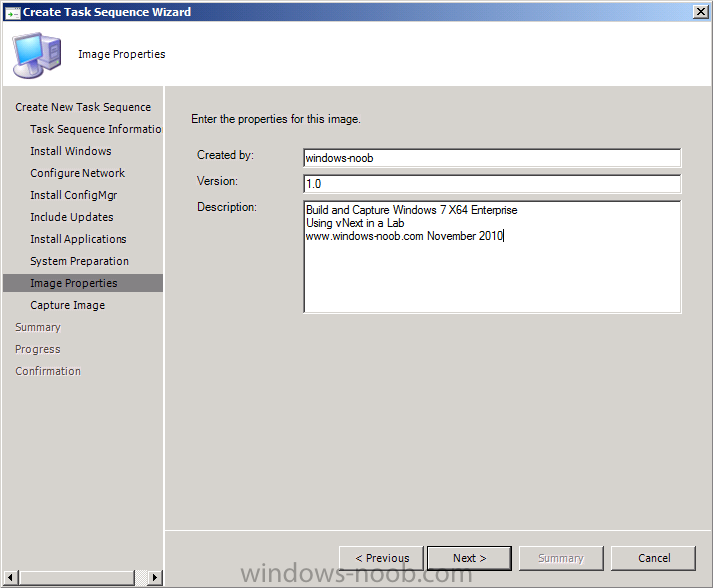
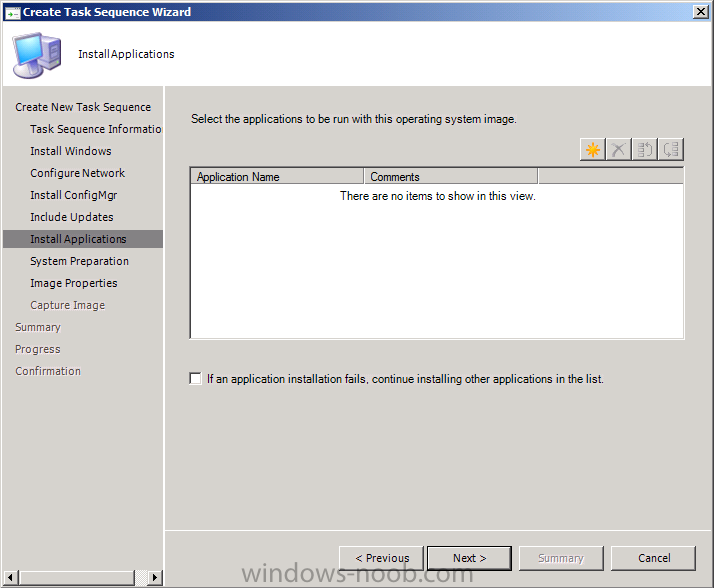
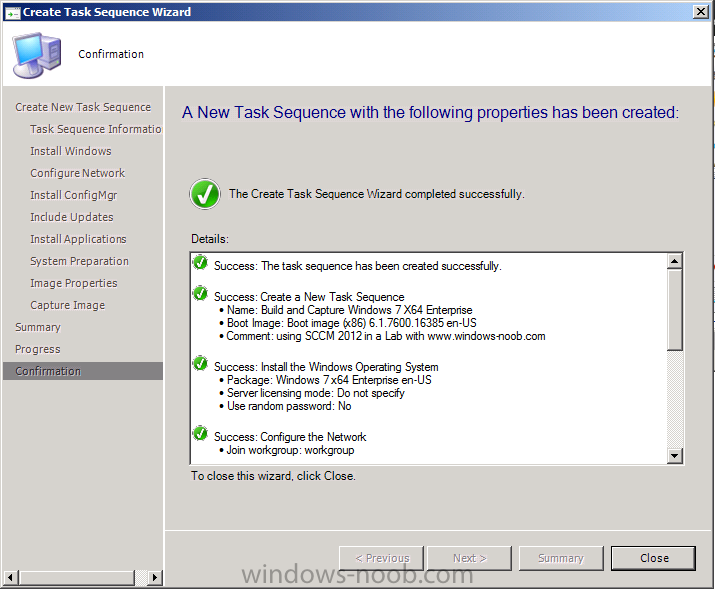
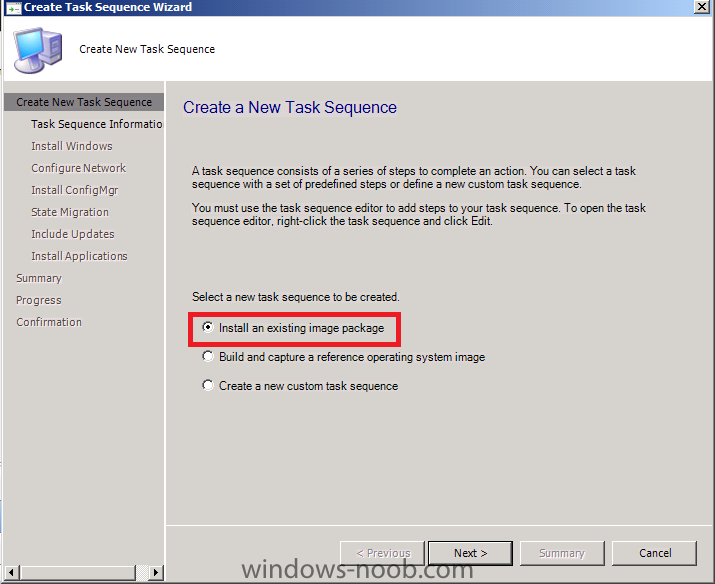
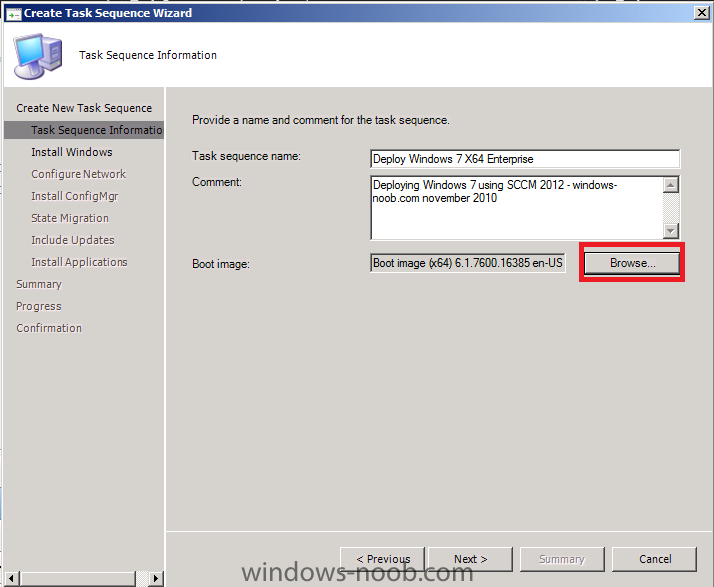
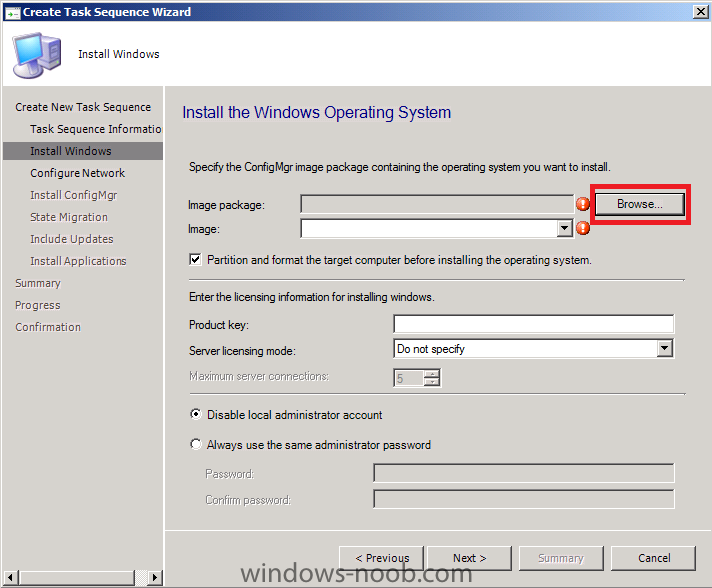
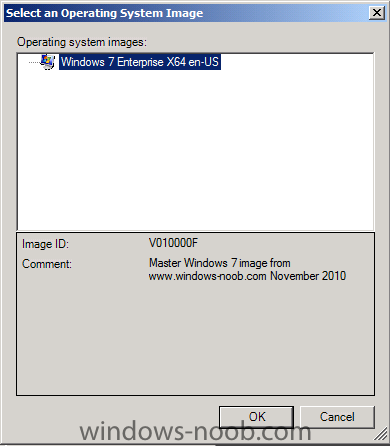
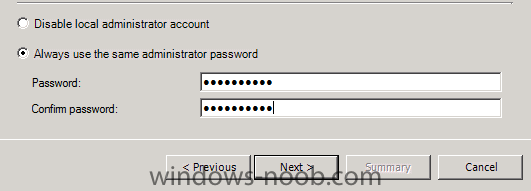
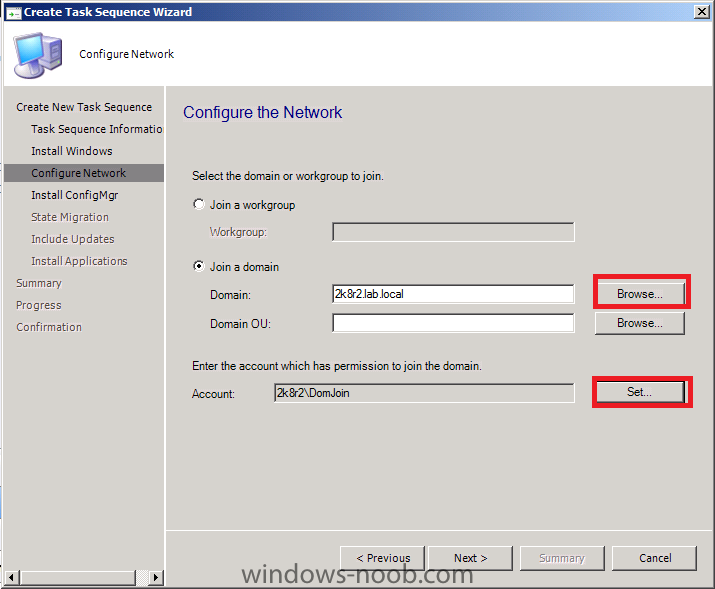
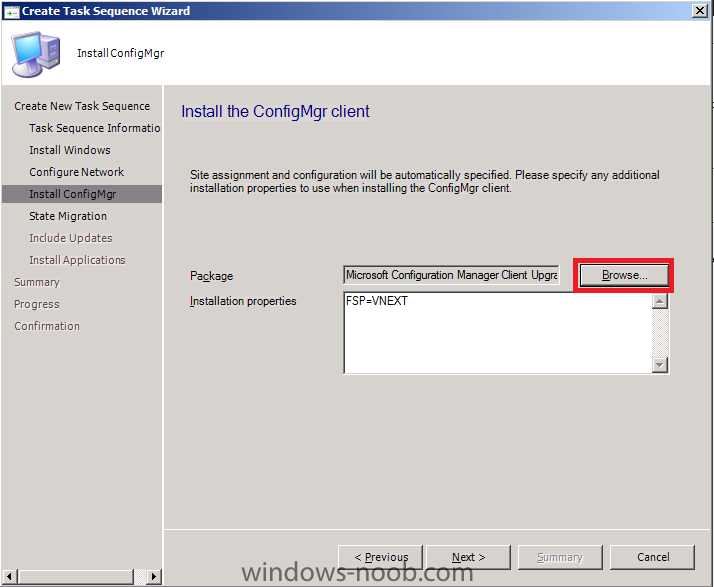
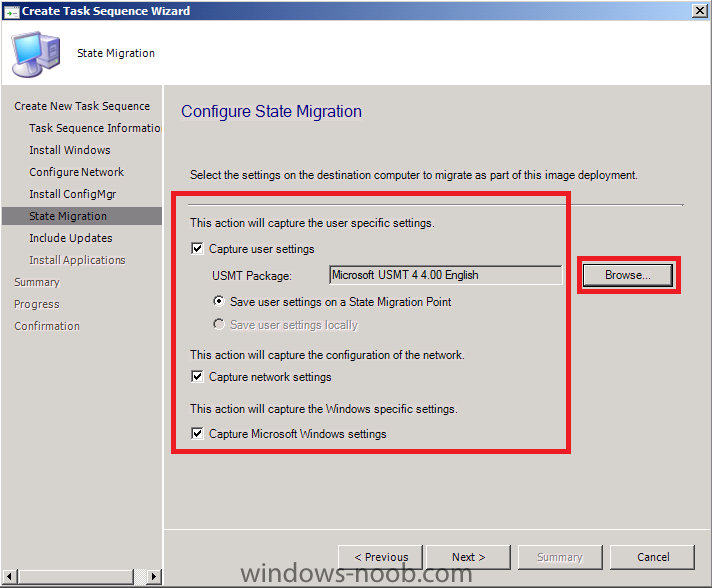
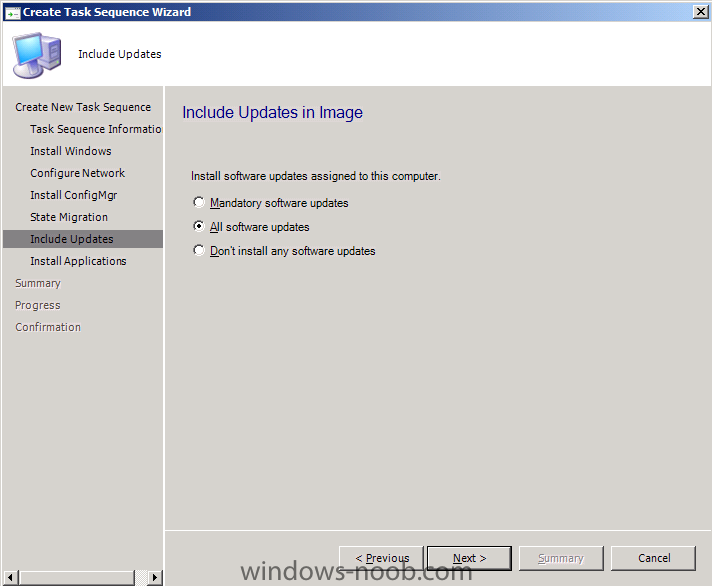
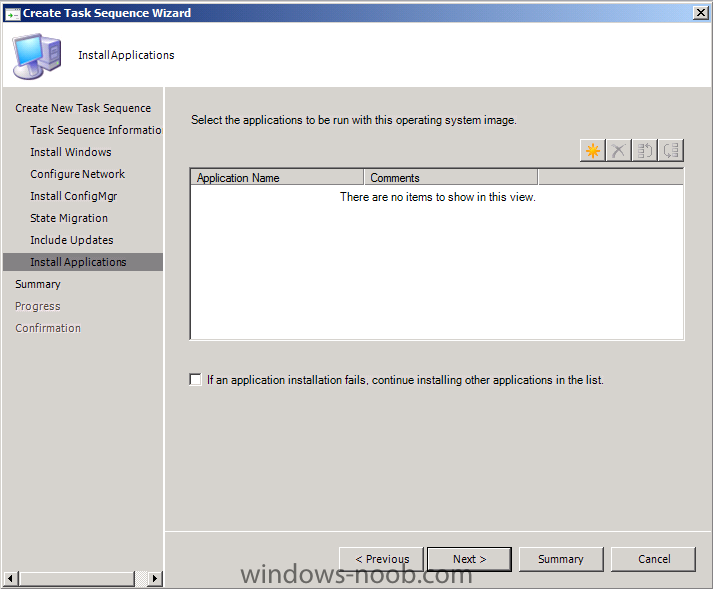
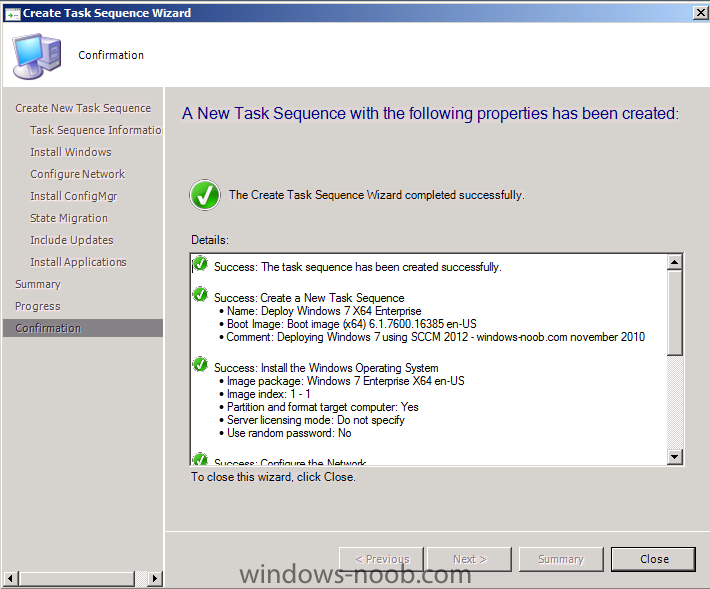
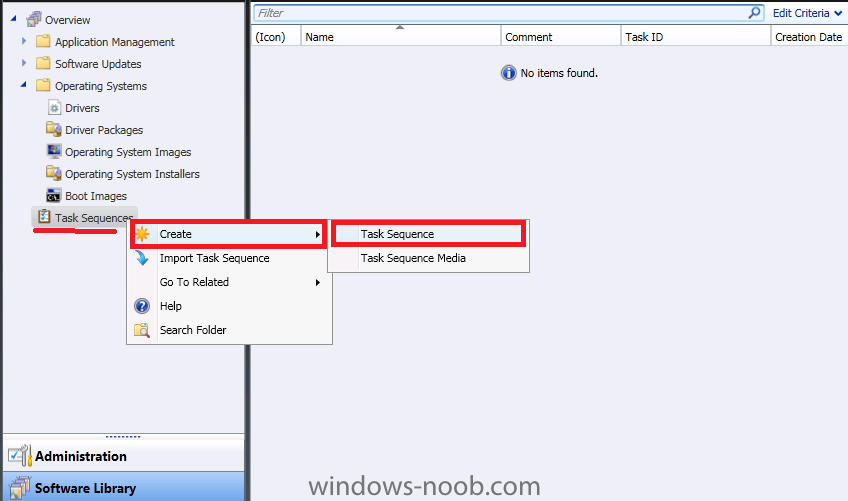
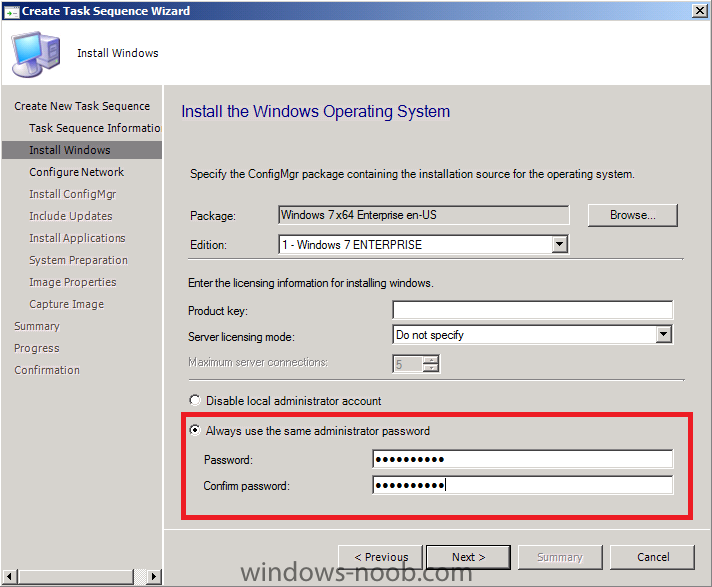
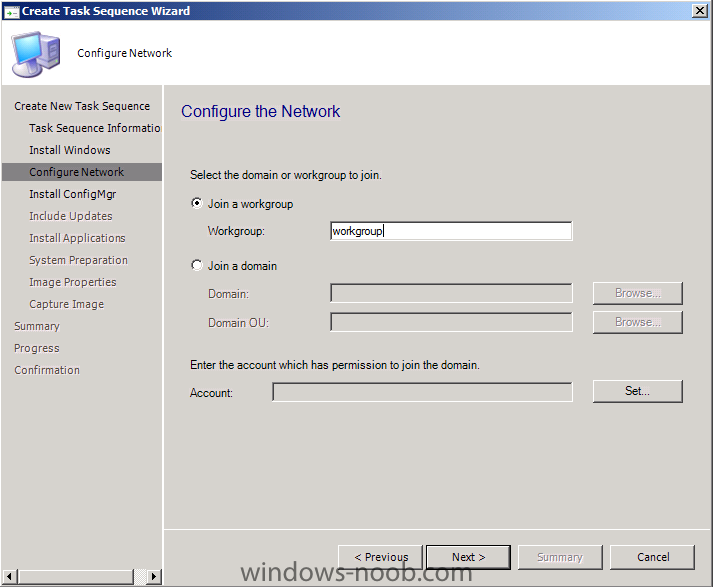
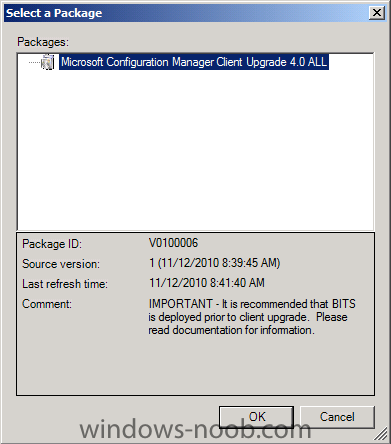
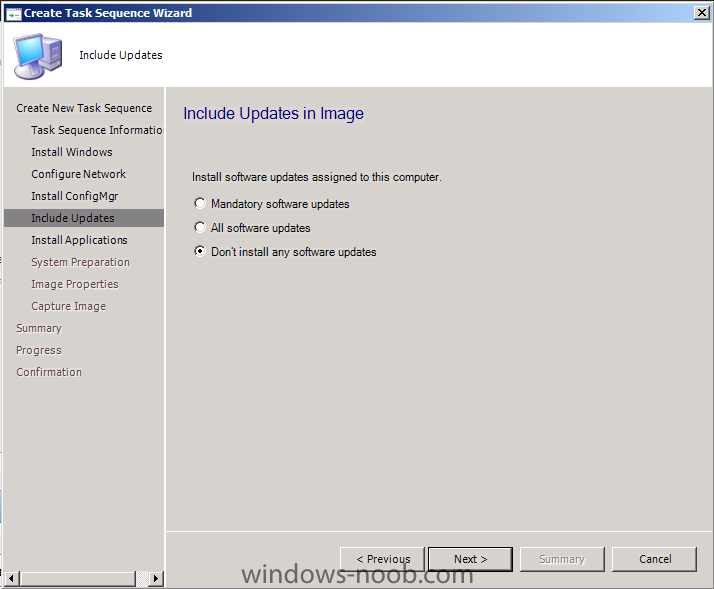
Step 4. Create the Deploy Windows 7 X64 Task Sequence Right Click on Task Sequences and choose Create, Task Sequence choose the first item, Install an existing image package fill in details about our image and select the X64 boot image by clicking on Browse on the Install the Windows Operating System image screen appears, click browse select our image make sure to select the option Always use the same Administrator Password (useful for troubleshooting failed deployments, can be changed later via a script or gpo) for Configure The Network, select your domain and enter a user with permissions to join the Domain (domjoin) click on browse and select our Configuration Manager Client package we created earlier for State Migration select our USMT 4 package which we created above by clicking on browse for updates in the image, choose All Software Updates for applications don't select any for now ! click next at the summary, review the progress and close at the confirmation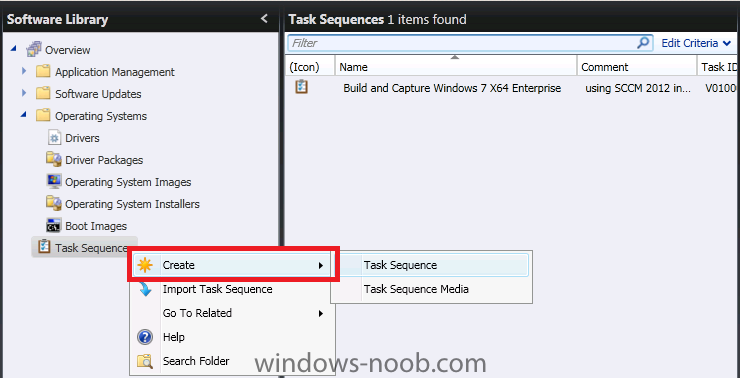
-
using vNext in a LAB - Part 10. Deploying Windows 7 Enterprise
anyweb replied to anyweb's topic in Configuration Manager 2012
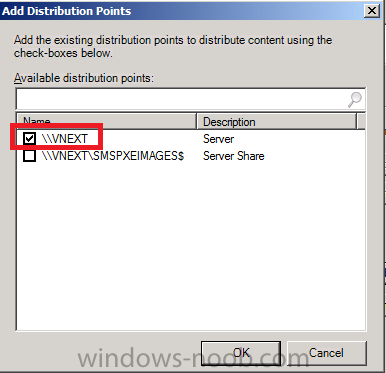
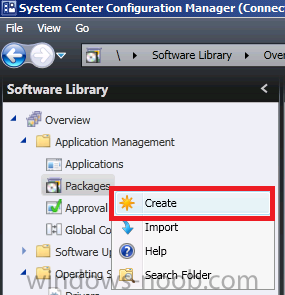
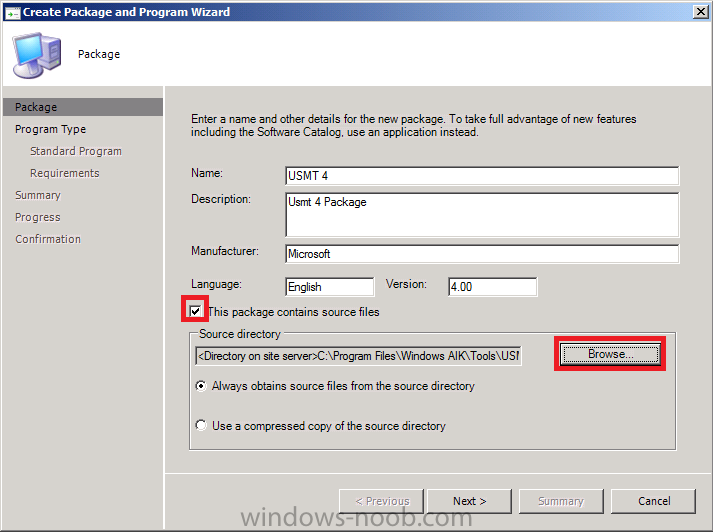
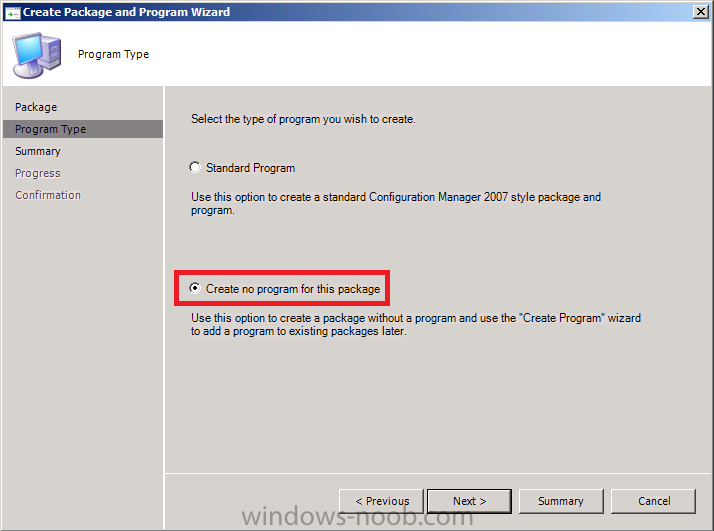
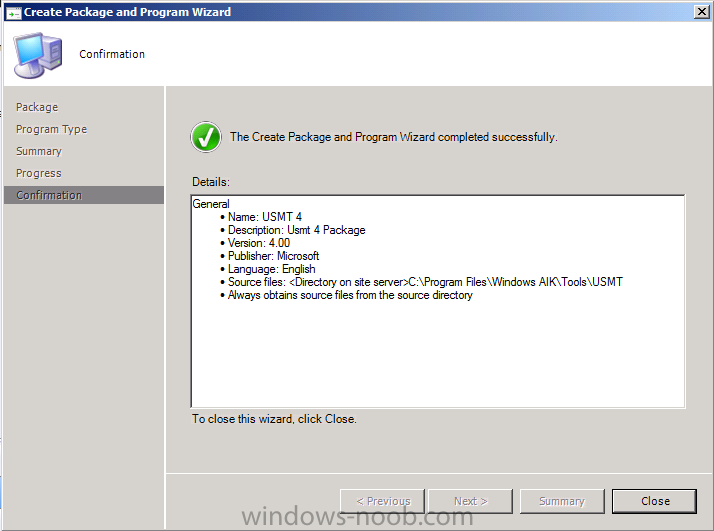
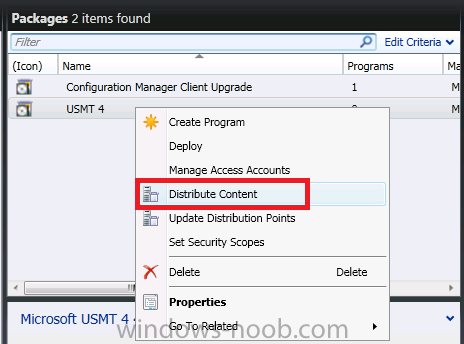
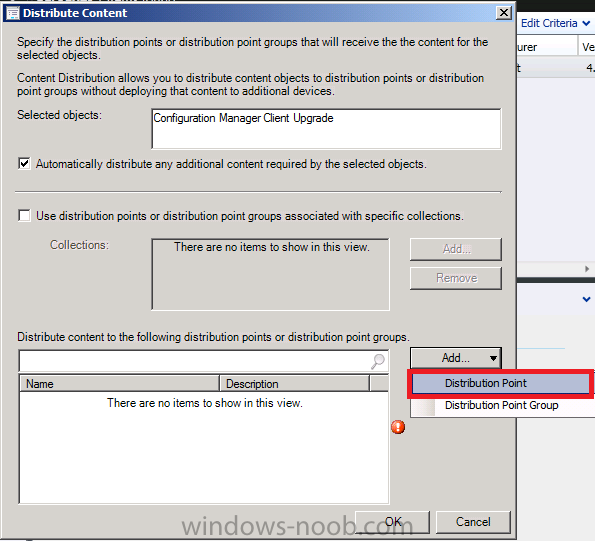
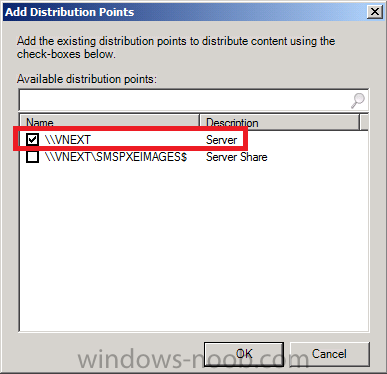
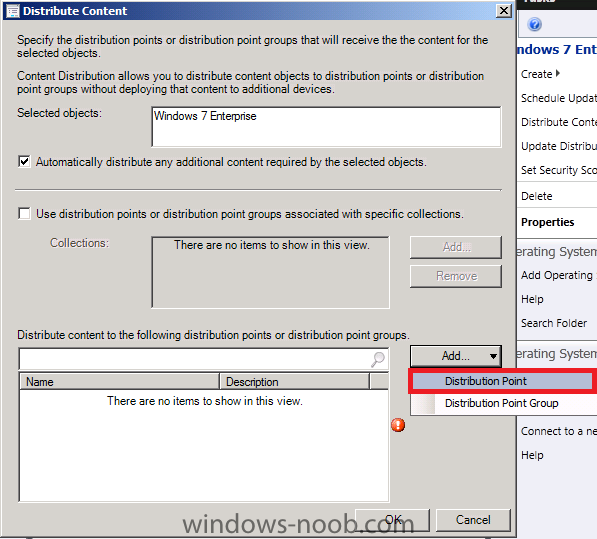
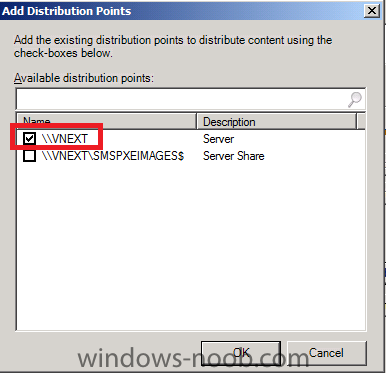
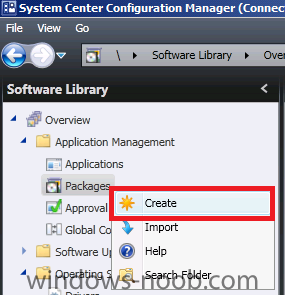
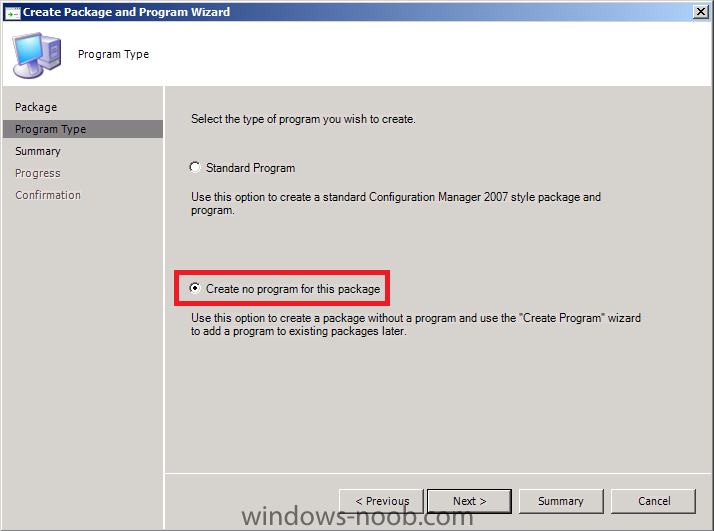
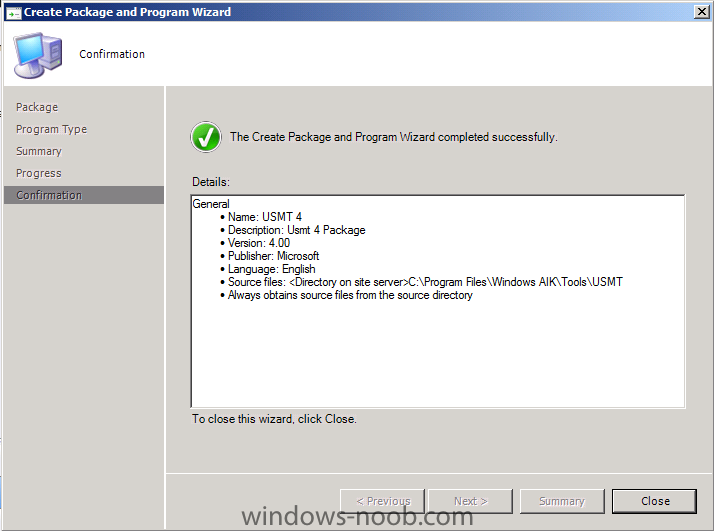
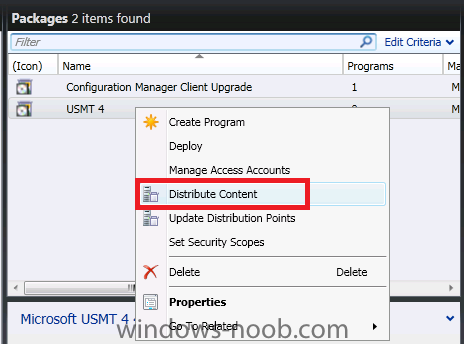
Step 2. Distribute the image to Distribution Points Highligh our newly created image and right click, choose Distribute Content click on the Add drop down menu and choose Distribution Points as this is not a boot image, select only the standard DP's Click Ok and OK again. Step 3. Create the USMT 4 Package In Application Management, right click on Packages and choose Create Fill in details about the USMT package, and for source, point to the following path C:\Program Files\Windows AIK\Tools\USMT Choose Create No Program for this package as none is required click next at the summary screen and click close at the confirmation Note: Don't forget to Distribute your USMT package to your Distribution Points, to do so follow the way we did above for distributing the Operating System Image (click on Distribute Content and follow the wizard).

-
using diskpart, what partitions are on the computer you are trying to capture ? this is a very good reason NOT to be doing it this way, much better to automate it 100% using a build and capture tasksequence which creates your master image (the one you are trying to capture now), you can then tweak that to your hearts content later on down the line, try tweaking the current image you have (which someone else made... ) in a repeatable way ... not so easy.
-
sounds like you havnt loaded network drivers in your boot.wim, enable F8 support bring up the command prompt in winpe and type ipconfig to find out
-
[Question] SCCM not populating "System Managment" folder in AD
anyweb replied to Smytty's question in Troubleshooting, Tools, Hints and Tips
first of all, why have you not extended the Schema ? is anything stopping you from doing so ? -
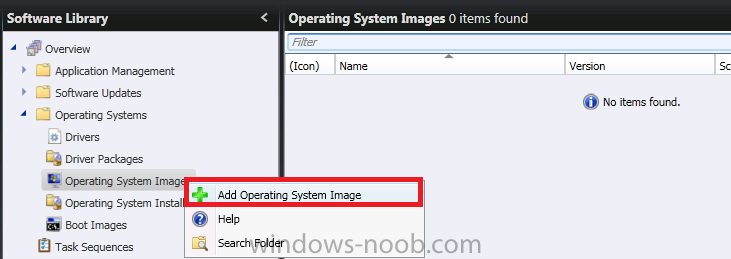
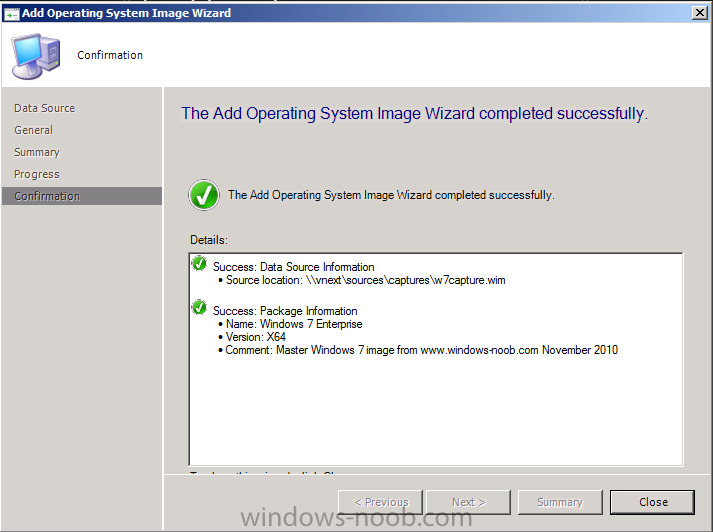
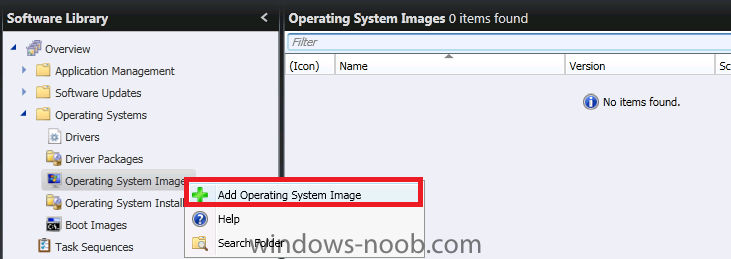
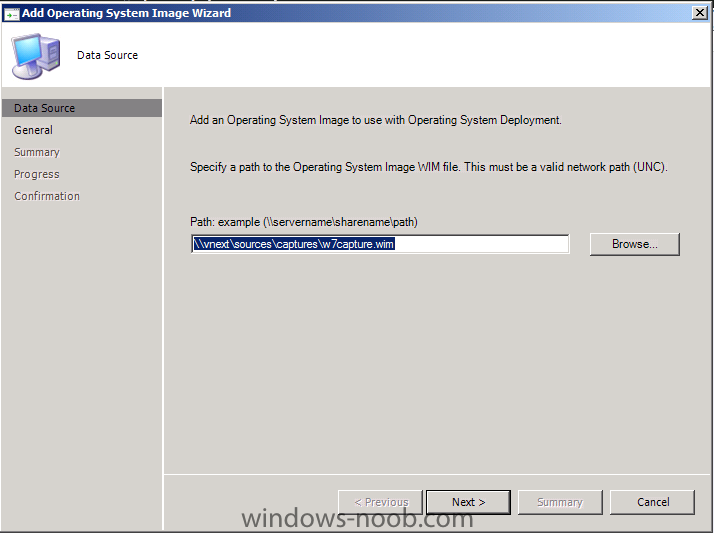
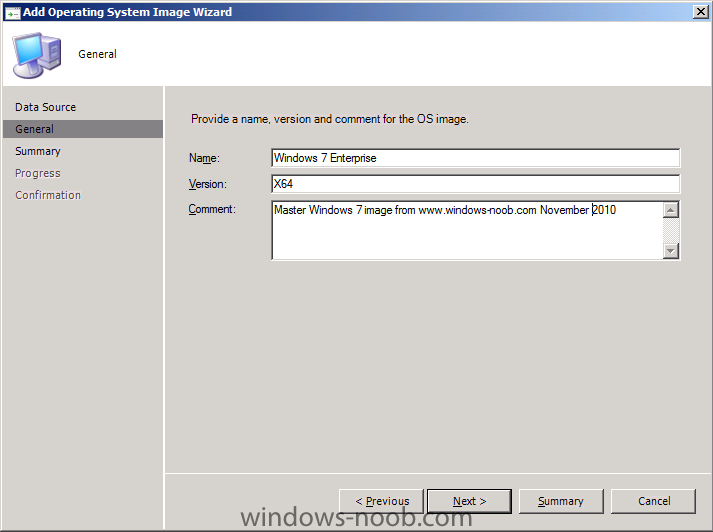
In Part 1. of this series we Installed vNext. In Part 2., we then Configured vNext to use the New AD Site as a boundary and Configured Discovery Methods in vNext. In Part 3, we installed the Reporting Point Role along with some additional roles and configured them. In Part 4 we configured the client Agents and deployed the vNext Client. In Part 5 we deployed an Application to All Users. In Part 6 we added Windows Deployment Services, added the PSP role, added the Windows 7 Enterprise image, and updated our boot image for Deploying Windows 7. In Part 7 we created our Build and Capture Task Sequence, enabled the Network Access Account, Advertised (Deployed) the Task Sequence, and created a new hyper-v virtual machine for capturing the wim on. In Part 8 we installed WSUS and then the SUP and SLP roles. In Part 9 we configured SUP and deployed some updates. Now we want to deploy our captured Windows 7 image using a separate Deploy Windows 7 Task Sequence. Step 1. Import the Captured Image In Software Librady, Expand Operating Systems, and right click on Operating System Images, choose Add Operating System image fill in some details about your master image and click Close at the confirmation screen Browse to the previously captured WIM file Fill in some details about the image and proceed with the wizard through to the confirmation screen, click close when done.

-
well 5000 clients can be managed no problem by one SUP, what do you mean 'faster updates' ?
-
SCCM 2007 R2, MDT 2010 Update 1, Windows 7 IIS 7
anyweb replied to eaweiner's question in Troubleshooting, Tools, Hints and Tips
it should work, what issue are you seeing ? -
BUILD and Capture Windows 7 Enterprise for VDI
anyweb replied to jamitupya's topic in Configuration Manager 2012
this is great stuff keep sharing -
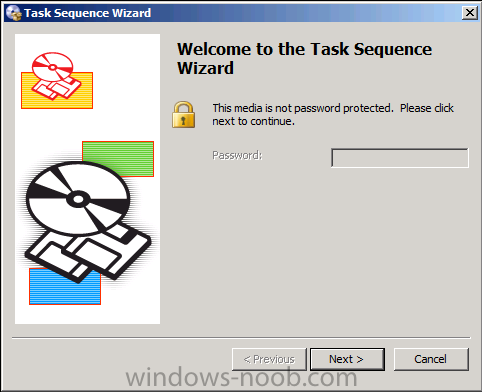
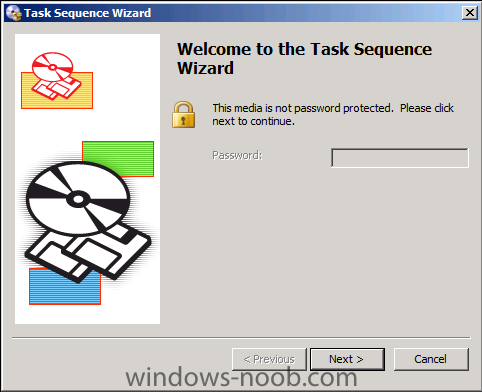
I also saw the problem, as a workaround, don't enter any pxe password for now, that will work fine.
-
absolutely ! it's awesome, try it
-
Windows "Microsoft has updated the Windows Service Pack Blocker Tool Kit to include Service Pack 1 for Windows 7 and Windows Server 2008 R2. As has been the case with previous service packs, soon after SP1 hits the RTM milestone, it will first go out on Windows Update, and then eventually Microsoft will push it out via Automatic Updates." Users who don't want SP1 will be able to simply disable AU. Many businesses, however, prefer to keep AU on, but block the service pack so they can first test to make sure it works with all their software. The service pack blocker will allow them to continue having Windows 7 and Windows Server 2008 R2 update automatically without SP1. The tool is valid for 12 months following general availability of the service pack. After that, Microsoft will push out SP1 to everyone with AU on, regardless of whether it has been blocked. The tool kit consists of three components: a Microsoft-signed executable, a script, and an ADM template. All of them set or clear a specific registry key that is used to detect and block the Service Pack download from WU. Companies can choose the one that works best with their computer management infrastructure. Microsoft released the Release Candidate (RC) of SP1 for Windows 7 and Windows Server 2008 R2 SP1, two weeks ago. Microsoft says it expects to release the final version of SP1 in the first quarter of 2011. Microsoft typically updates the Service Pack Blocker Tool Kit two months before a service pack's release. If Microsoft sticks to this timeline, we can expect SP1 in January 2011. via > http://arstechnica.com/microsoft/news/2010/11/microsoft-releases-service-pack-blocker-for-windows-7-sp1.ars
-
Problems installing Distribution Points in v.Next/SCCM2012
anyweb replied to Puck009's topic in Configuration Manager 2012
if you do not set the site as a protected site system does it work ? are you getting an error during dp creation or after the event ? -
Problems installing Distribution Points in v.Next/SCCM2012
anyweb replied to Puck009's topic in Configuration Manager 2012
is it out of disk space ? how did you create your dp's ? which guides were you following as a matter of interest ? (i'm running a series right now) -
using vNext in a LAB - Part 7. Deploying Windows 7 Enterprise
anyweb replied to anyweb's topic in Configuration Manager 2012
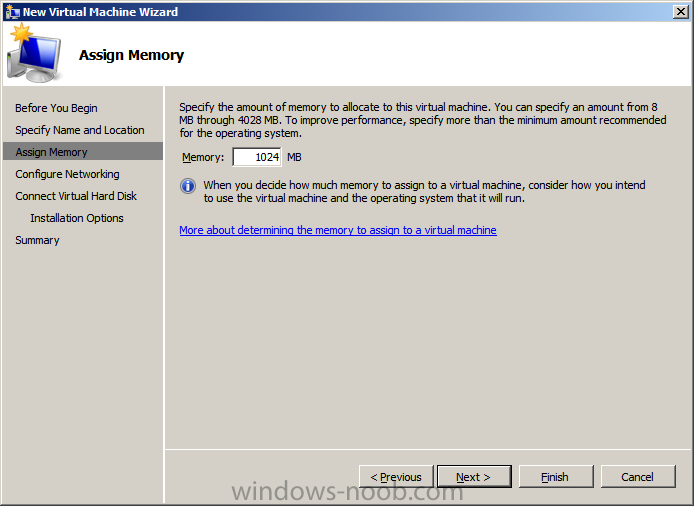
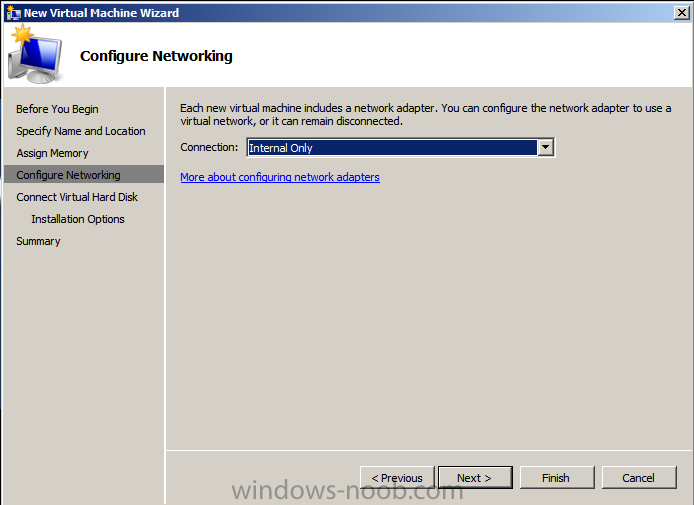
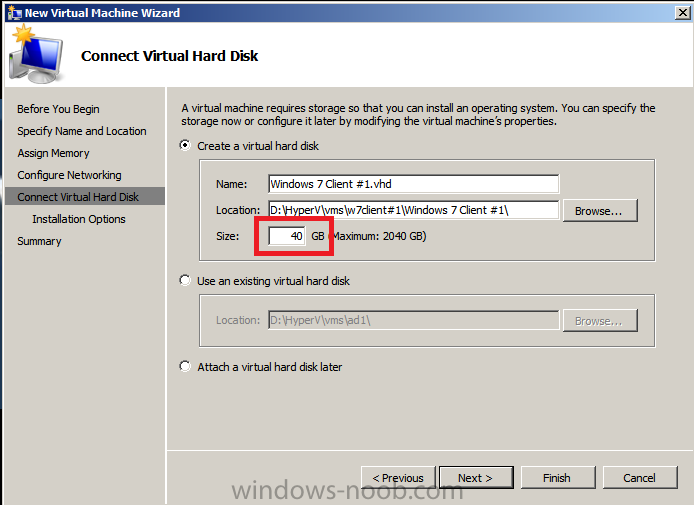
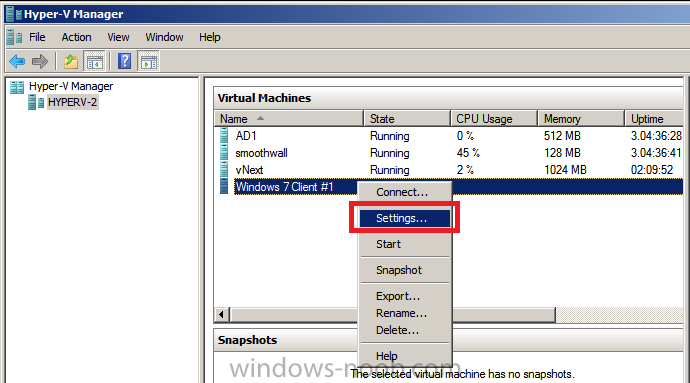
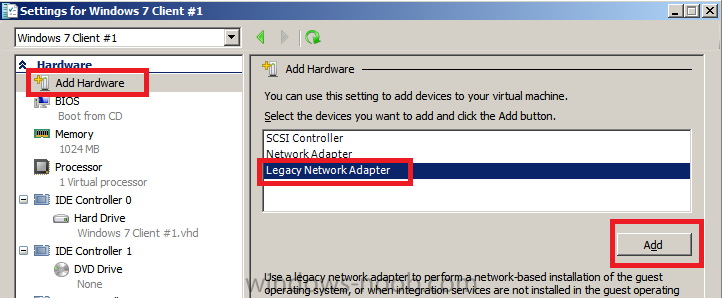
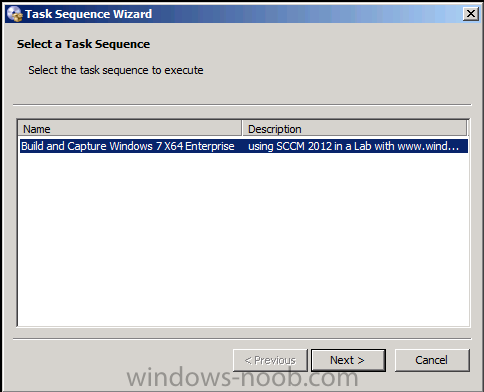
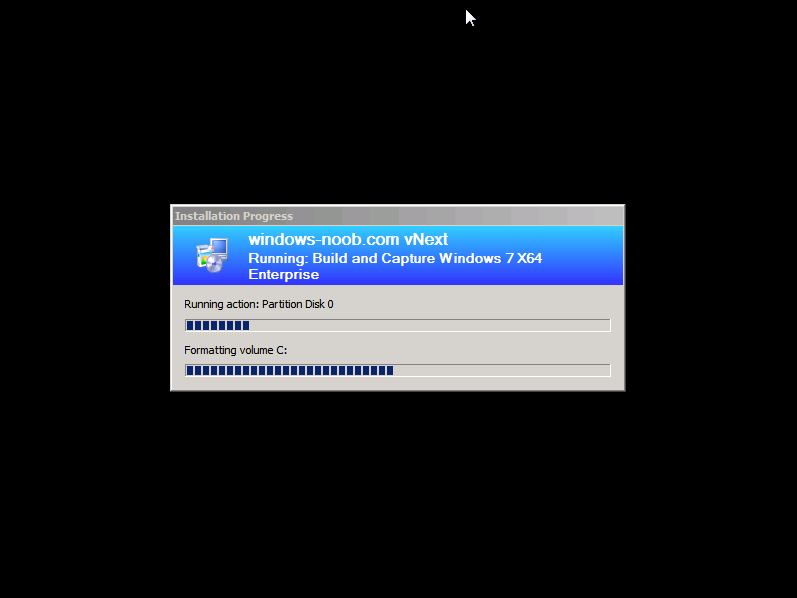
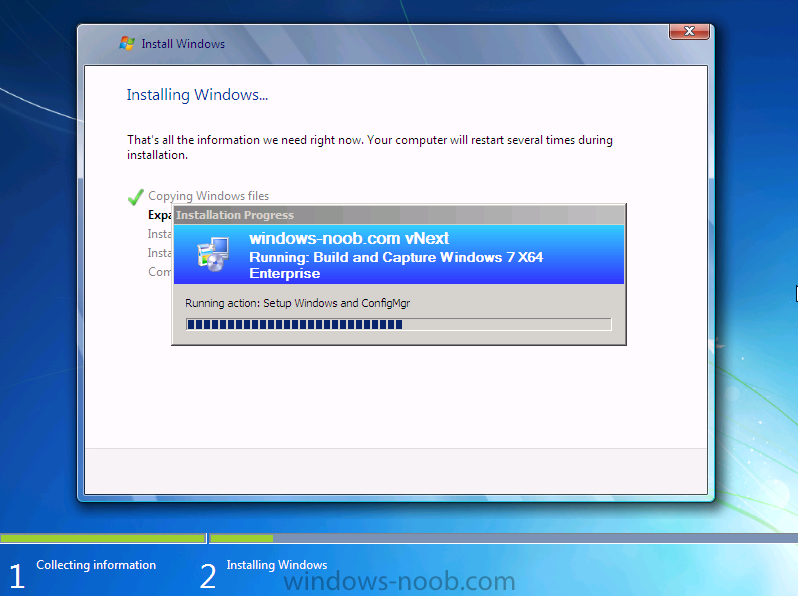
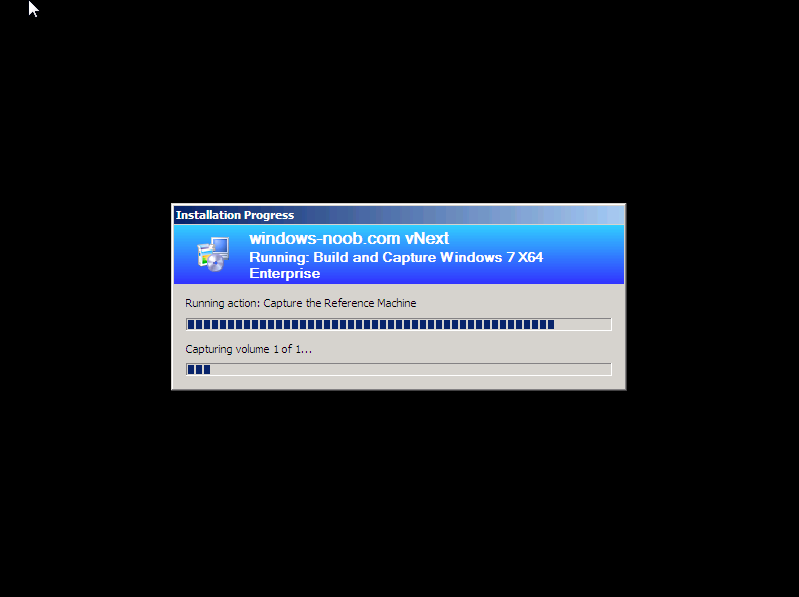
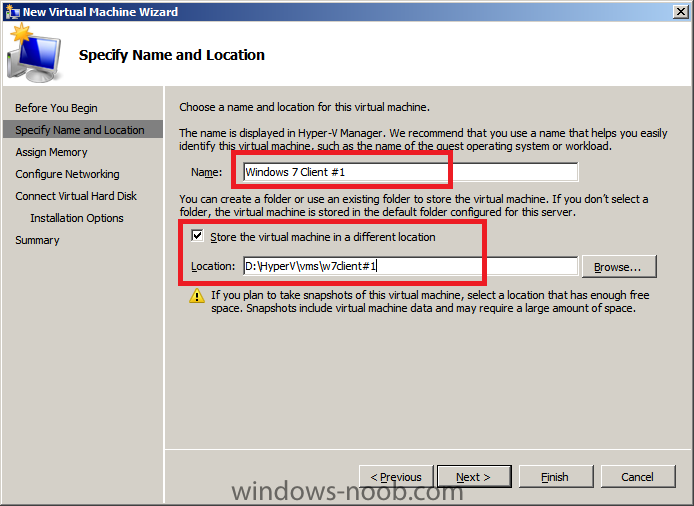
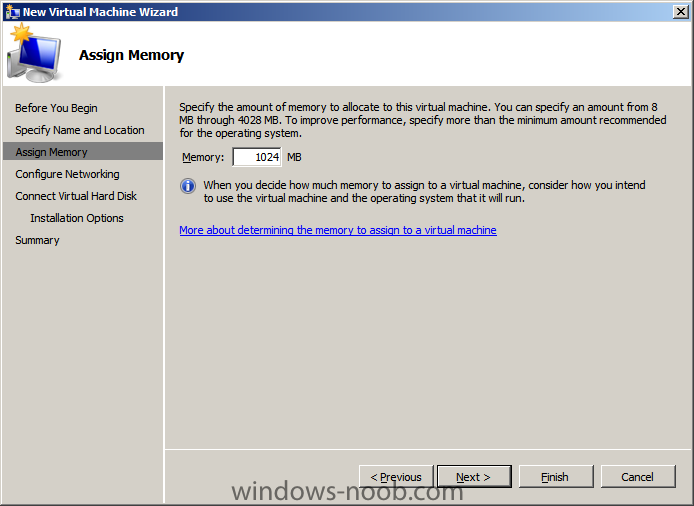
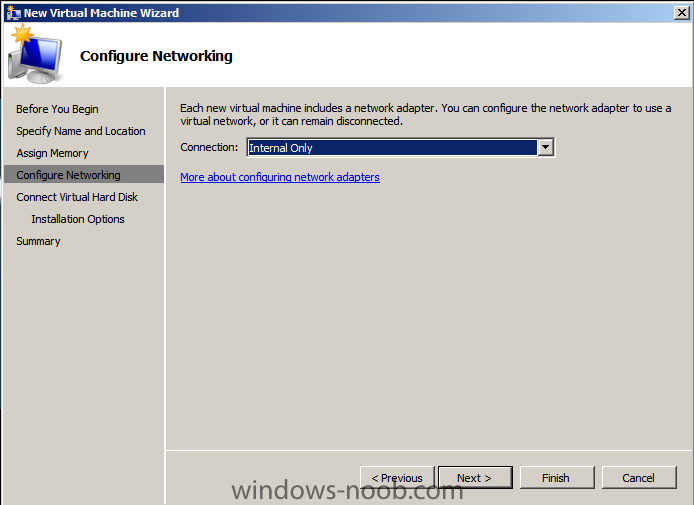
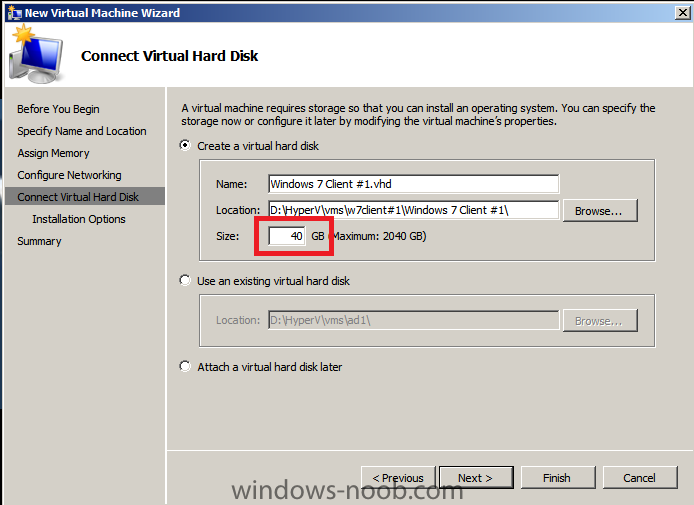
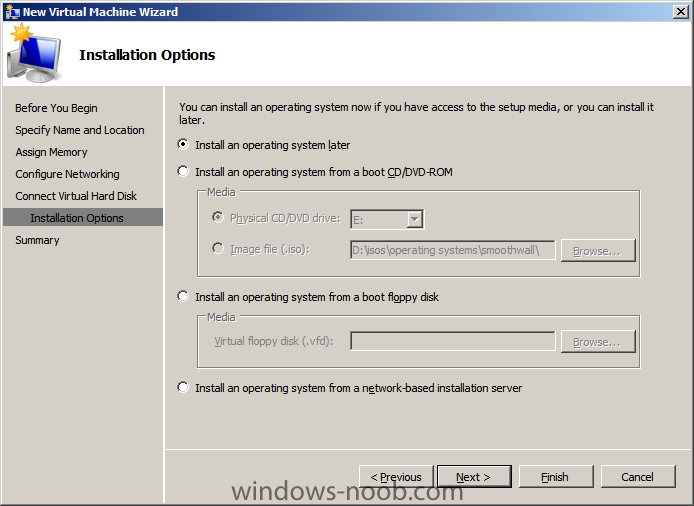
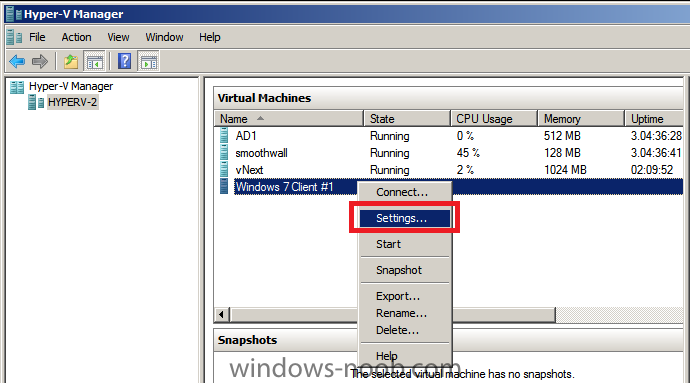
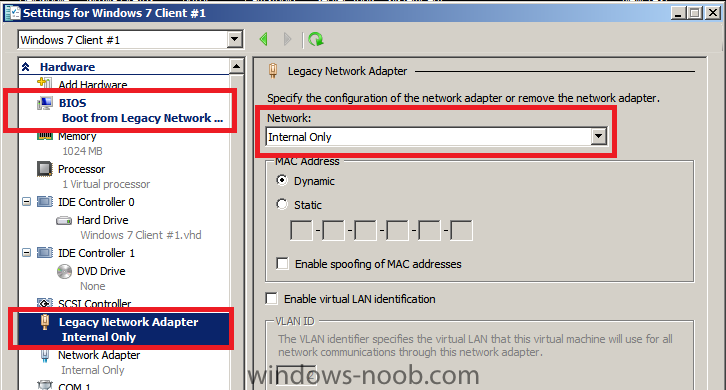
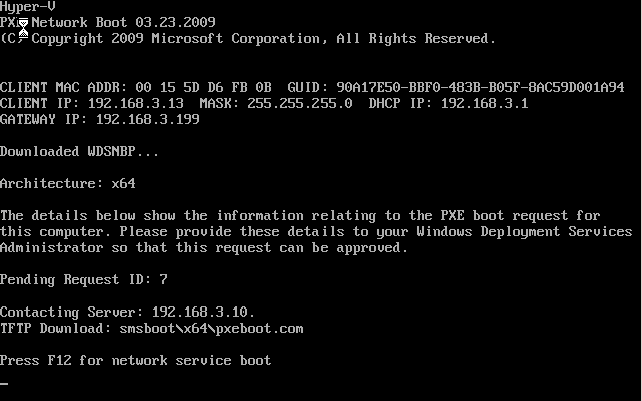
Step 3. Create New hyperV virtual Machine on your HyperV host, startup Hyper-V Manager, right click and choose New, Virtual Machine specify name and location give it 1024 mb ram set the network type to Internal Only set the storage size to 40gb choose Install the operating system later click Finish to close the wizard. When done, highlight the new vm in hyperv, right click and select settings click Add Hardware, choose Legacy Network Adaptor, click Add Change the Network to Internal Only from the Drop down menu, then select BIOS and ensure Boot from Legacy Network Card is first in the list Once done PXE boot the Virtual Machine (turn it on) and press F12 when prompted, if you see 'contacting server: 192.168.3.10....... then verify you distributed both boot images). at the welcome to the task sequence screen, press next select our Build and Capture Task sequence and off it goes this will be slow until you edit the partition disk 0 step and change the format to Quick Format and out image is being captured


-
using vNext in a LAB - Part 7. Deploying Windows 7 Enterprise
anyweb replied to anyweb's topic in Configuration Manager 2012
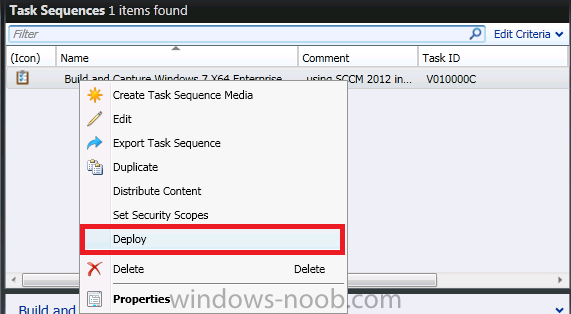
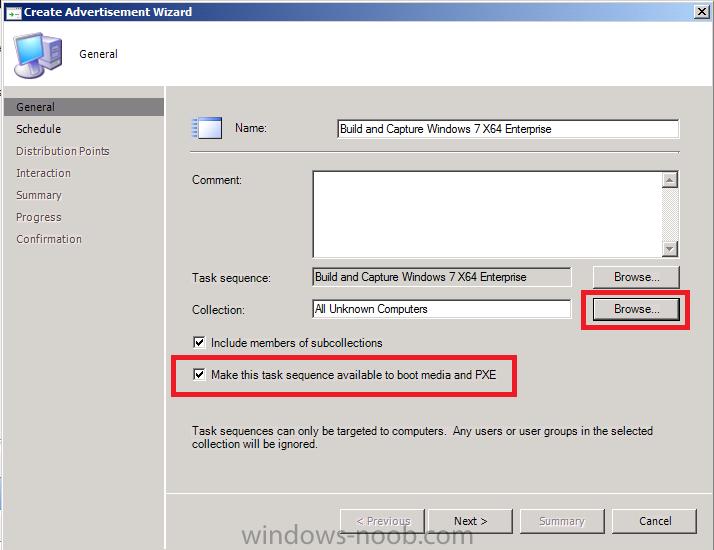
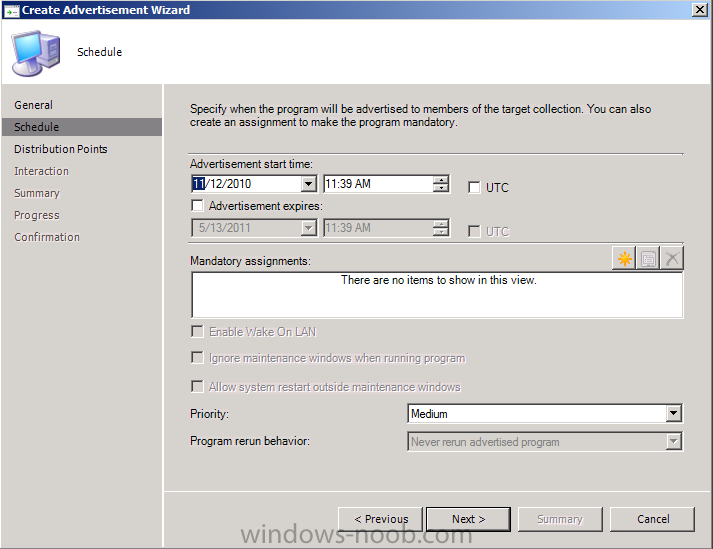
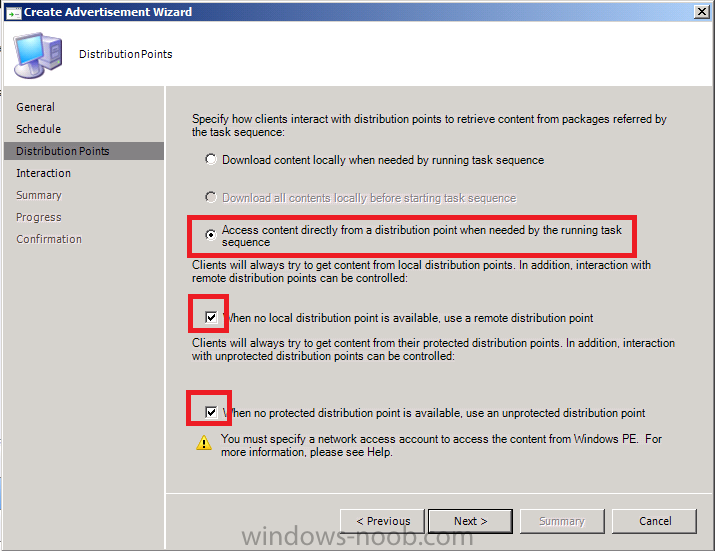
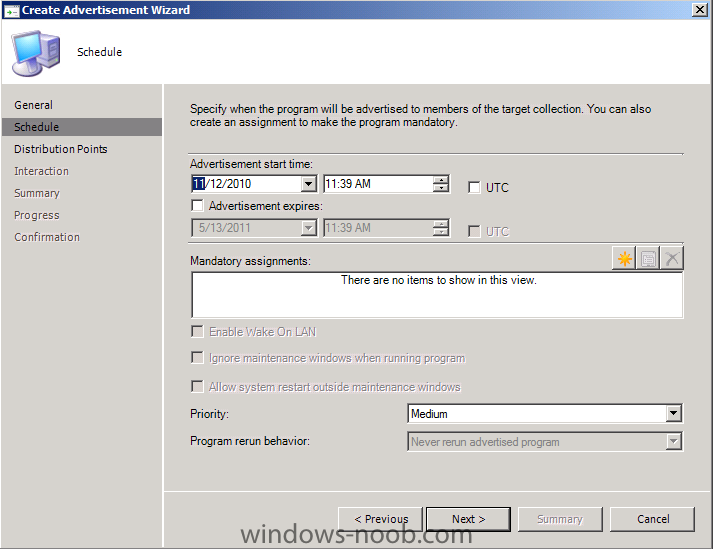
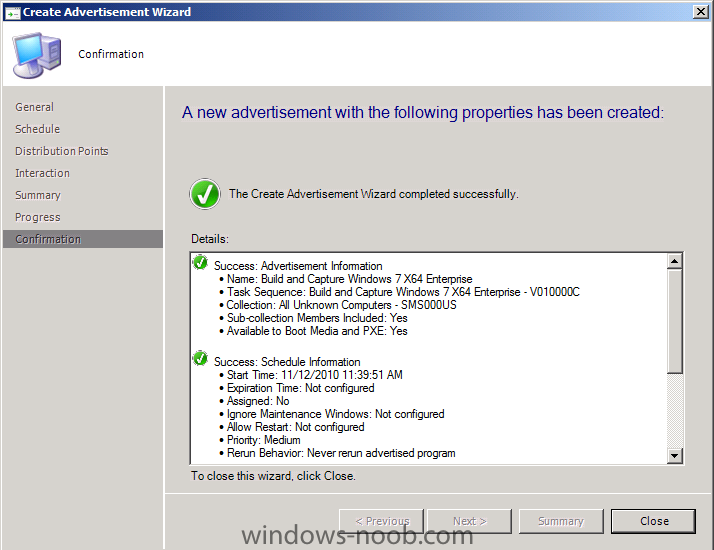
Step 2. Deploy (advertise) the Task Sequence to the Unknown Computers Collection highlight our newly created task sequence, right-click and choose Deploy when the wizard appears, browse for the Unknown Computers collection, and make sure to place a checkmark in Make this task sequence available to boot media and PXE leave the schedule as it is set the distribution point settings as follows and continue through the wizard accepting defaults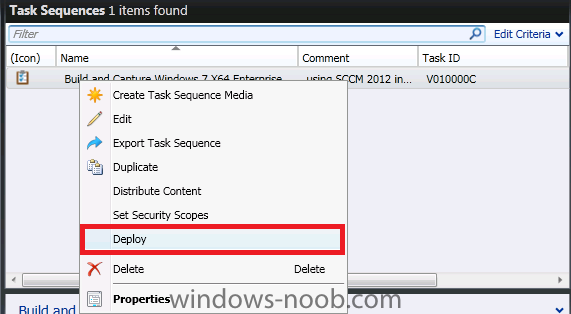


-
good stuff, I'm using something similar, what i'd like to see you add to this post is a description of the step(s) in the task sequence where you call this, plus if you can, include the reg files mentioned in the script, cheers niall
-
Microsoft have released a whitepaper on using the R3 release more info here > White Paper on Power Management Capabilities which is part of ConfigMgr 2007 R3. You can read and/or download the paper from the link below, http://technet.microsoft.com/en-us/library/gg398008.aspx
-
using vNext in a LAB - Part 6. Deploying Windows 7 Enterprise
anyweb replied to anyweb's topic in Configuration Manager 2012
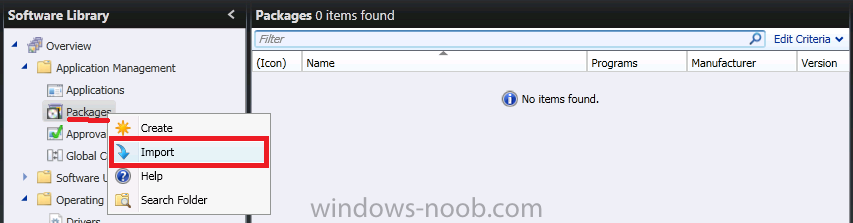
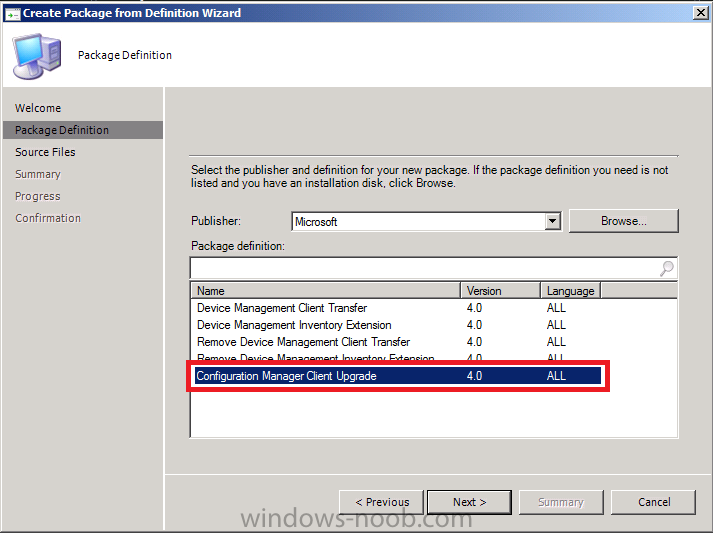
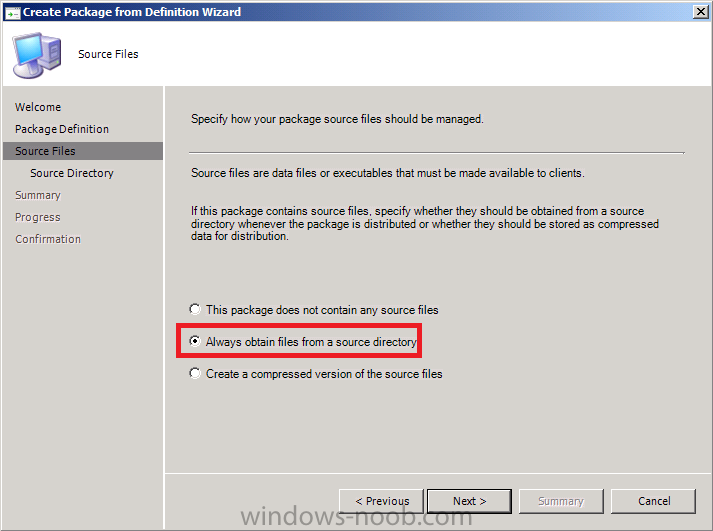
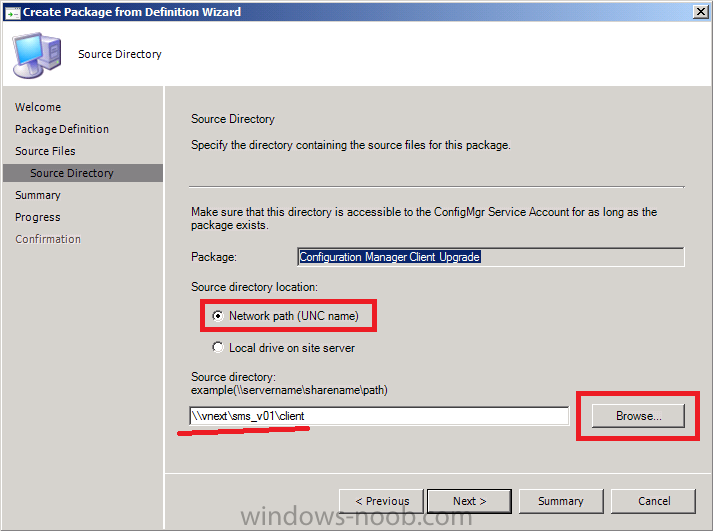
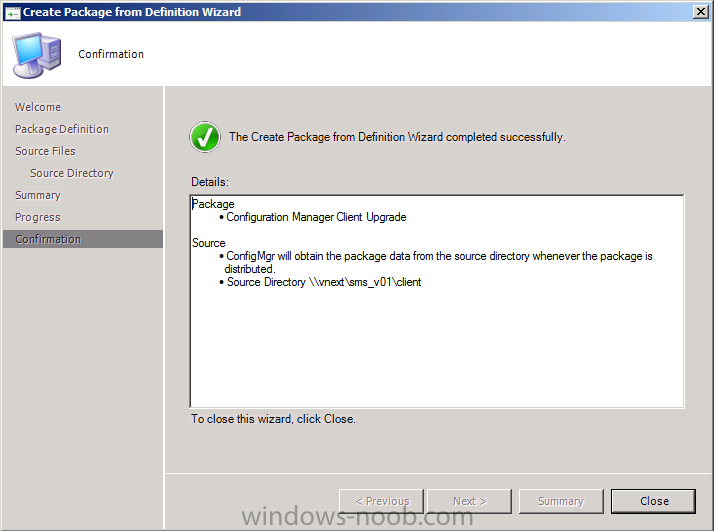
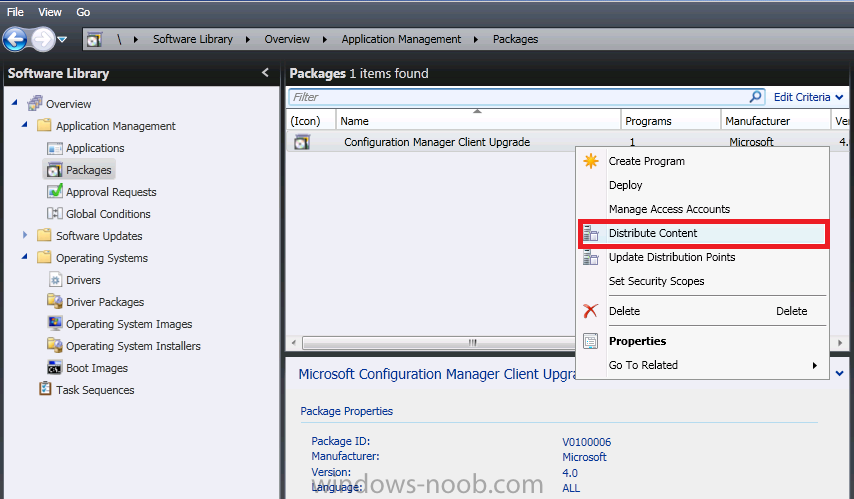
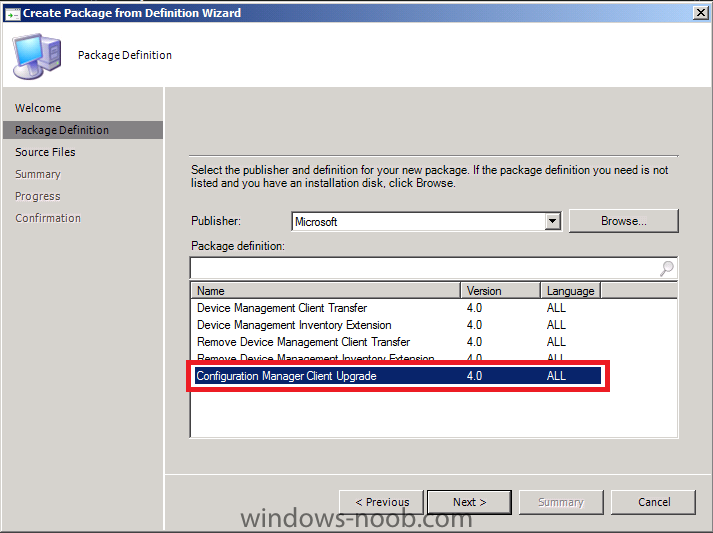
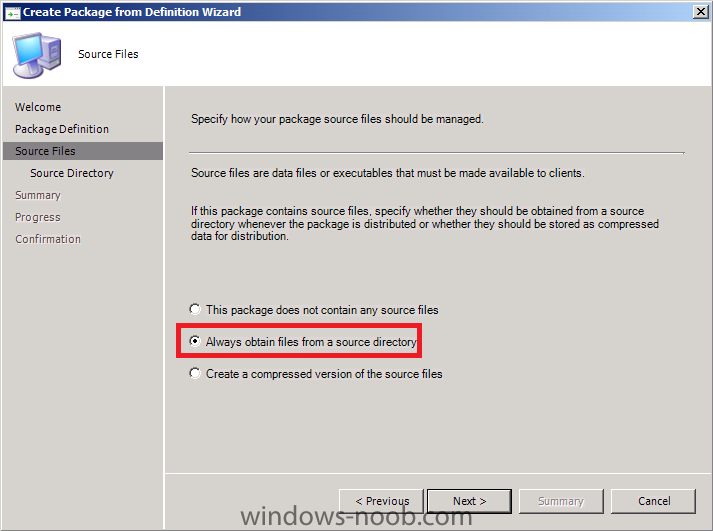
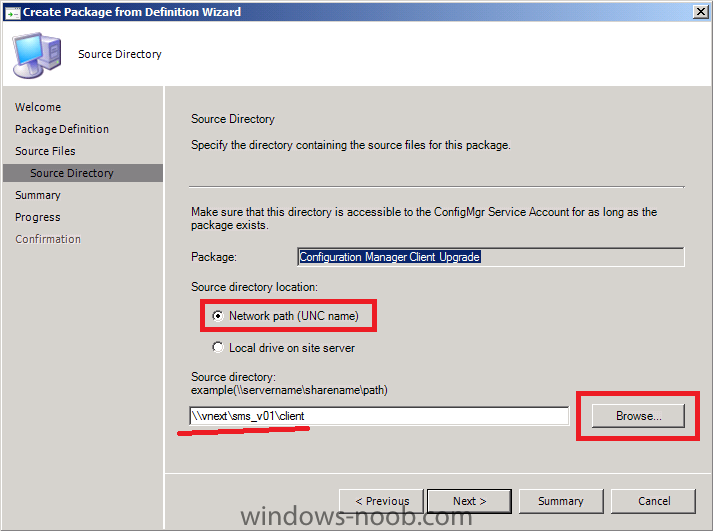
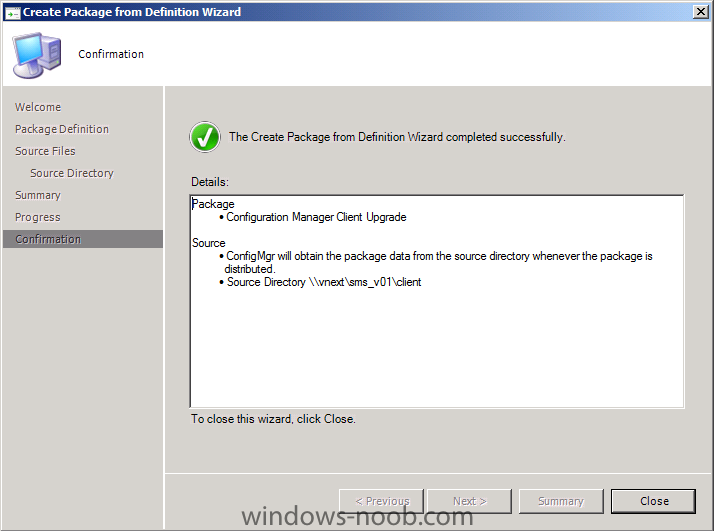
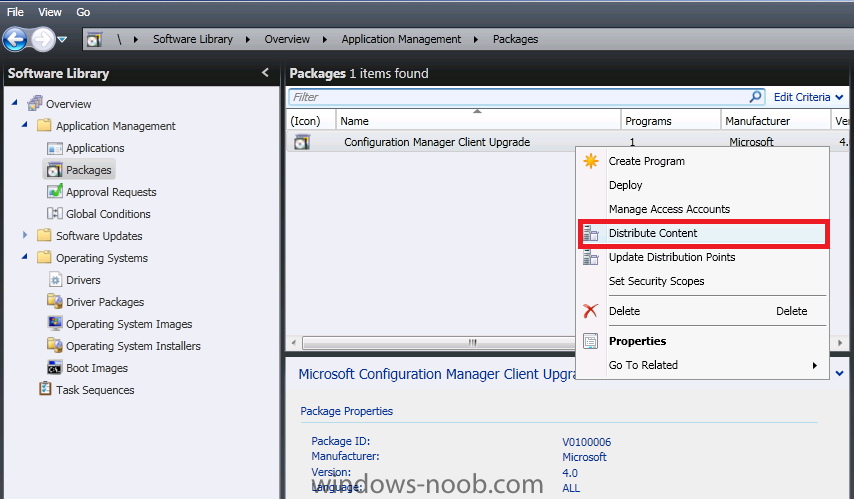
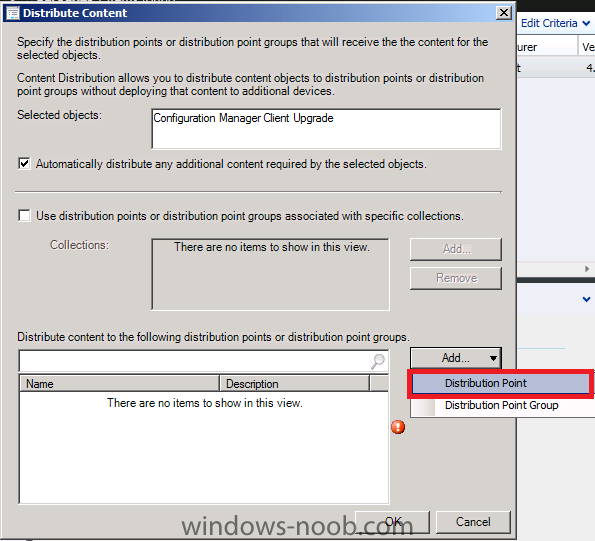
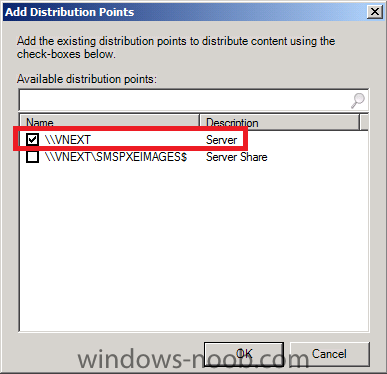
Step 7. Create the Configmgr Client from Definition Package In Software Library, right click on Packages and choose Import Click Next at the Welcome wizard, and select Configuration Manager Client Upgrade from the list select always obtain files from a source directory enter the client directory of your site server typically \\server\sms_xxx\client where xxx is the sitecode click next at the summary and review the confirmation of wizard completion click close to finish. Now don't forget to Update the Client from Definition Package to the Distribution Points, in Software Library, click on Packages, right click on your Configuration Manager Client Upgrade package and choose Distribute Content click on the Drop down Add menu, select Distribution Point select only the normal DP and click ok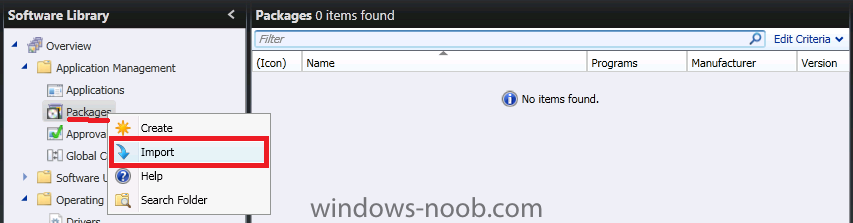
-
have you made sure the firewall isnt blocking anything ? that the client isn't obsolete ?
-
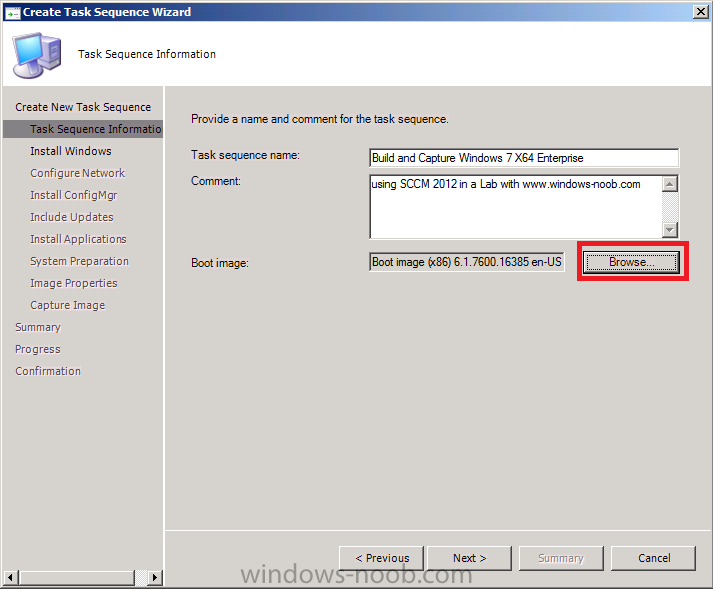
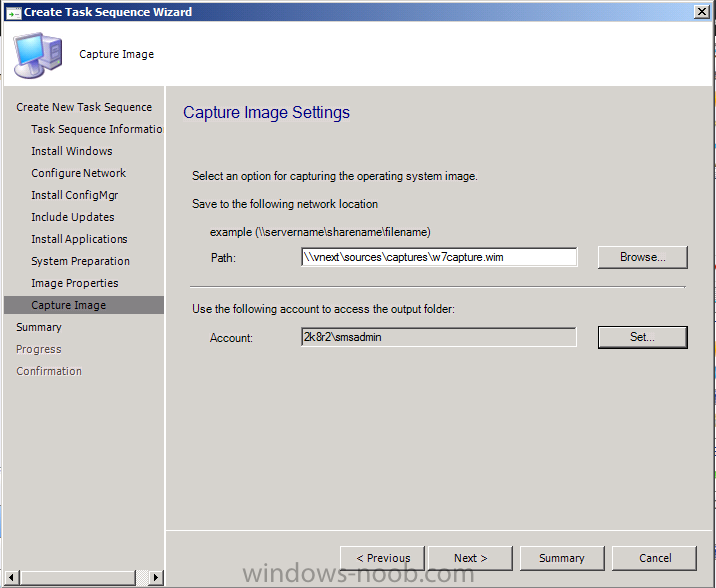
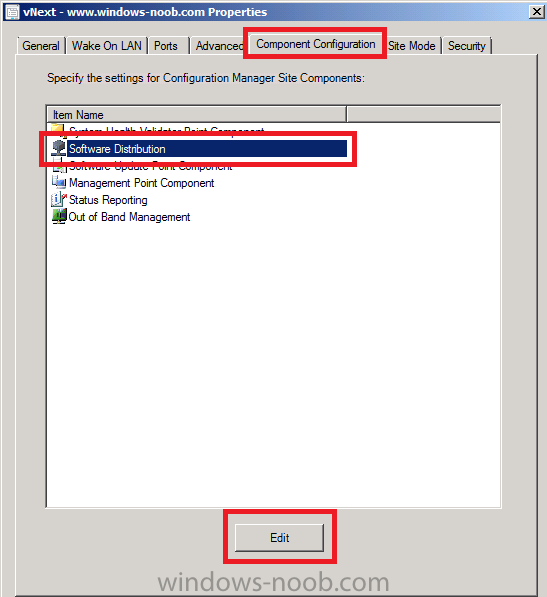
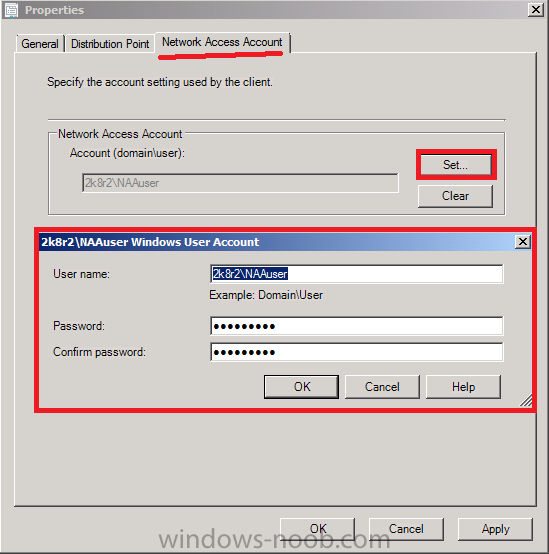
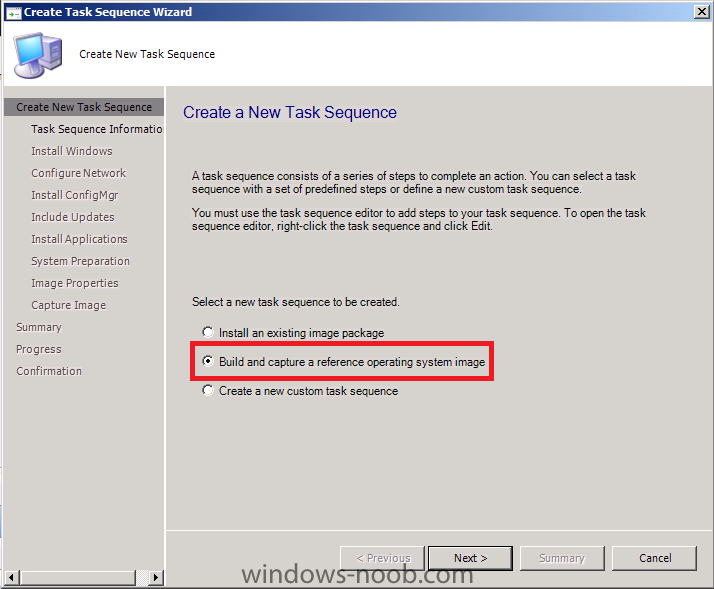
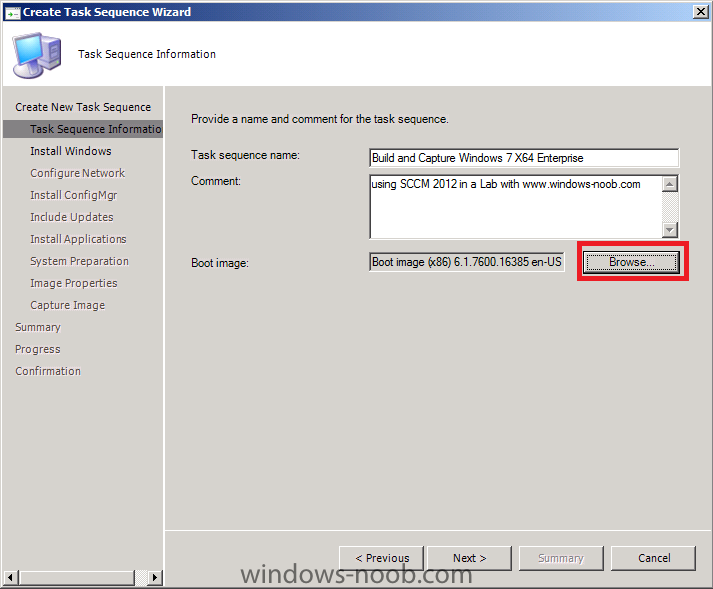
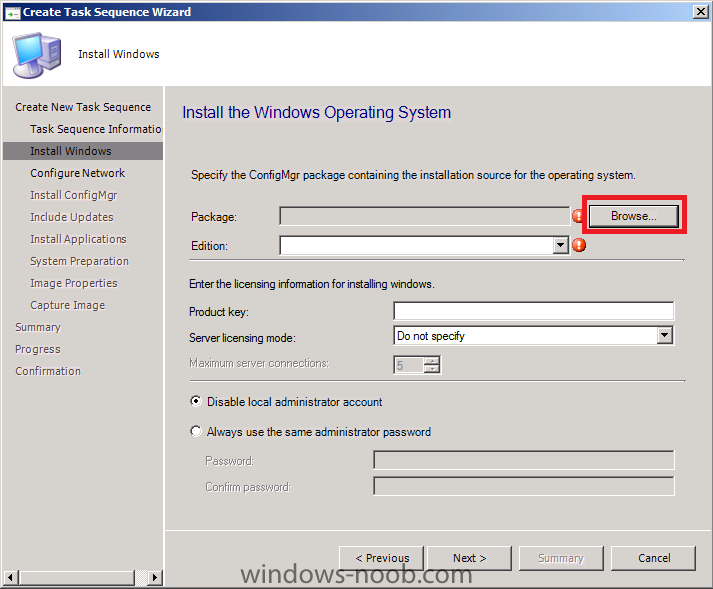
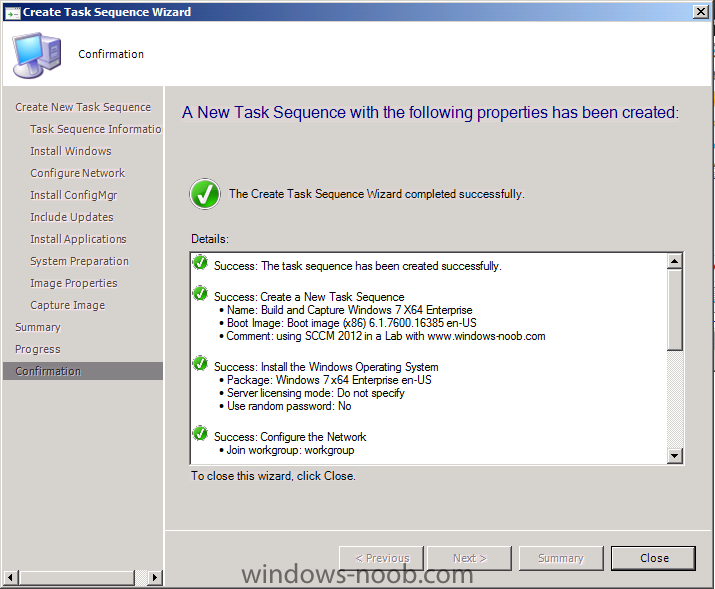
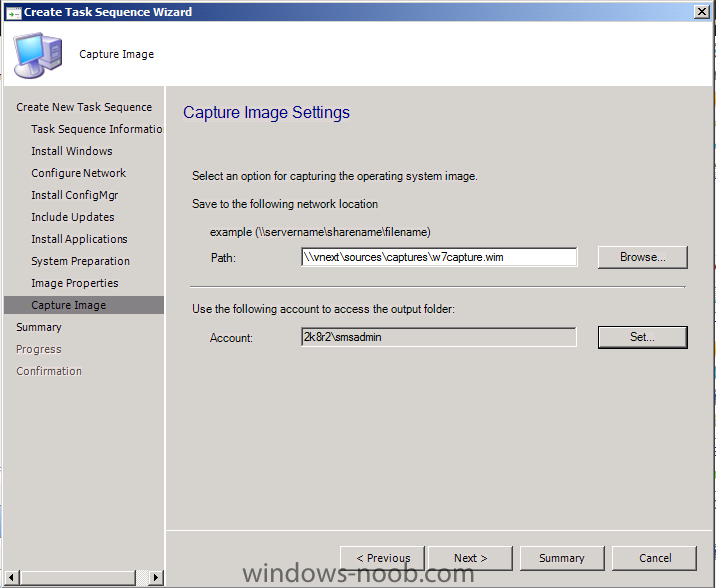
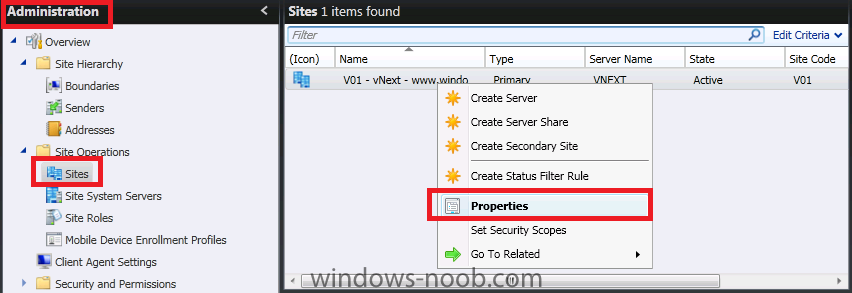
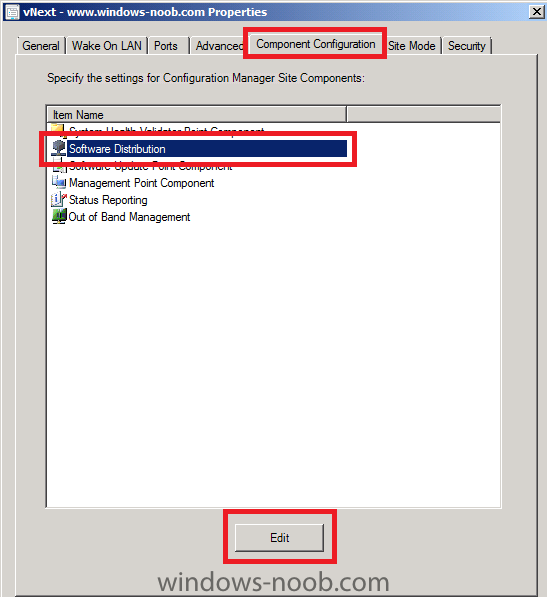
In Part 1. of this series we Installed vNext. In Part 2., we then Configured vNext to use the New AD Site as a boundary and Configured Discovery Methods in vNext. In Part 3, we installed the Reporting Point Role along with some additional roles and configured them. In Part 4 we configured the client Agents and deployed the vNext Client. In Part 5 we deployed an Application to All Users. In Part 6 we added Windows Deployment Services, added the PSP role, added the Windows 7 Enterprise image, and updated our boot image for Deploying Windows 7. Next we will continue with this process, and as part of that we need to utilise the built in Build and Capture Task Sequence. Step 1. Create Build and Capture Task Sequence Perform the following on the vNext server as SMSadmin In the Software Library, Right-Click on Task Sequences and choose Create Task Sequence from the wizard that appears, choose Build and Capture a reference operating system image Fill in details about the image and select the X86 boot image we udpated previously when the Install Windows Operating System window appears click on browse and select our Windows 7 X64 Enterprise image select Always use the same administrator password and type in an admin password as this is Build and Capture, it's recommended best practise to be a member of a workgroup (don't join the domain) for the Install Configmgr Client step, click on browse and select our ConfigMgr Client Upgrade Package (if you don't have this package see here for details of how to create it) we have not enabled the SUP yet, so do not install software updates leave applications blank as this is Windows 7, no system preparation package needed (it's included with the OS), so just click next fill in some details about the image enter the capture wim file name (path) and user details to save the capture with Click Next, Next and review the confirmation. Step 2. Enable the Network Access Account We need our Network Access Account set in order to copy packages in WinPE. We have already created the user in Active Directory (NAAUser), now lets add it to vNext. In Administration, click on sites, then select your site and right click, choose properties. Click on the Component Configuration tab, software distribution, edit enter the network access account details (click on the network access account tab), and click ok, ok


-
Task Sequence/Package Installation Problems
anyweb replied to Mike S's question in Troubleshooting, Tools, Hints and Tips
ok i've mailed you my VBS script, take a look at how it's done and try and replicate it in your environment. cheers niall