anyweb
-
Posts
9195 -
Joined
-
Last visited
-
Days Won
367
Everything posted by anyweb
-

sccm 2007 sp1 available for download
anyweb posted a question in Troubleshooting, Tools, Hints and Tips
the download (1gb) is available here System Requirements System Center Configuration Manager 2007 installed Please see the Configuration Manager 2007 SP1 System Requirement page for detailed requirements. -
i'm sure we could get around this problem without the need to use a cd, have you tried diskpart at all ?
-
is there any chance you can remove the servers hard disc and replace it with one that DOESN't have grub on it and then re-run the WDS test, just to see if it works ok if it does then we know that we have to find a way to remove grub via WDS and my guess would be that will need to be done via diskpart
-
this sounds to me like wds is deploying ok but that it is NOT removing grub (the linux boot loader) if you mount one of these server hard discs do you see windows installed on it or not ?
-
what do people think of Windows Vista ? well..... how about what do people think of Windows when it's The Mojave Experiment
-
Ben is talking about manually editing a sysprep.inf file in a light touch installation (LTI) of Windows XP using BDD 2007 (Business Desktop Deployment), so this may be different to what you require, what are you trying to do exactly and how ?
-
hi, according to here its defined by what is in the Syprep section and Sysprep parameters You can use the following optional parameters with the Sysprep command in Windows XP: • -bmsd - Populates all the available mass storage devices in the [sysprepMassStorage] section. • -clean - Clears the critical devices database that is used by the [sysprepMassStorage] section in the Sysprep.inf file. does that help ?
-
to do this you need to be using Windows Server 2003, Windows XP or Windows Vista (Windows 2000 doesn't support it) open a command prompt and paste this wmic.exe path win32_NetworkAdapterConfiguration get /format:htable > win32_NetworkAdapterConfiguration.html This will create a new file called win32_NetworkAdapterConfiguration.html which you can open in a Web browser (IE please, Firefox won't render this correctly) here's a sample of the file win32_NetworkAdapterConfiguration.html Under the IPAddress column, you'll see the IP address of the current Network adapter, you may see many listed (PPOE and more) here's the same query in text format wmic.exe path win32_NetworkAdapterConfiguration get > win32_NetworkAdapterConfiguration.txt win32_NetworkAdapterConfiguration.txt as you can see from the samples they not only give the ip address but lots more info like MAC address and so on now, this will only reveal your LOCAL ip address, ie: if you are behind a router (or dhcp server) then that ip is the one it will reveal, so if you want your real WAN (internet or wide area network) ip address then you'll need another script... cheers anyweb
-
sounds like you've mounted it incorrectly can you give me the exact commands you used to mount the wim file using imagex ? please copy paste how you did it here and that should explain why you are getting access denied.... here's an imagex howto here cheers anyweb
-
hi again yes there are differences (not necessarily restrictions) resulting from what Vista dvd you used, please read this post to see what i'm talking about AND can you confirm that you are or are not seeing the list of available images, or do you just get an error, the more info you give me the better, but for now please consider either using the MSDN vista dvd OR editing the OEM copy and removing that pid.txt then try again cheers anyweb
-
hi and welcome i'll try and answer your questions, it should work just fine yes but you may need to add additional drivers your actual problem is that 'Windows could not display the images available for installation'' can you confirm what Windows Vista DVD you used to do part one, step one of this post was the Windows Vista dvd msdn, retail, OEM or something else ? cheers anyweb
-
more info > http://www.channelregister.co.uk/2008/06/2...indows_roadmap/
-
fast cars, sleepless nights, dumpsters, diggers and more (oh and Windows too) a good intro about how things came together in the early days, worth seeing
-
Microsoft is busy trying to convince us to use Vista, and rather than have its' userbase wait for Windows 7 it has compiled 5 reasons to deploy Vista (PDF) well at least it's not a docx !
-
here's a short video of a first look at Windows 7, it demonstrates the ability of Windows 8 to use touch screen technology in an interactive way...
-
yes the presence of the pid.txt file could indeed be borking things up as you describe, only one way to find out though and that's for you to test it i'm very interested in hearing if this solves the problem ! cheers anyweb
-
ok are you certain that the dvd you use to create the boot.wim file for this was the Dell Vista DVD or Microsoft's MSDN Vista DVD ? it should be the Microsoft one, of if you don't have access to it delete the pid.txt file found on the dvd as outlined here, you'll have to mount the wim file to do this, then make the change and save the change, the new wim file can then be imported back into WDS and tested... and.... from here if the above doesnt help and you are definetly using a MSDN or Microsoft DVD to create the original wim files then let me know cheers anyweb
-
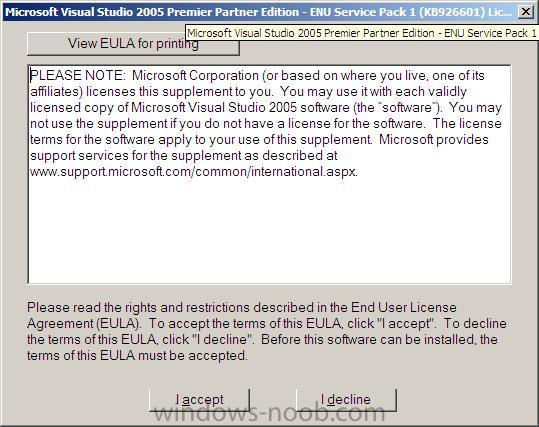
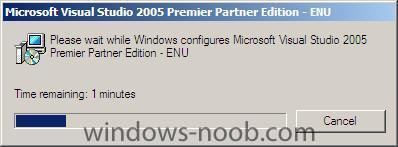
in order to get Visual Studio working (for SQL 2005 Sp2) you need to download the following update from Microsoft Once downloaded, extract the file by running VS80sp1-KB926601-X86-ENU.exe. You'll be prompted if you want to upgrade Visual Studio 2005 to Sp1, you'll have to accept the EULA then the process will start... and after a while it'll all be done !


-
how can I install SQL server 2005 SP2 standard edition in Windows Server 2008
anyweb replied to anyweb's question in SQL Server
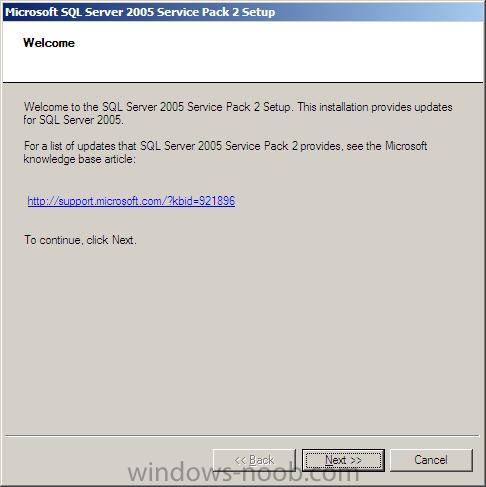
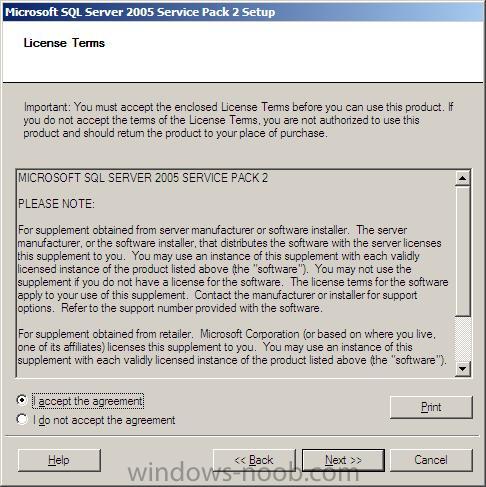
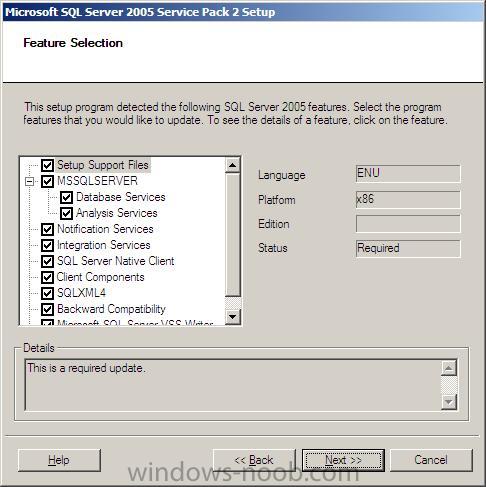
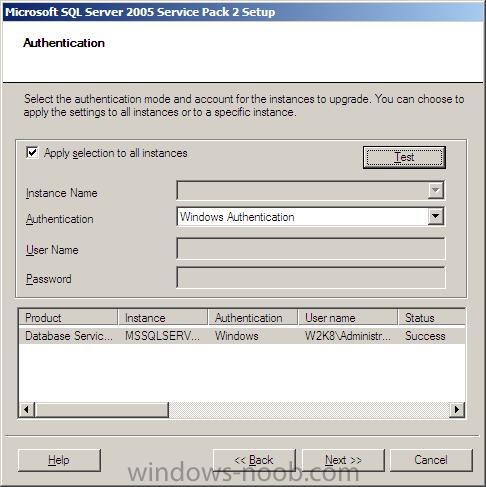
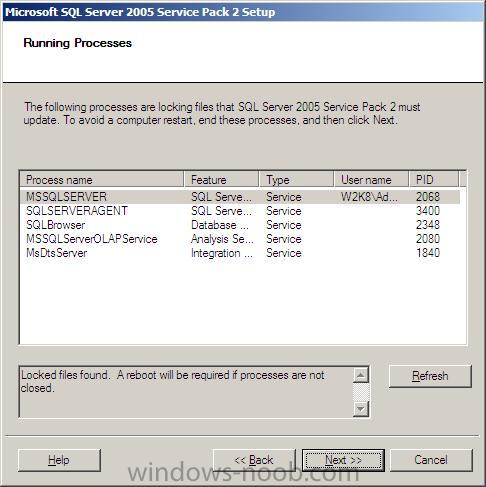
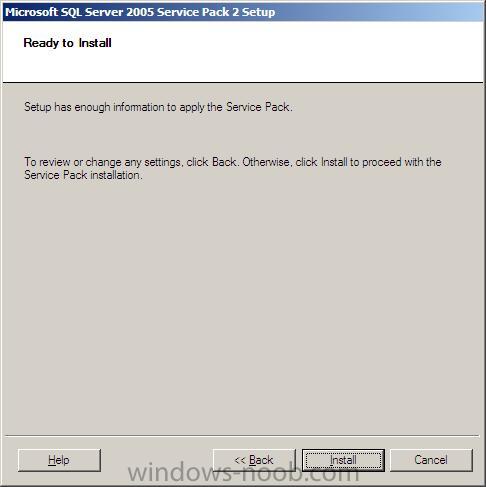
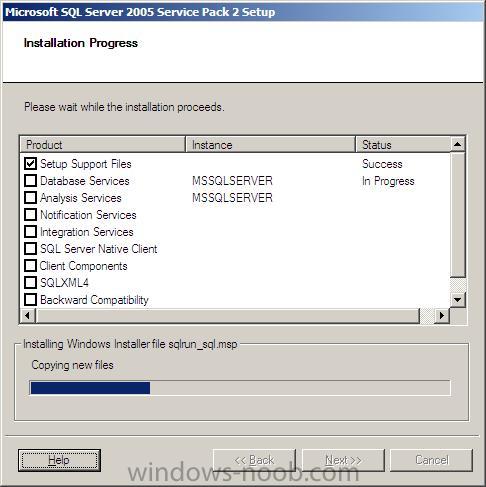
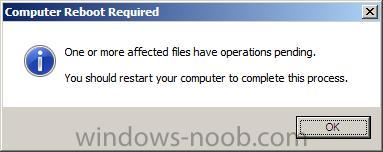
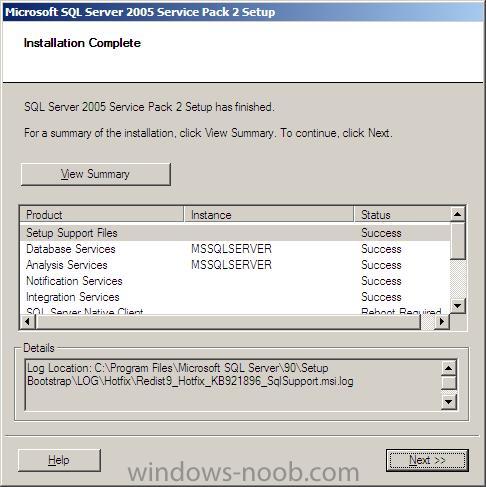
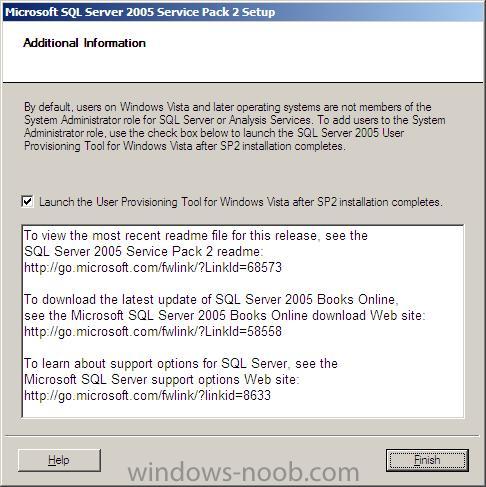
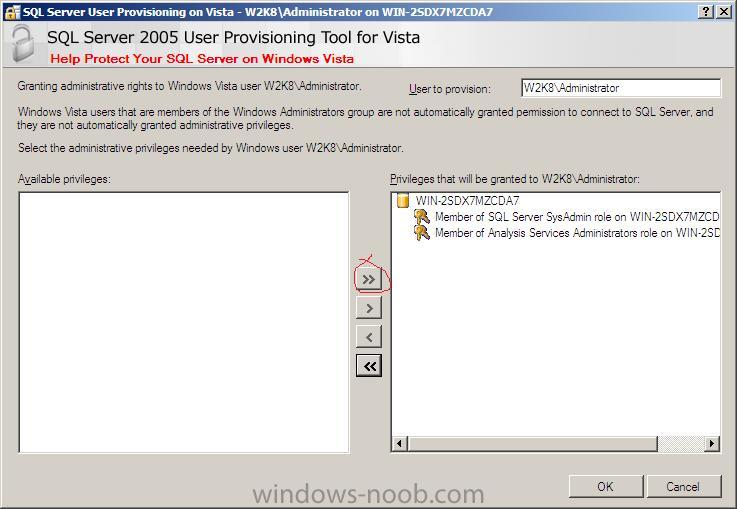
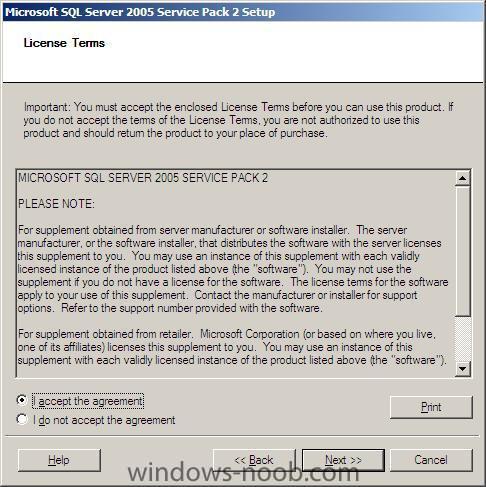
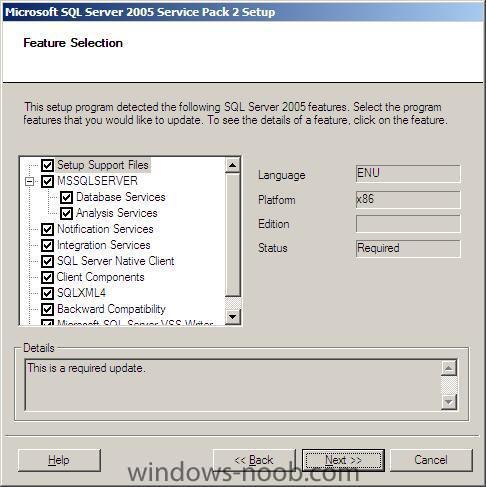
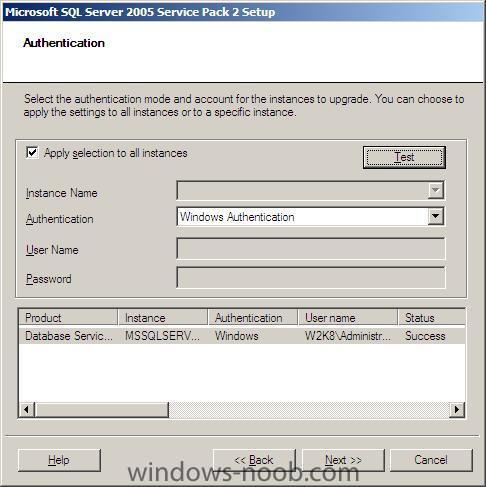
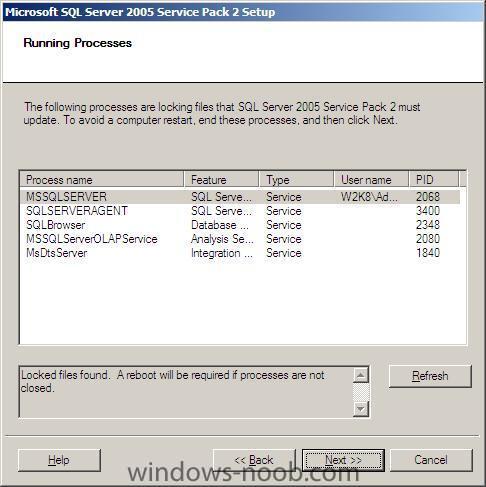
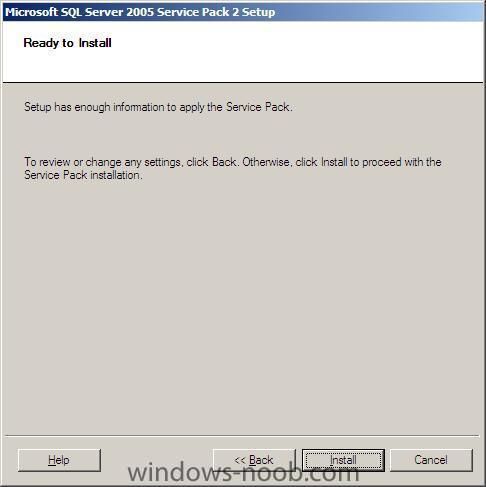
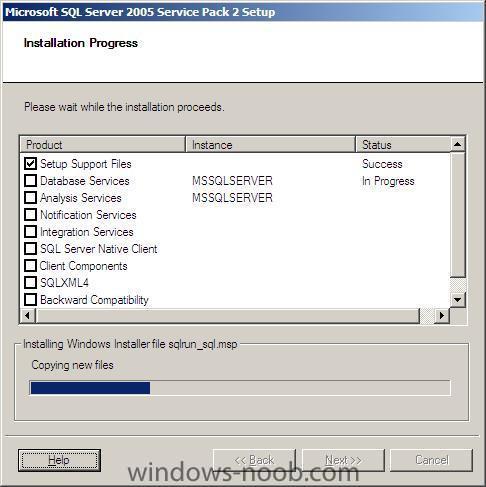
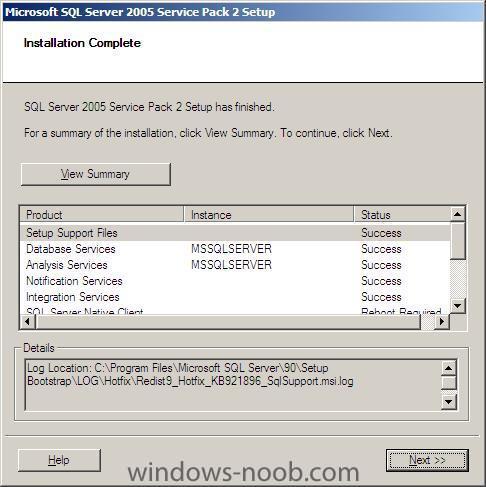
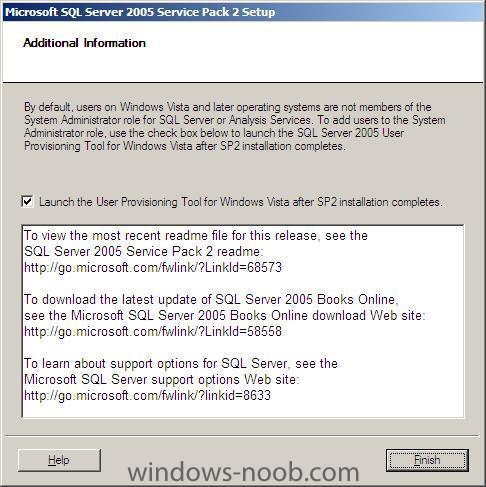
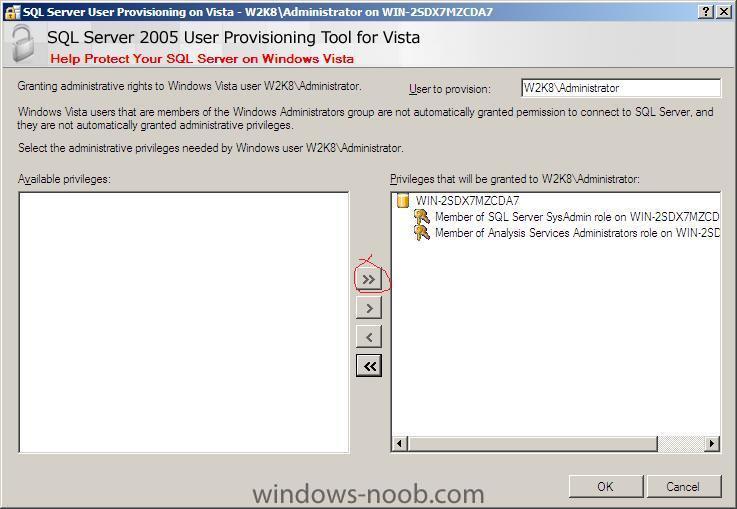
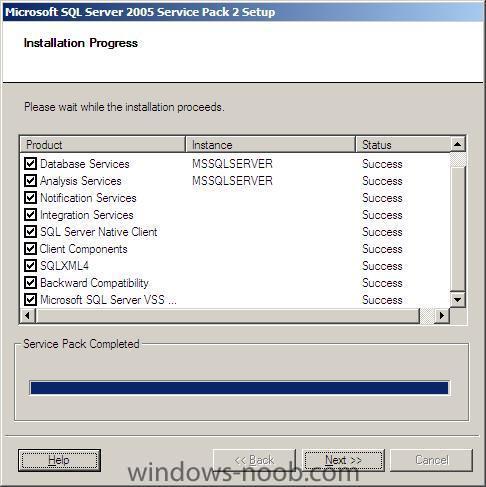
Part 2. Install the Visual Studio 2005 update for Windows Server 2008 do this Part 3. Apply SQL Server 2005 Service pack 2 locate your SQL Server 2005 SP2 cd (or iso, the iso from MSDN is called en_sql_server_2005_sp2_x86_cd.iso) Once you've inserted (or mounted the iso) run the SQLServer2005SP2-KB921896-x86-ENU file. This will extract files to a temporary directory for the installation. After some time, a welcome screen will appear click next to start the process accept the EULA leave the features as they are leave the Windows Authentication as it is, you can click on the Test button if you want to verify that its ok, it shoul;d say success. skip the Error usage and reporting screen (don't bother selecting them, just click next) after which a Running Processes window will appear, if locked files are found a reboot will be required (this is ok) click next and at the ready to install screen, click Install. This will take some time so you can take another coffee break now... once the components are installed we'll be told it's all complete, click next once done we'll be asked to reboot click OK followed by next and read the installation complete summary you will get an additional information screen about Windows Vista users, so leave it as default and click Finish. When the SQL Server 2005 User Provisioning tool appears, press the two right arrows marked below to mvoe all privileges from the left pane to the right click OK when done, that's it. If you get an sqlprov object reference not set to an instance of an object error then reboot and start the sp2 upgrade again.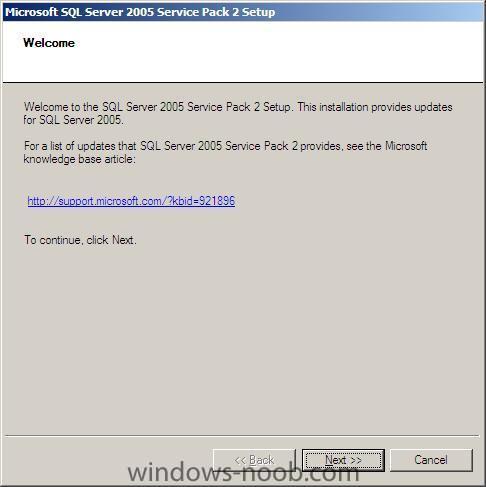
-
how can I setup ISS for SCCM 2007 in Windows Server 2008
anyweb posted a question in IIS/apache/web server
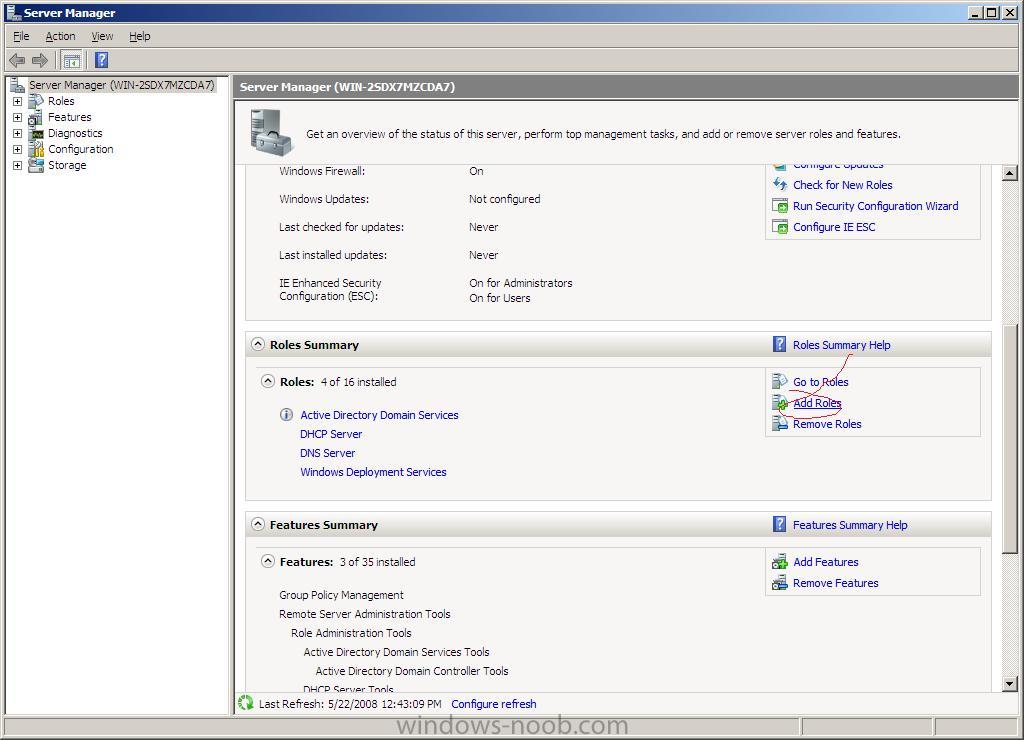
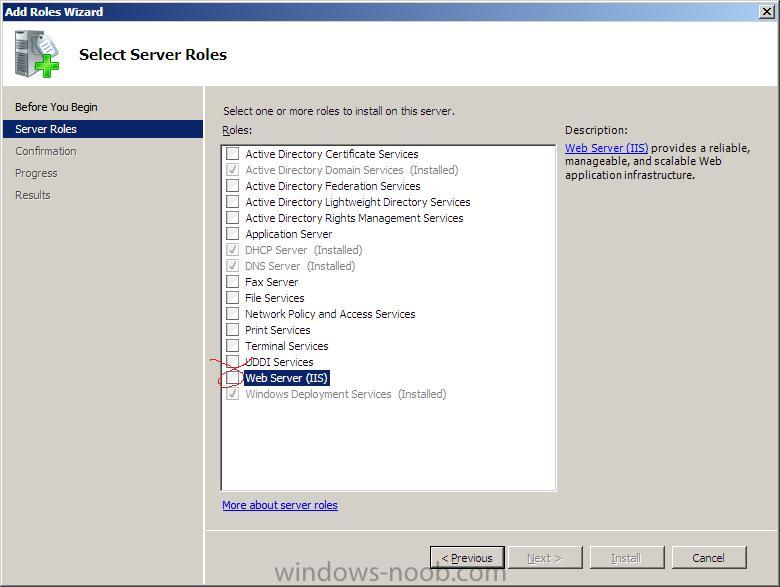
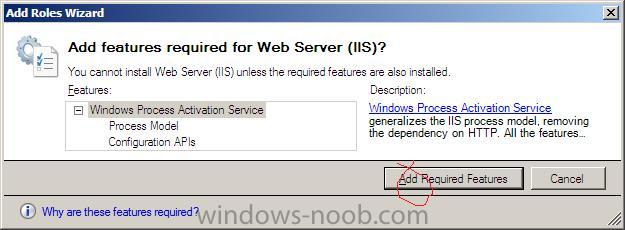
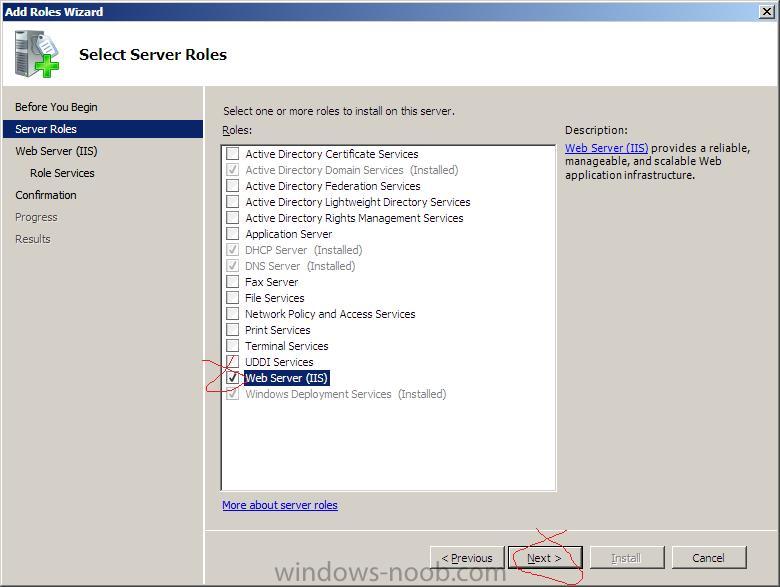
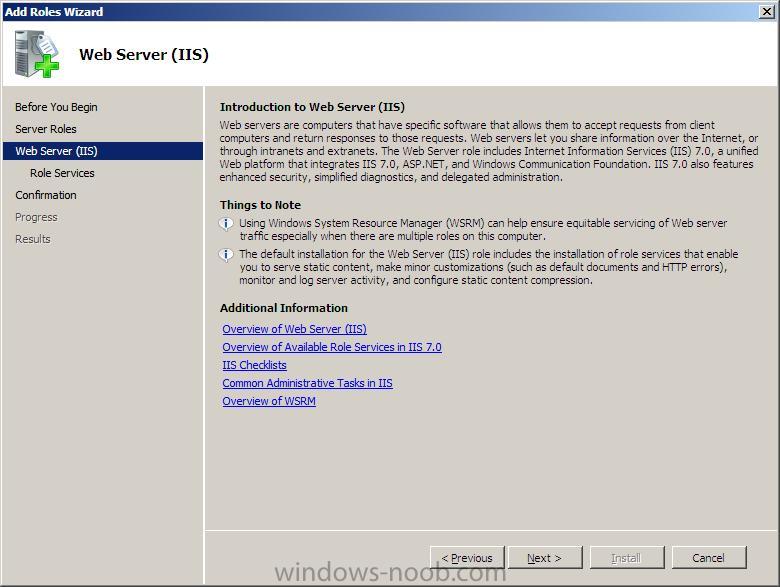
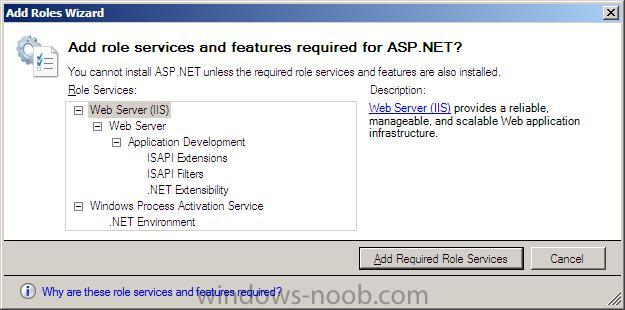
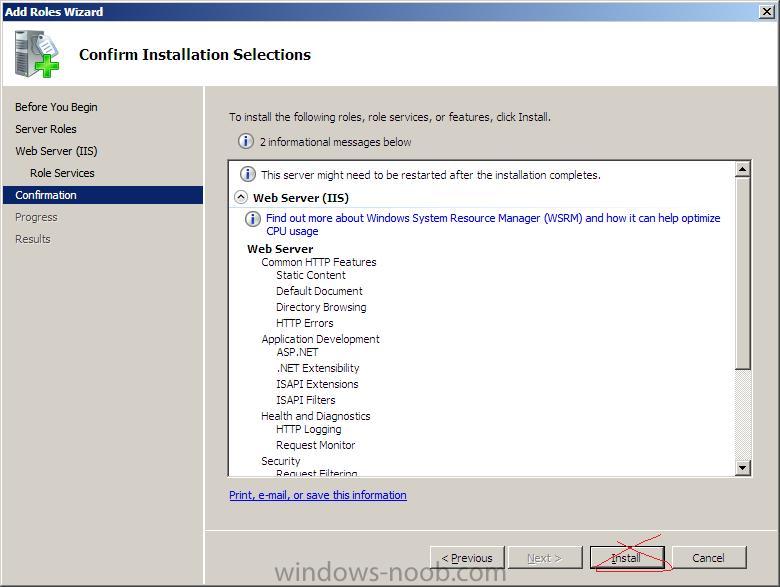
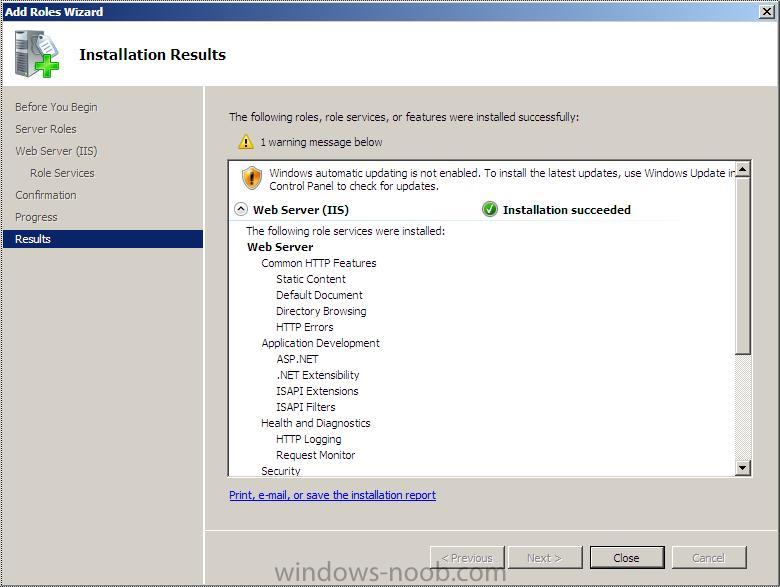
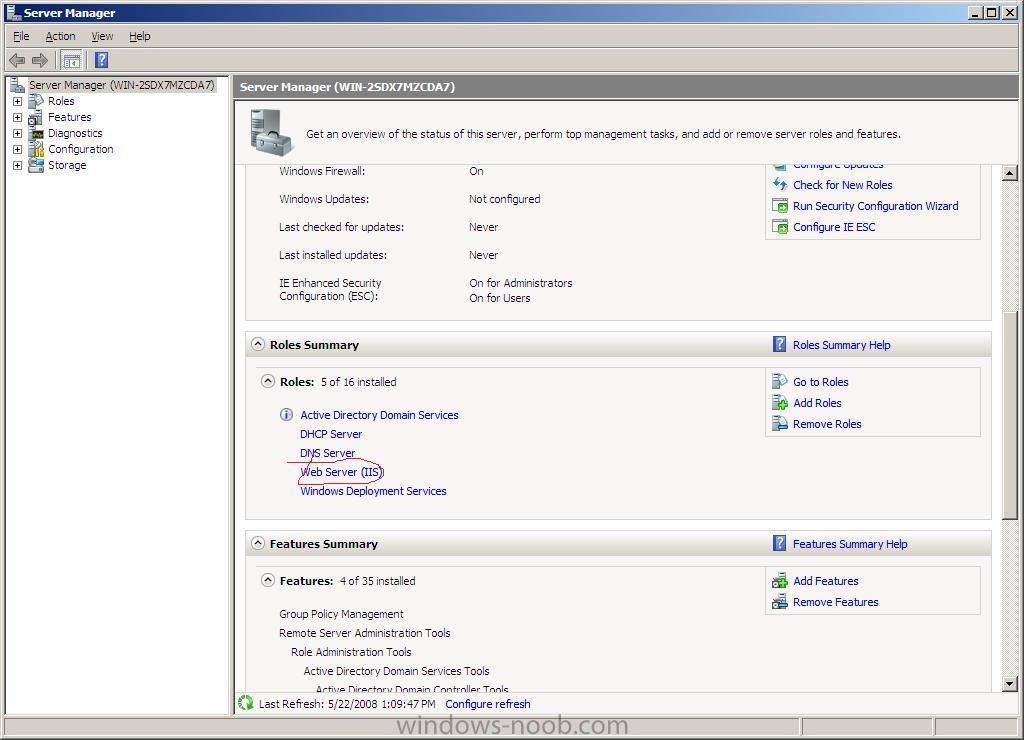
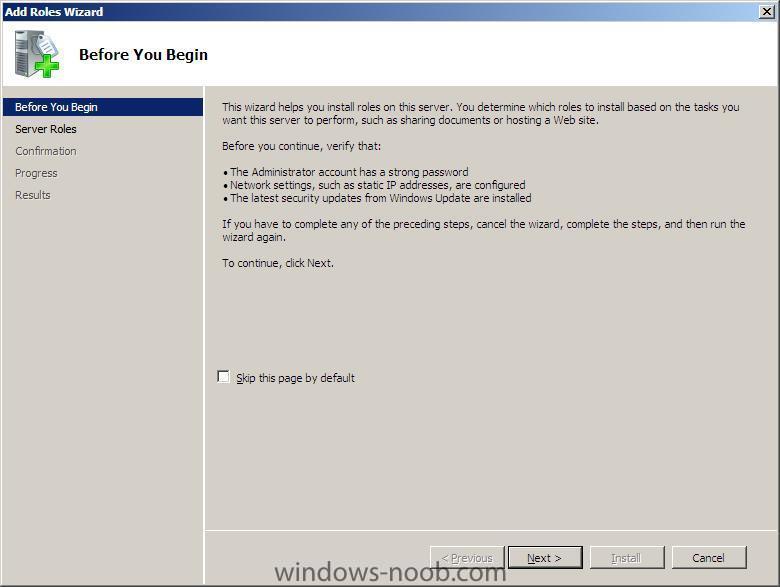
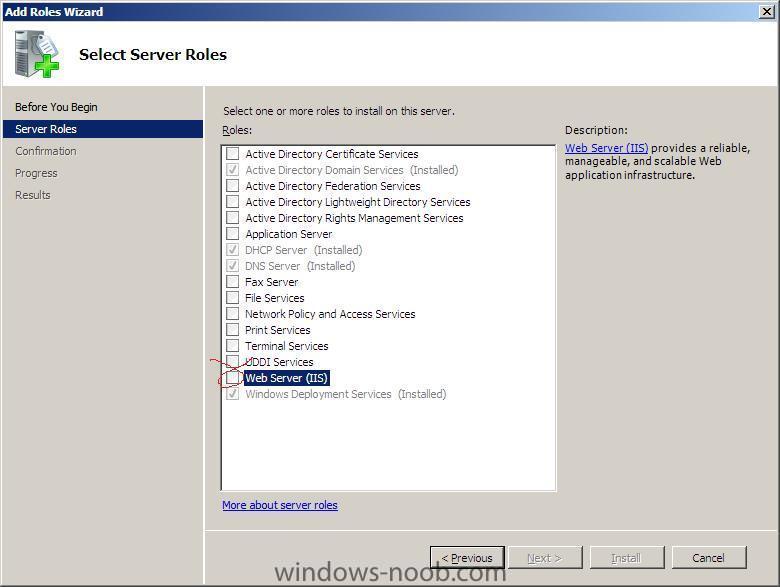
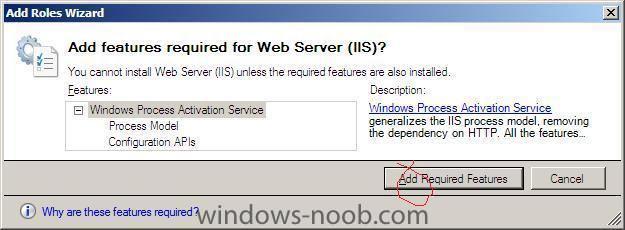
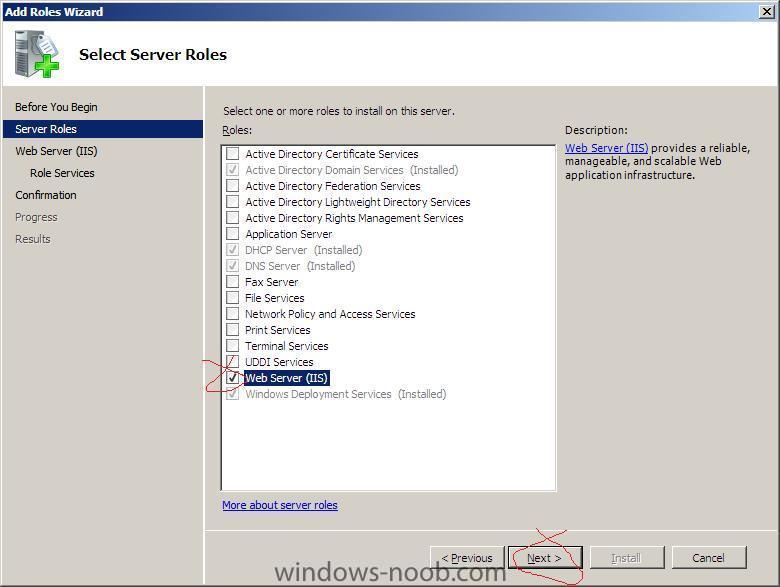
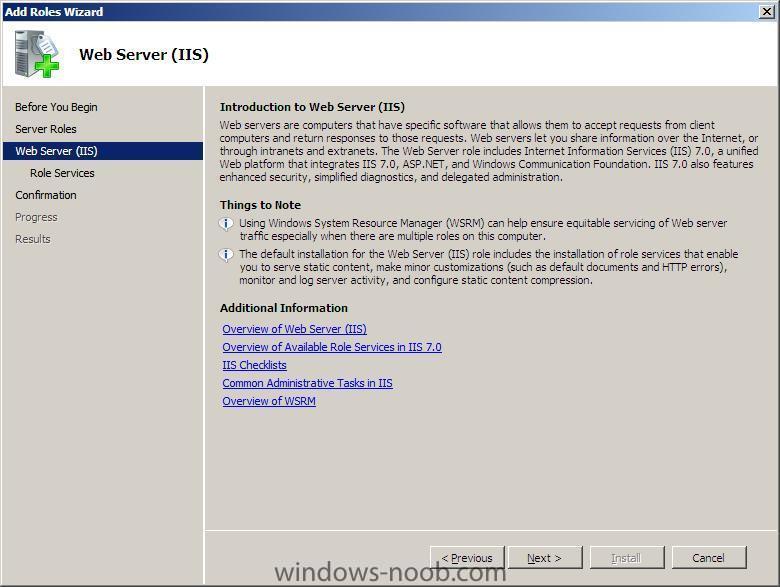
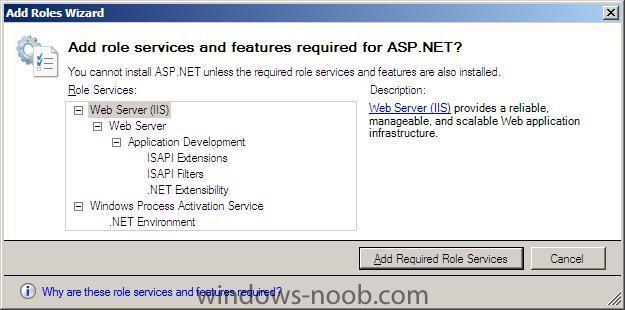
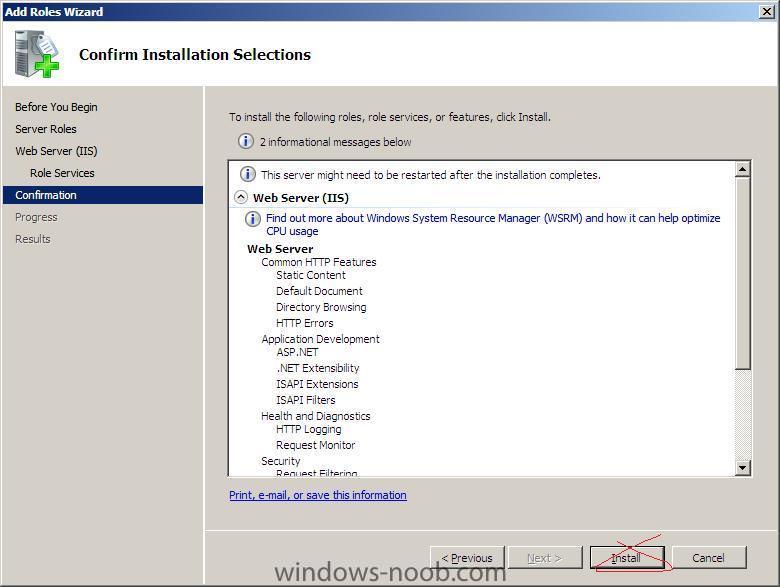
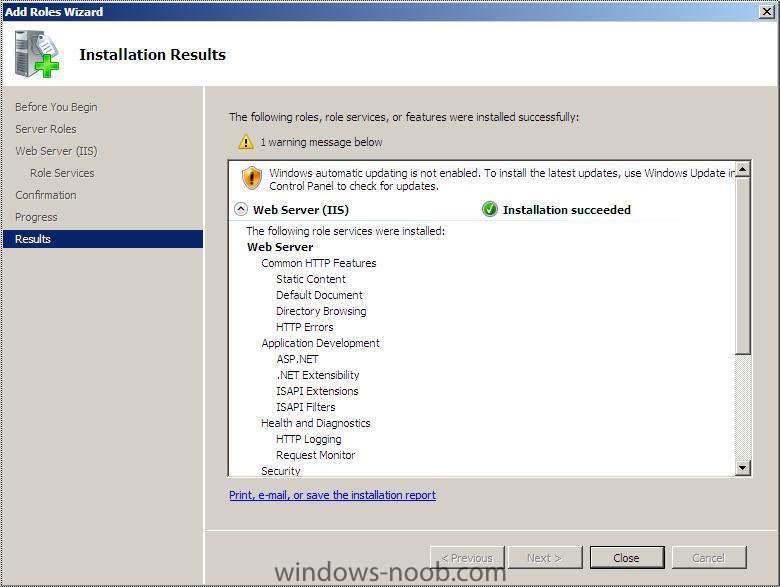
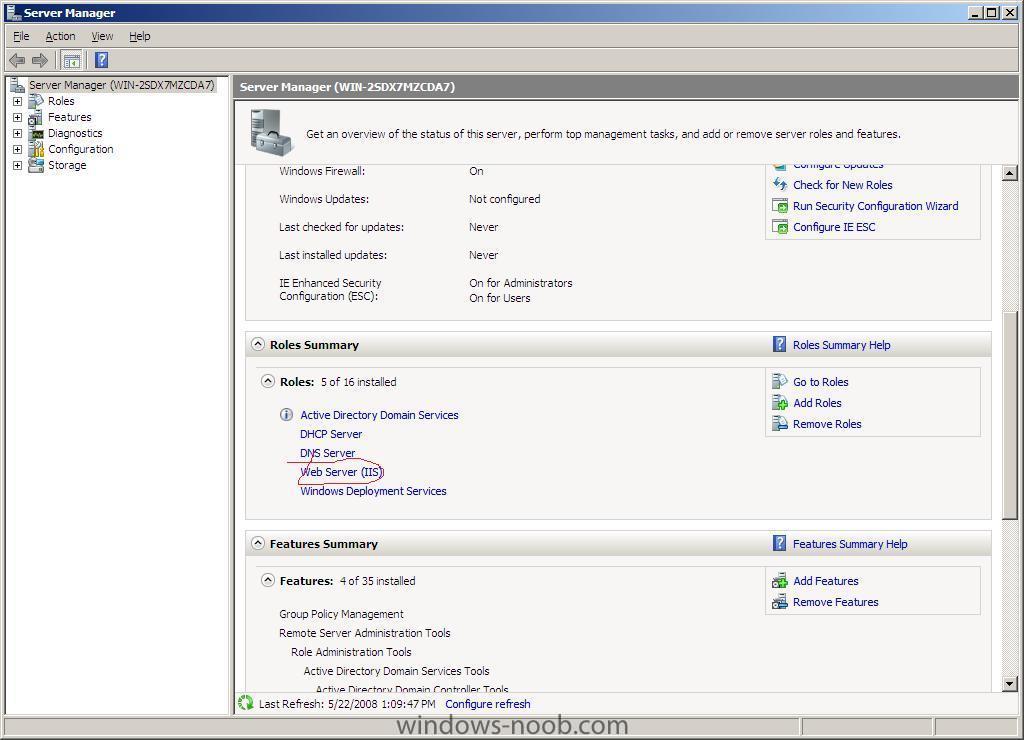
Part 1. Add the Web Server role to Windows Server 2008 This guide assumes that you have first installed Windows Server 2008 and configured it for Active Directory (AD) and setup a working DHCP server. Steps 1 and 2 of this guide will show you how to setup and configure both the AD role and the DHCP role. Once done you can continue below. If you would like to read the Official Microsoft documentation for setting up IIS with Webdav then please read this Add the Web Server role (IIS 7) to Windows Server 2008. Click on Start, choose Server Manager, scroll down to Roles Summary and choose Add roles at the Before you begin page, click next in the Server Roles page, click on Web Server IIS a window will appear notifying you that some required features also need to be installed click on Add required features at this point you can now click on Next in the Server roles page... you'll get an Introduction about Web Server IIS and how it integrates with Windows Server, click next to continue now we have to select the role services to install for IIS under Application Development place a checkmark in ASP.NET an additional window will pop up telling us that the following roles and features are also installed click on Add Required Role Services Click on Next when done review the confirmation screen and click Install to continue Once done review the results pane click Close to exit The Web Server (IIS) role should now appear in Server Manager Roles Summary. if you open a web-browser and enter the following address http://localhost you should see the nice IIS 7 welcome screen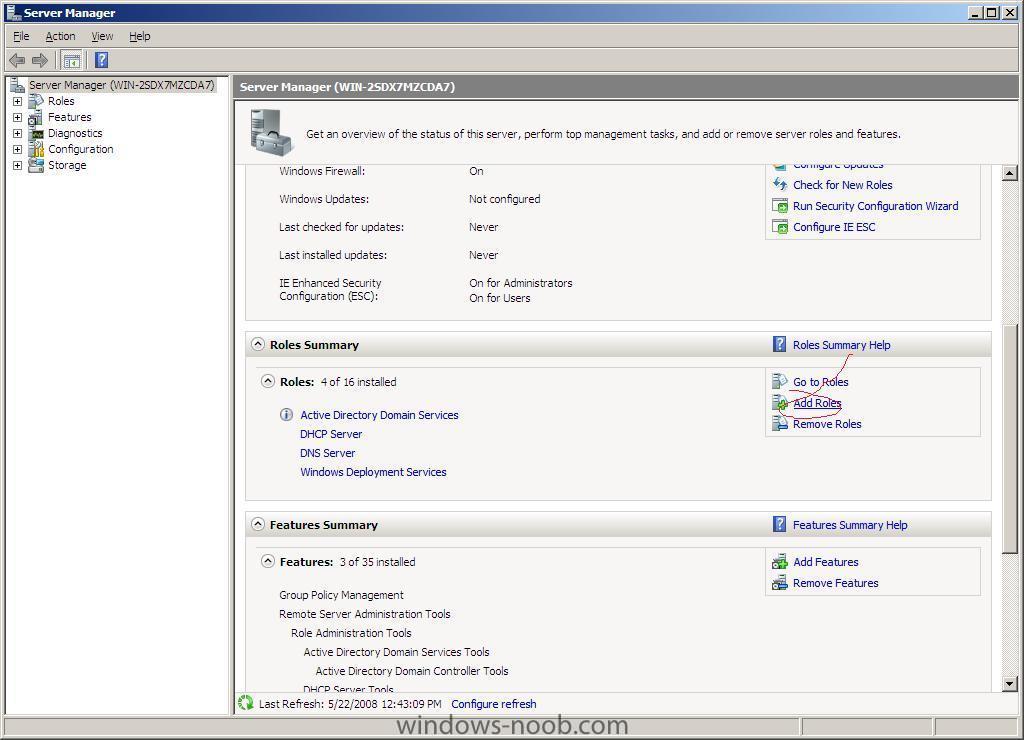
-
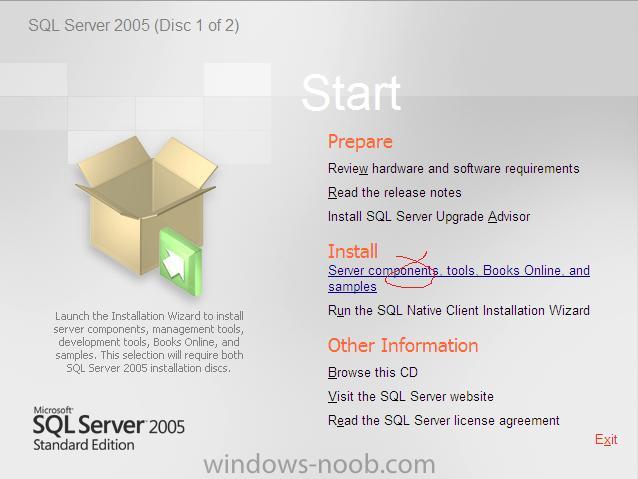
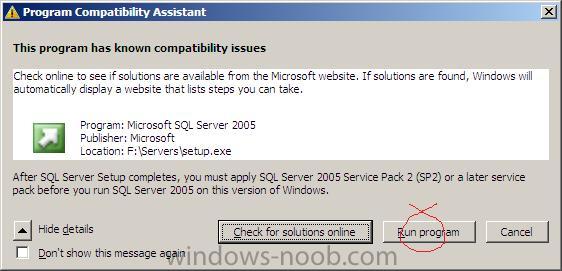
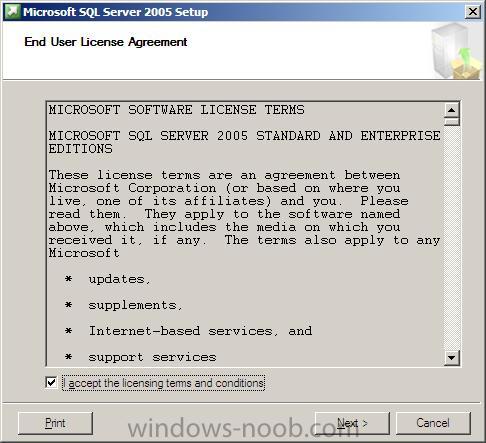
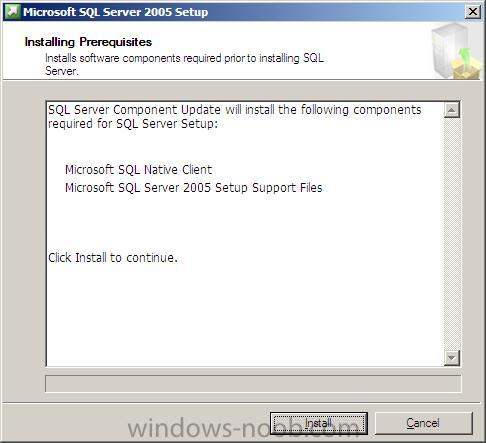
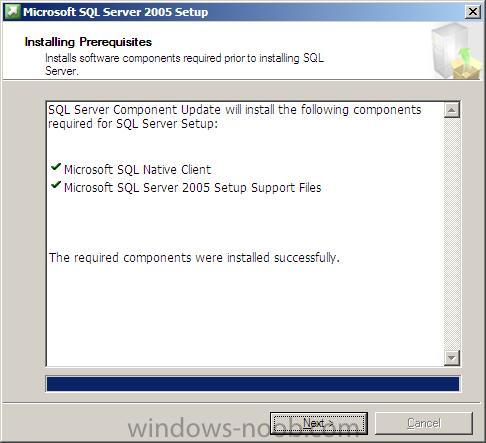
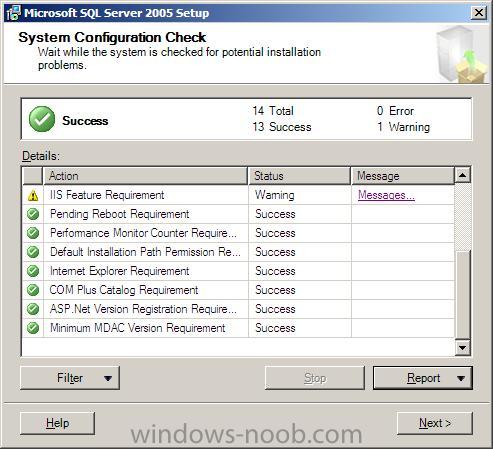
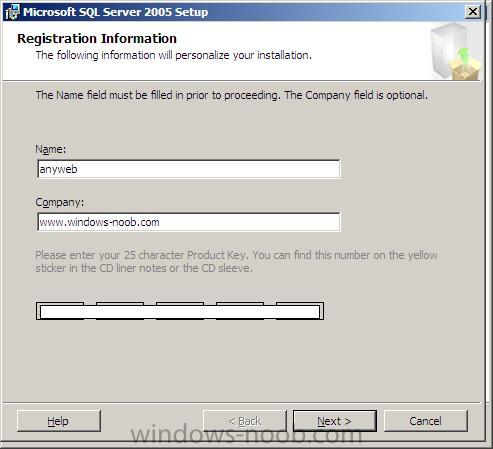
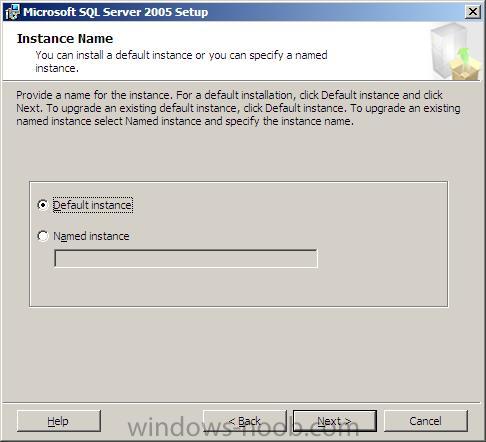
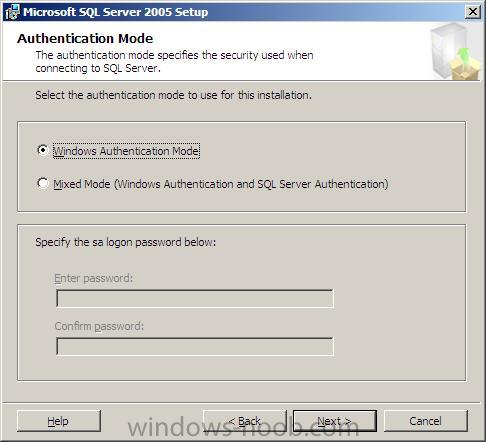
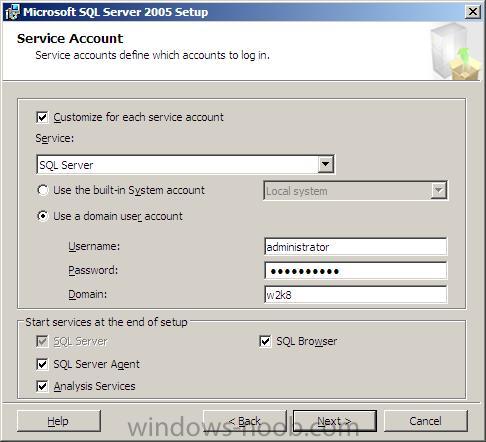
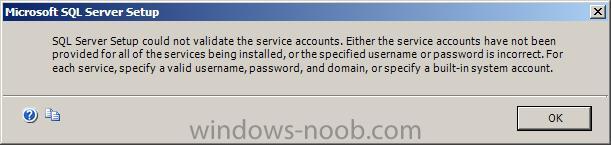
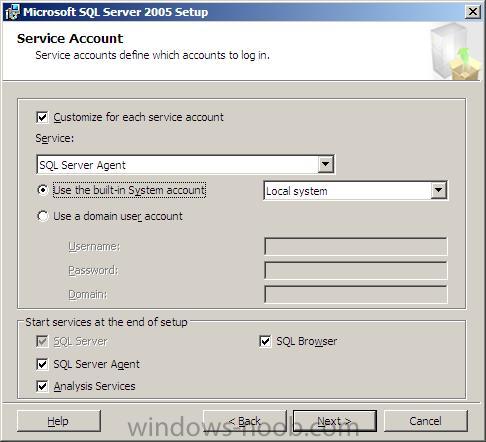
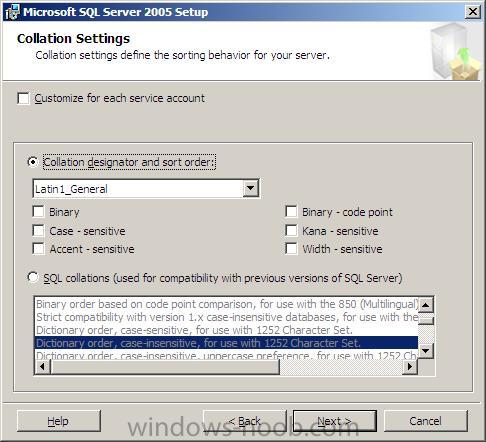
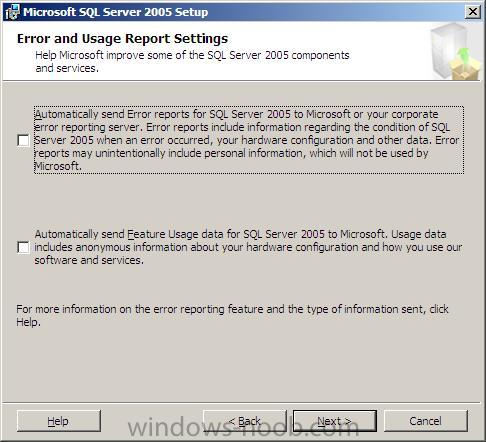
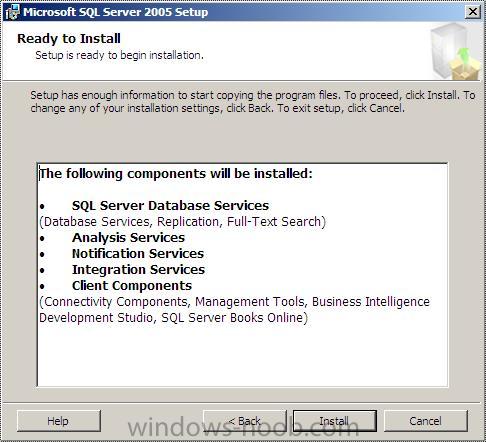
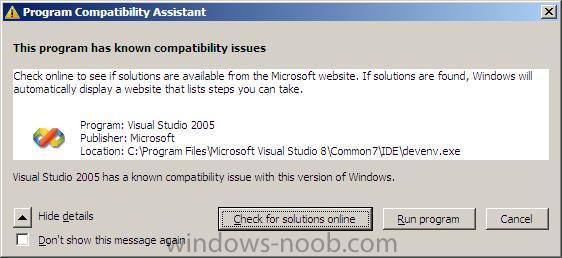
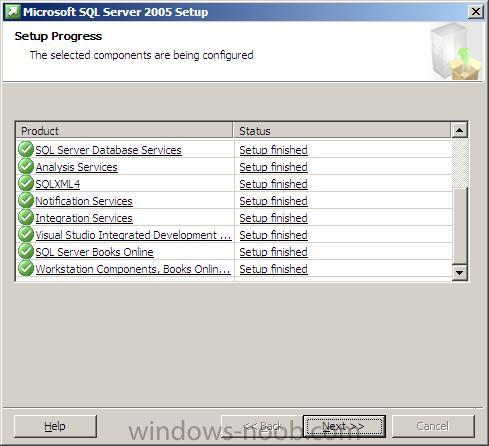
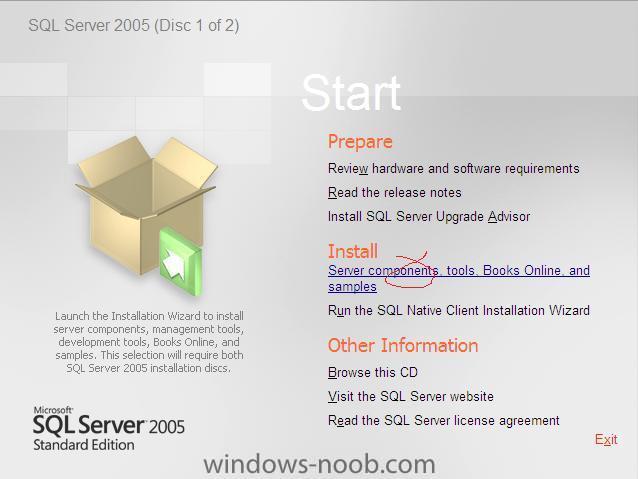
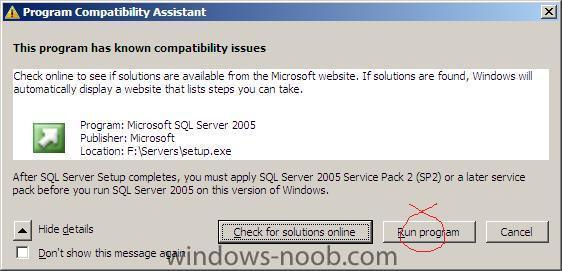
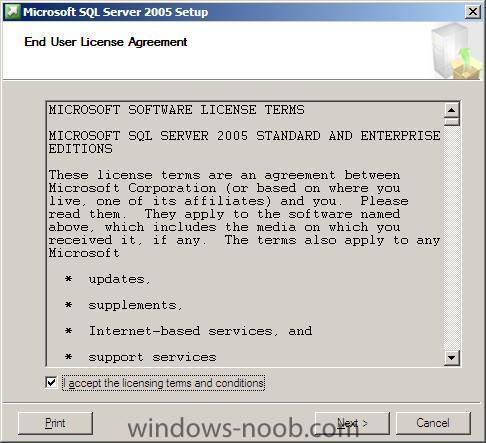
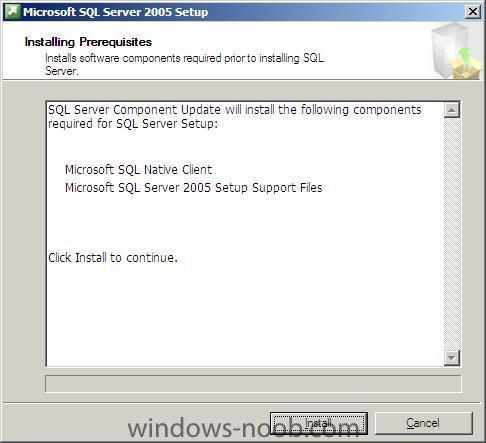
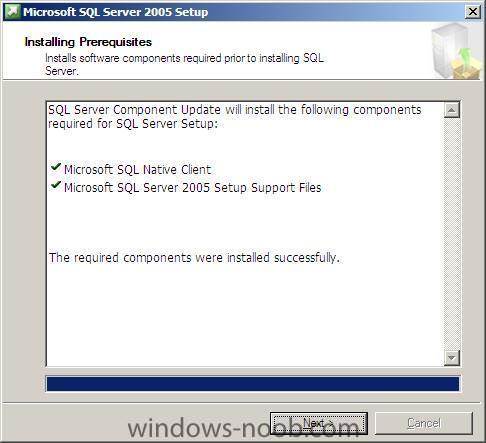
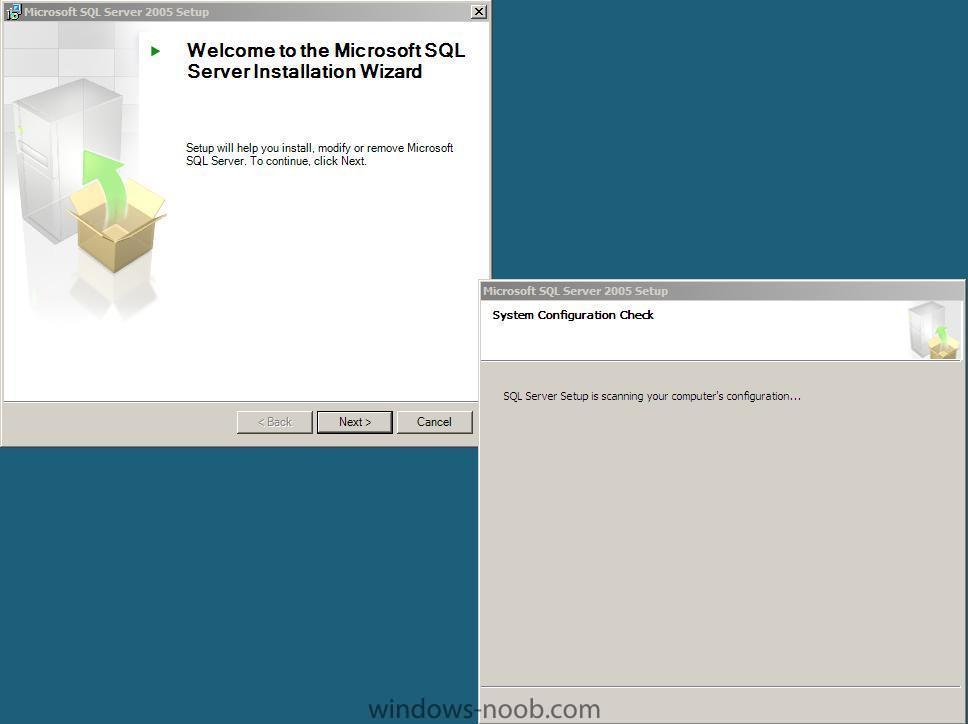
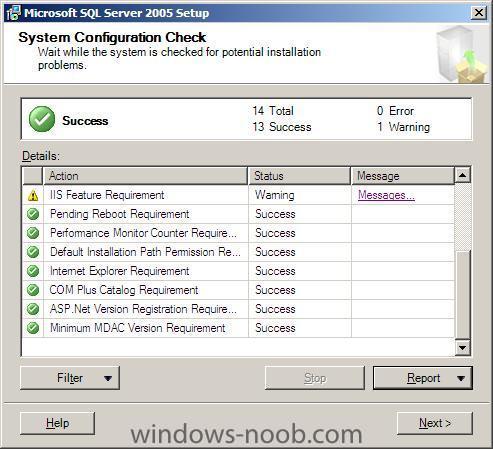
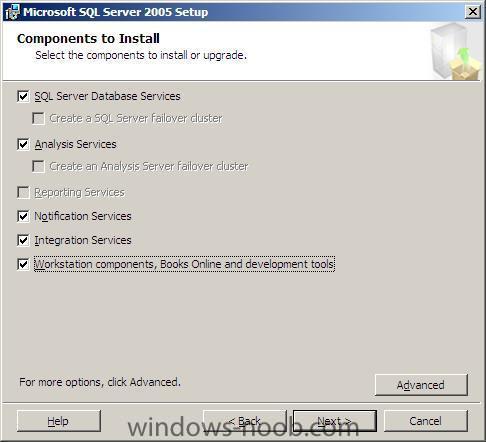
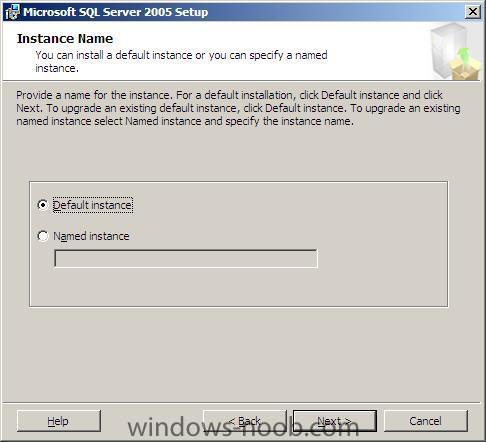
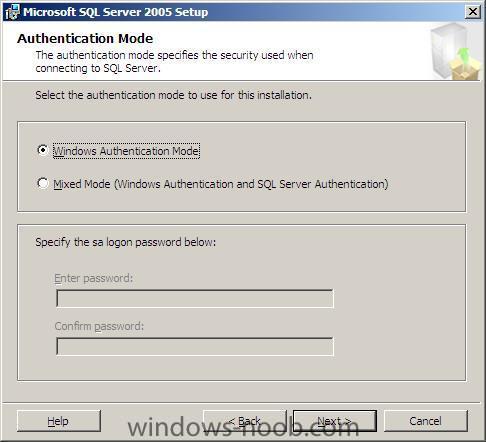
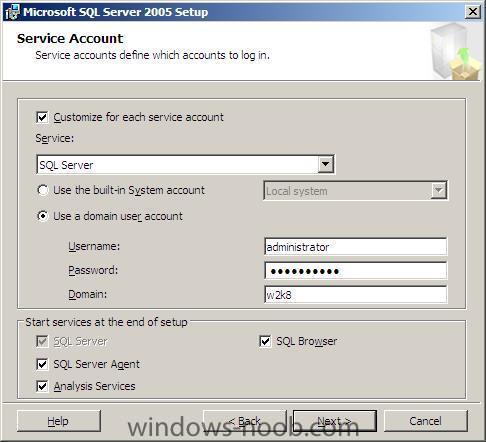
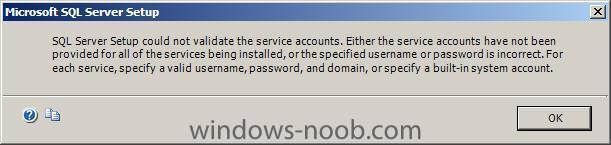
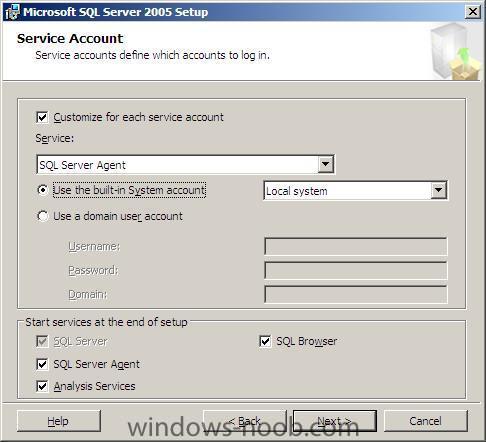
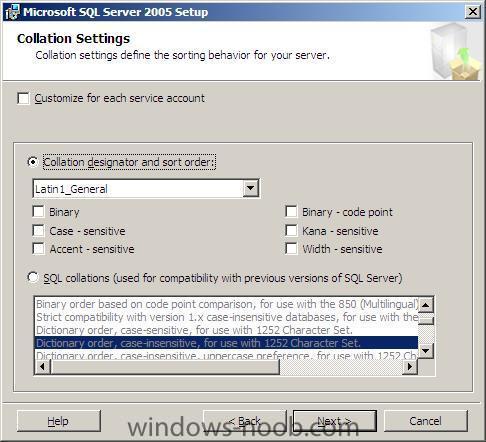
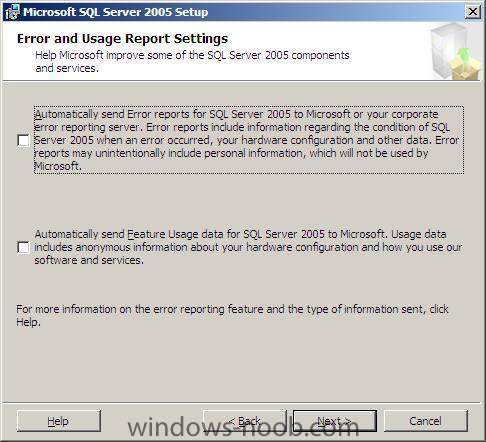
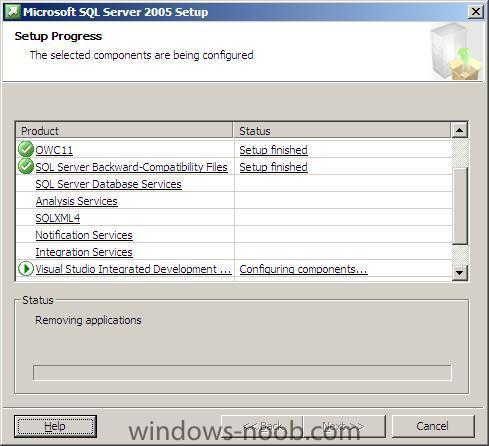
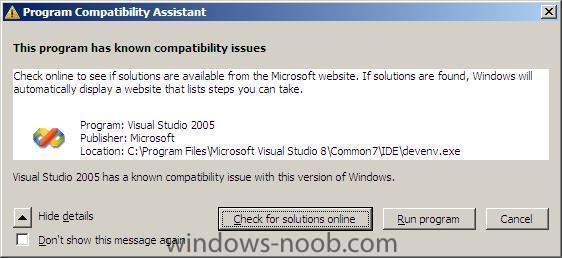
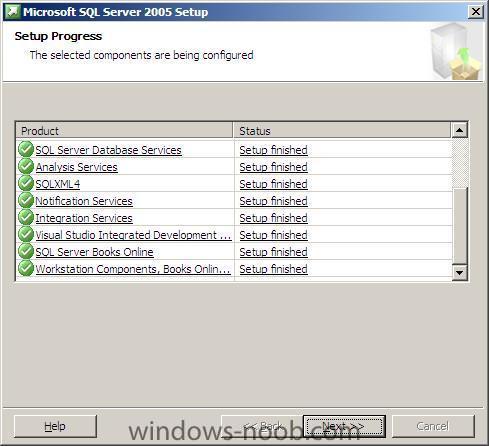
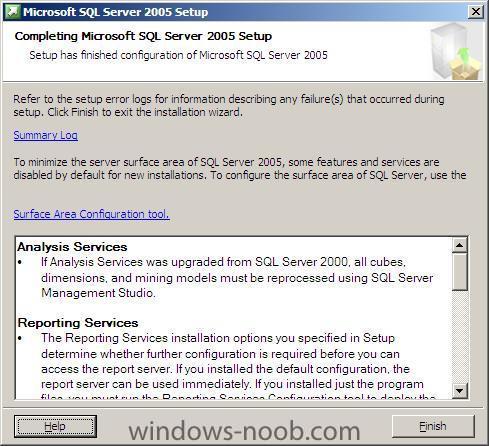
This guides main purpose is to help you install SQL 2005 SP2 standard edition on Windows Server 2008 (while we wait for SQL 2008). Part 1. Install SQL Server 2005 standard edition The screenshots for this guide were taken from a Windows Server 2008 which had been preinstalled and configured with AD, DHCP, DNS, WDS Insert the Microsoft SQL Server 2005 Standard Edition DVD (or mount the ISO available on MSDN called en_sql_2005_std_x86_dvd.iso) using Daemon tools or similar. When the splash screen appears, choose the Server components, tools, Books Online, and Samples choice under the Install menu. depening on your version of Windows Server, you may get a warning about known combatibility issues as below, but that's safe to ignore as we will be upgrading this install to Service Pack 2 as part of the process. Click on Run program and accept the licensing aggreement... you'll be informed that setup has to install some prerequisites (Microsoft SQL Native Client and Microsoft SQL Server 2005 Setup Support Files) click install to continue once installed click next to continue next you'll see a window system configuration check, but behind it is the actual SQL Server Setup Wizard, in the Welcome to the Microsoft SQL Server installation Wizard, click next if you get a warning that IIS is not installed, ignore it for now as we will install it later. If you get the IIS warning, click next to continue then cancel out of the SQL setup and follow this guide to install IIS 7 in Windows Server 2008 Once you have IIS installed, re-run the Microsoft SQL Server installation Wizard. If you get the IIS error again, ignore it and click next to continue review the registration info and click next to continue in the components to install screen select all options click next to continue and choose Default Instance on the next screen enter your administrator password for the SQL Server Service, click next and note the warning, for the remaining services we will use the local system account select local system account for the remaining services like this (you'll see the above warning each time until all three are configured to use the local system account.... namely SQL Server Agent, Analysis Services and SQL Browser leave the authentication mode as it is (Windows Authentication Mode) set the collation settings as follows leave the Error and Usage report settings as they are and click next... review the summary and click Install to continue this will take some time, so now is a good time for a coffee break... after a long time you may see the following Visual Studio 2005 warning, click on Run Program to continue we can resolve it later by doing as quoted here however, as we will be upgrading SQL 2005 to SQL 2005 SP2, we will ignore this for now... when the Setup Progess is done, click on next review the summary and click finish and then reboot the server.


-
if you remove the %oem% folder you added to your %reminst%\images\<image group>\<image .wim name> does the process work ? if not, are you 100% sure that you've followed the below to the letter ? from my understanding of your problem you are getting to point 5 of part 3 of this post and then you are not seeing any images listed, are you booting the SAME hardware to the pxe server as you created the image with ? if not can you try doing that please ? if all of this doesnt help then the only thing that I can think of that may be causing your issue is the hard disc controller not seeing your hard disc, you can verify this by bringing up a command prompt during the windows PE process and typing dir c:, do the files you'd expect to see show up ??? if this is the issue then we'll have to add the sata drivers via txtsetup.oem.... cheers anyweb
-
hi feeks and no worries about the closed topic, it was my fault for not closing them earlier and it makes it easier for other users to find answers if and when we come to those conclusions ! i'll try and go through your post bit by bit and make some comments sounds to me like a HAL is getting confused, can you describe how you made the image(s) in question and how you are attempting to deploy them ? is the image Windows XP or Vista, and what service pack is it ? Windows XP service pack 3 is indeed an X86 (32 bit) image, it's reporting it correctly,at the time of writing, XP is available in a 64bit version but that is at service pack 2 level in order to understand your problem accurately, please tell me exactly what you have done to get to where you are now, and tell me at what point the deployment fails, we'll try and solve this together cheers anyweb
-
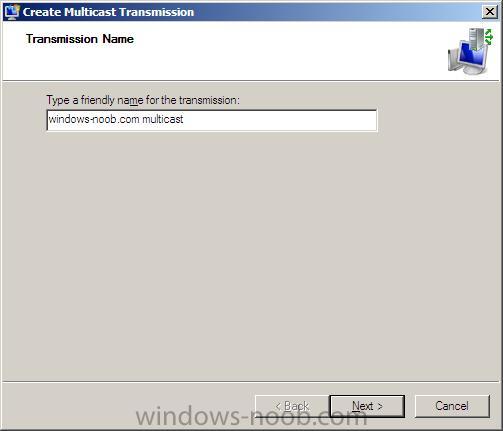
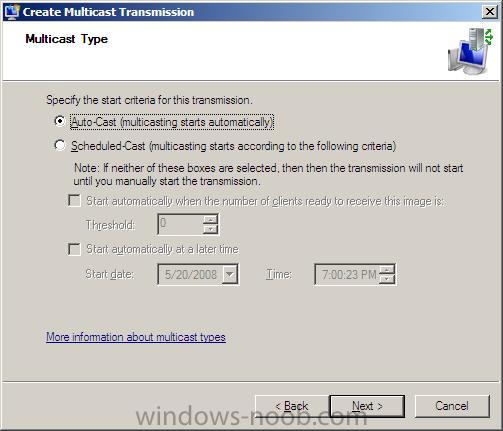
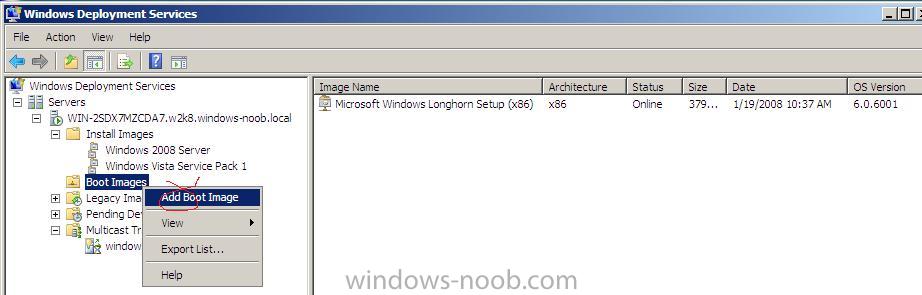
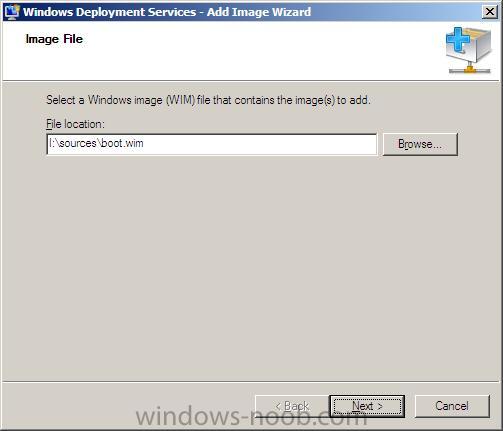
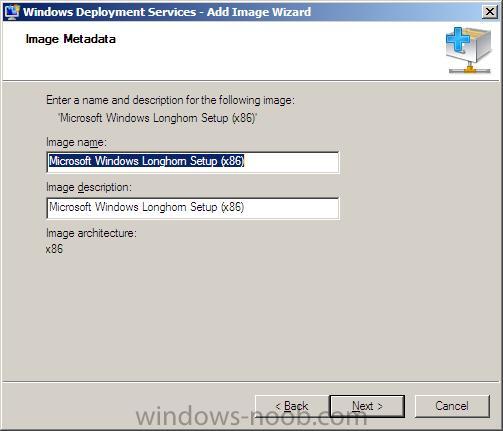
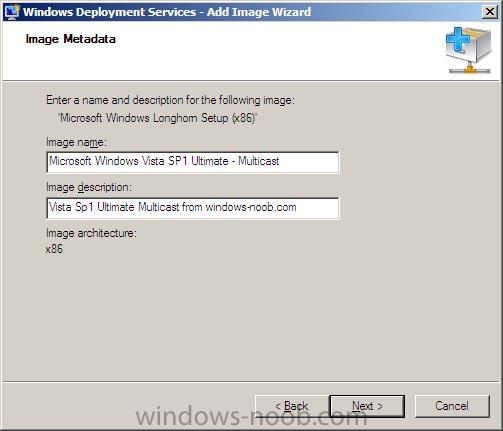
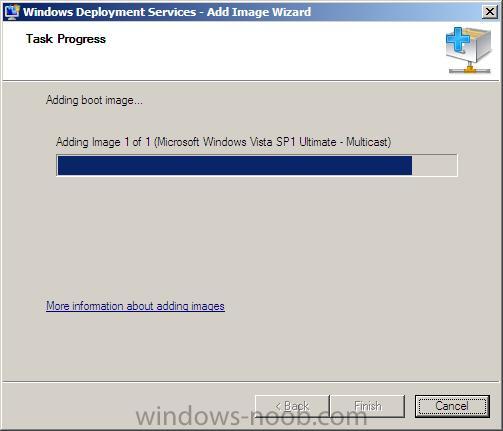
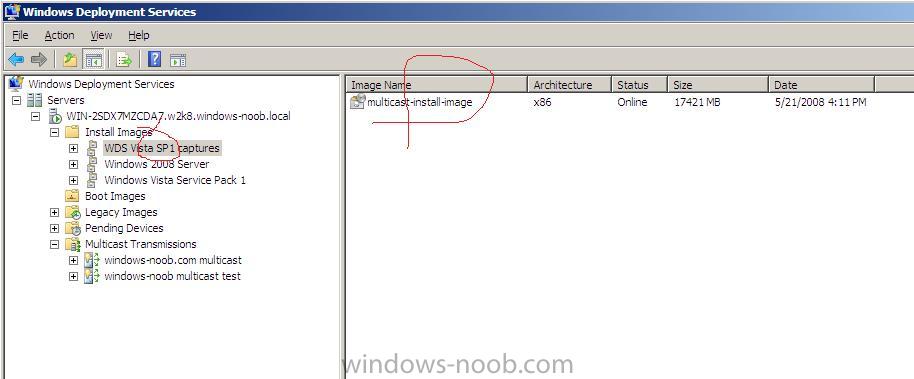
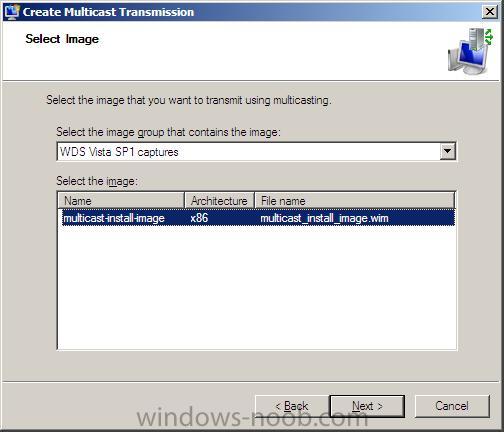
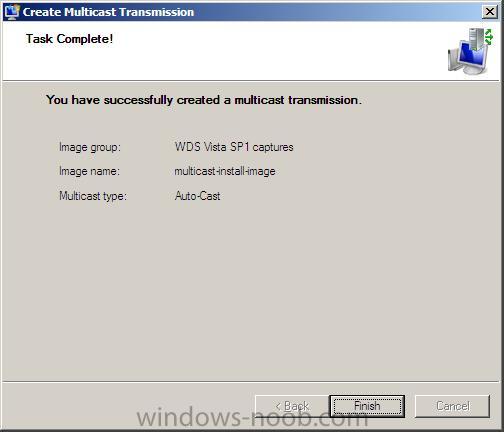
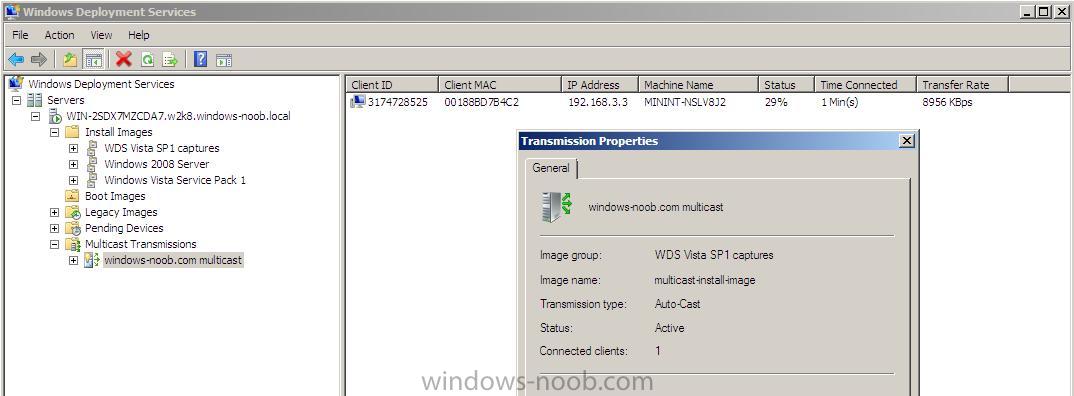
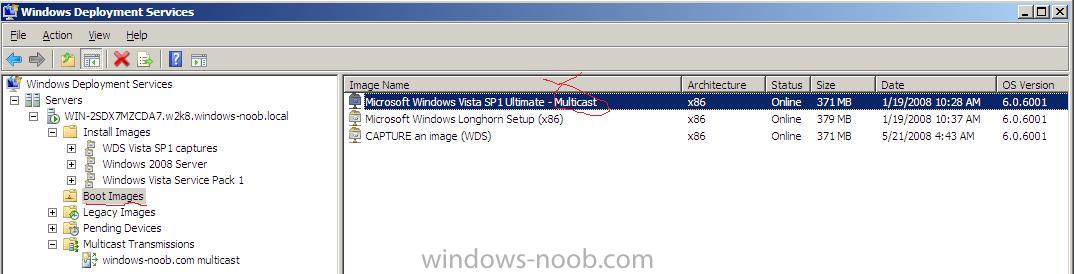
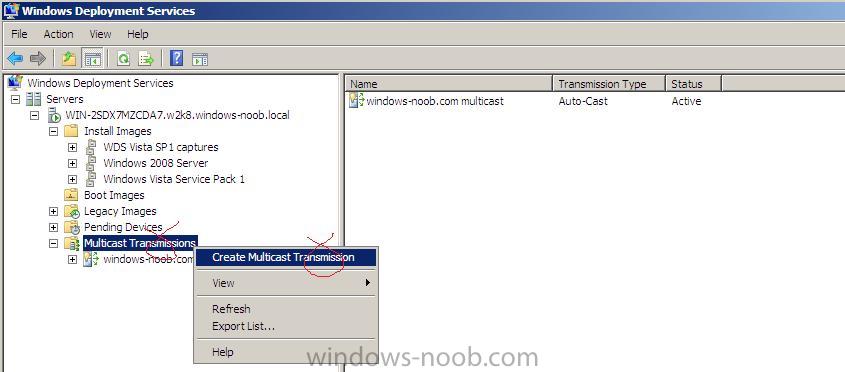
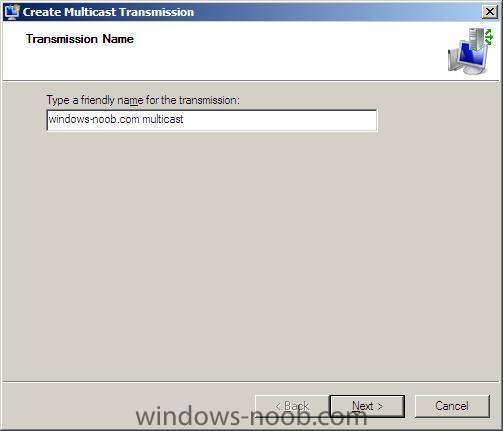
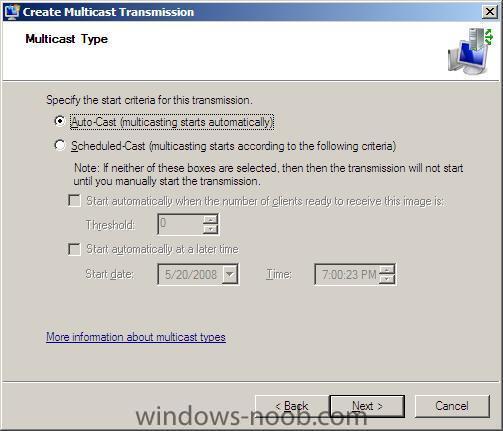
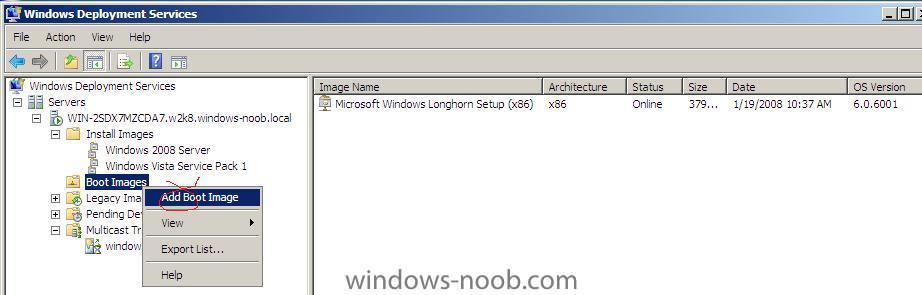
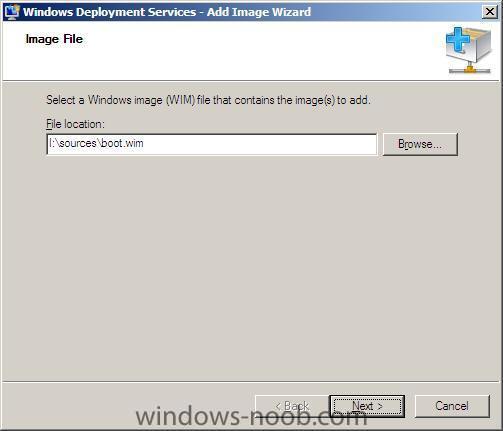
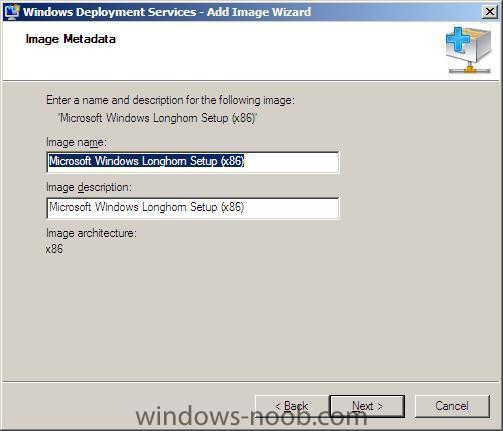
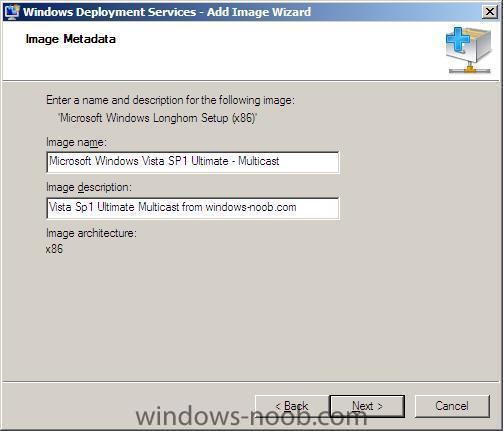
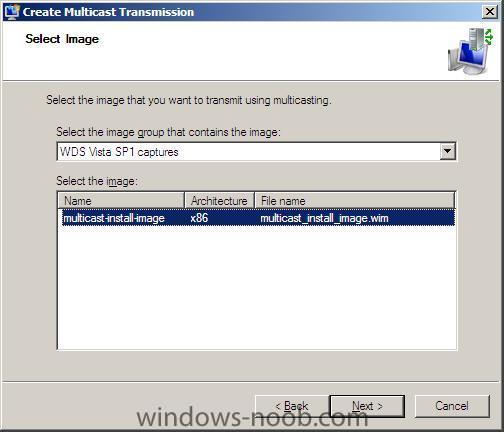
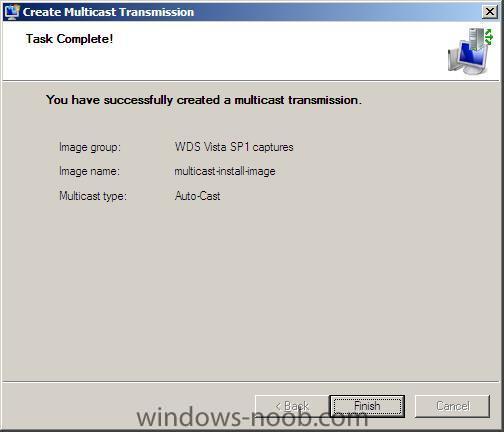
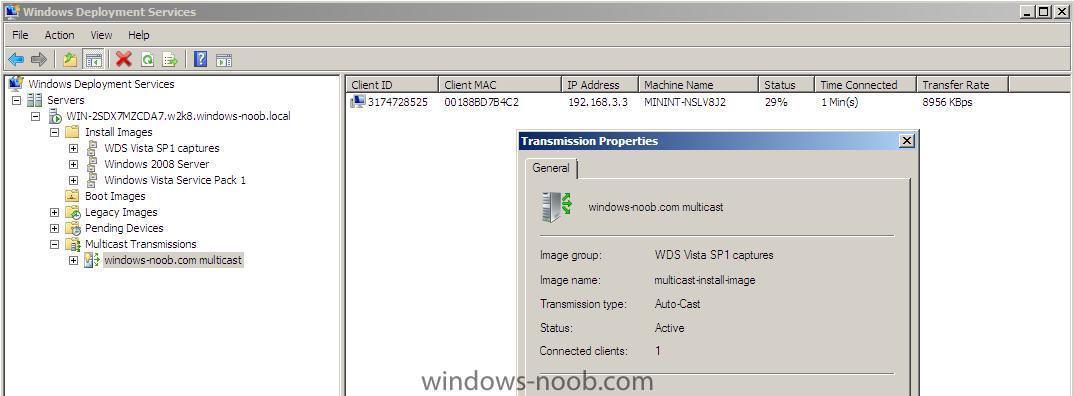
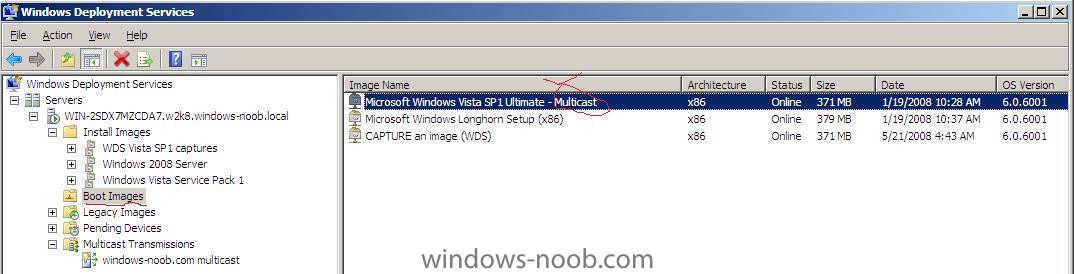
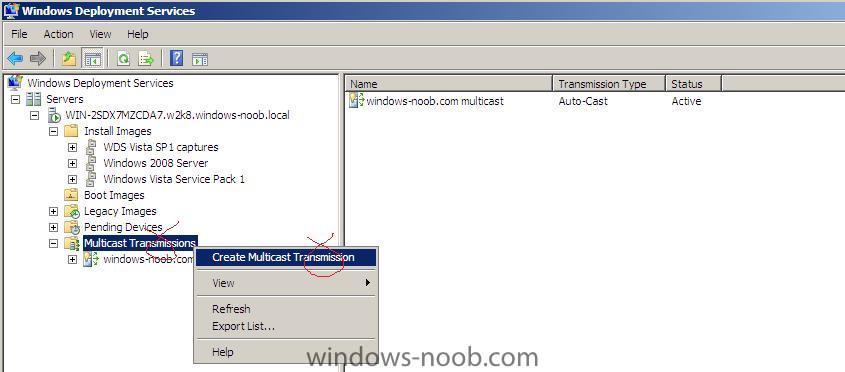
This guide assumes that you have first setup WDS in Windows Server 2008 and then configured it to deploy Windows Vista Service Pack 1. In addition, you'll need to capture an install image to be used as the multicasting transmission image. What is multicasting ? Multicasting is the ability to deploy an image to multiple clients without putting overhead on the network. When you create a multicast transmission, the image is sent over the network only once (when the server has completed the image file broadcast, it starts over from the beginning). Clients can join the broadcast at any time during the transfer, if they miss anything they can simply wait until the file or part of the image is transmitted again. It's explained very nicely here and I quote What do I need to set it up ? As mentioned already at the beginning of this guide, you'll need the Windows Server 2008 setup and configured for WDS and you'll need at least one install image on it that you want to transmit in the multicast (use WDS to create a Capture image, then capture an image, that image will be used as the Install image for multicasting later...). In addition, you'll need the Boot.wim file from the Windows Server 2008 or Windows Vista with SP1 DVD. If you use the boot.wim file from the Windows Vista DVD (ie: the original release) then you will NOT be able to join a multicast transmission. You'll also need router hardware capable of supporting multicasting, and you must confirm that Internet Group Membership Protocol (IGMP) snooping is enabled on all devices (If IGMP snooping is turned off, multicast packets are treated as broadcast packets, and will be sent to every device in the subnet.) How can I create a multicast transmission ? In the Windows Deployment Services mmc, right click on Multicast Transmissions in the left pane and choose Create Multicast Transmission When the wizard appears, give the transmission a friendly name and click on next Next you will get the option to select the image group and image from your predefined image groups (I had three predefined groups, WDS Vista SP1 captures, Windows Server 2008 and Windows Vista SP1). To get Multicasting to work I had to use the WDS Vista SP1 captures install image (it was a sysprepped image as defined in this howto) You will now have to choose which type of multicast transmission you want, Auto-cast or Scheduled-cast. In this example, we will choose Auto-cast. Once done, you are shown a summary of your actions Now we will add a boot Image from our Windows 2008 Server DVD or Windows Vista Sp1 DVD. In the WDS mmc, right click on Boot Images and choose Add boot image point the wizard to your boot.wim file in the Sources folder on your Windows Vista Service Pack 1 DVD (or Windows Server 2008 DVD). the default Image name and Image description are meaningless and we need to change them change them to suit the image type you chose earlier. review the summary and click finish to add the image clicking finish again will now list the new boot.wim image in your WDS boot images pane on the right hand side. At this point, you need to PXE boot your client computers to the server. You will have two choices to make, the first is the boot image (as defined in boot images in WDS mmc) and the second is Install image (as defined in the install images in WDS mmc) here is an outline of the PXE process:- pressing F12 to pxe boot to the server, once connected you'll see the Windows Boot Manager menu It listed three choices for me Microsoft Windows Vista SP1 Ultimate - Multicast Microsoft Windows Longhorn Setup (x86) CAPTURE an image (WDS) the choices are defined in the boot images section of WDS mmc. I chose the first option After Windows PE boots up, the Install Image needs to be selected, and as part of that process you'll see that you have to do as follows:- choose local/keyboard layout login to your domain select the image (I selected the image called multicast-install-image which I created earlier by capturing a sysprepped Vista sp1 image in WDS) you'll be asked where do you want to install windows, then 'waiting for server' will appear briefly (waiting for the Multicast transmission) a regular PXE boot to a WDS server for a non multicast transmission would simply pull down the image one computer at a time, thereby adding to the load on the server and the network, with Multicast, the server broadcasts the image once and all clients have to 'join in' on that transmission, if they miss it (or part of it) then they have to wait until the transmission starts again (kind of like a round about) finally you can verify the progress in the WDS MMC gui in the Multicast Transmission properties (refresh with F5) done ! For further reading on this subject, see Microsoft's technet material or this blog


-
how can I DEPLOY an image captured using WDS ?
anyweb replied to anyweb's question in Windows Deployment Services (WDS)
what dell model are you having problems with ? and does it have the latest bios version ? did you use the MSDN windows vista DVD or some other Windows Vista DVD ? please post this info along with the original problem in a new thread, i'm closing this topic as it's getting confusing to others cheers anyweb