anyweb
-
Posts
9182 -
Joined
-
Last visited
-
Days Won
366
Everything posted by anyweb
-
 ok and is it that step, Upgrade Operating System (laptop) that's running or the next one, if the next one, what variable is set there ?
 -
please post questions that arn't related to the original thread in their own post.
-
can i see a screenshot of your upgrade operating system step and the download content package step with the variable
-
SCCM 1601- Build a Windows 1o Enterprise
anyweb replied to Sokoban's question in Deploying Windows 10, Windows 8.1, Windows 7 and more...
did you enable command support in your boot images ? -
without more info and the smsts.log file it's hard to troubleshoot, but are you sure the script itself is running ok ? at the point where it fails, bring up a command prompt, and run the script manually, does it work without error ?
-
on which machine, the one that got the error or another one ??
-
how did you restore the site after the disc failure, did the operating system need a reinstall ? what operating system is this installed on and was WSUS patched with the required updates to allow the Upgrades category to correctly display in the SUP ? is the Service Connection Point role configured for Online mode ?
-
have you looked here ?
-
just put continue on error on that step, it's failing as no tpm was detected on that step (virtual hardware ?)
-
SCCM 1601- Build a Windows 1o Enterprise
anyweb replied to Sokoban's question in Deploying Windows 10, Windows 8.1, Windows 7 and more...
press f8 when it fails and attach the smsts.log file -
How can I establish expert task sequence
anyweb replied to thrqureshi's topic in Configuration Manager 2012
it sounds like you need to do a lot of work to understand task sequences and how they can be customized for your needs, it also sounds like you need to learn about MDT integrated UDI task sequences, i'd suggest you start looking here. -
try this in a cmd prompt gpresult /h results.html then open results.html in Internet Explorer
-
SCCM 1601- Build a Windows 1o Enterprise
anyweb replied to Sokoban's question in Deploying Windows 10, Windows 8.1, Windows 7 and more...
not according to this Warning: Matching Processor Architecture Boot Image (0) not found SMSPXE 2016-05-27 14:25:49 4456 (0x1168) the message means it cannot find a boot image matching the architecture of the machine that is booting, so check again, that you have enabled for PXE both boot images (x86 and x64) and distributed them to your distribution points... -
Microsoft Intune subscription
anyweb replied to Pavan Kumar's topic in System Center Configuration Manager (Current Branch)
If you have a hierarchy, you must install this role on the CAS server as described here -
20gb RAM ? can you attach the smsts.log ?
-
SCCM 1601- Build a Windows 1o Enterprise
anyweb replied to Sokoban's question in Deploying Windows 10, Windows 8.1, Windows 7 and more...
did you distribute both the x86 and x64 boot images ? -
How do I add a PowerShell entry in Task Sequence?
anyweb replied to afaik's topic in Configuration Manager 2012
can you show me a screenshot of your configmgr version (about, version) the Run PowerShell script step comes with ConfigMgr R2, so you should have it, however, did you update your console after upgrading ? -
How do I add a PowerShell entry in Task Sequence?
anyweb replied to afaik's topic in Configuration Manager 2012
have you tried this ?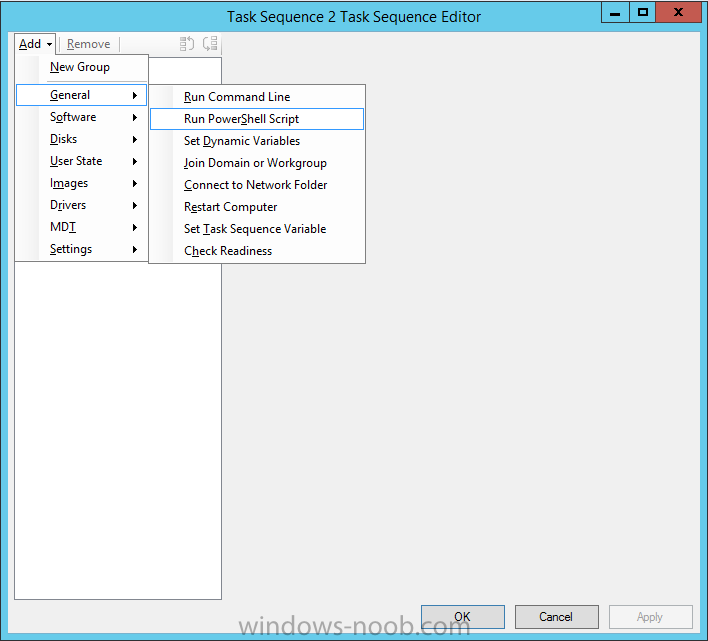
-
How do I add a PowerShell entry in Task Sequence?
anyweb replied to afaik's topic in Configuration Manager 2012
what version of SCCM are you using ? -
what error do you get, can you attach the smsts.log
-
SCCM 1601- Build a Windows 1o Enterprise
anyweb replied to Sokoban's question in Deploying Windows 10, Windows 8.1, Windows 7 and more...
there's your problem Warning: Matching Processor Architecture Boot Image (0) not found SMSPXE 2016-05-27 14:25:49 4456 (0x1168) make sure to distribute (and enable for pxe) both architecture boot wim's -
SCCM 1601- Build a Windows 1o Enterprise
anyweb replied to Sokoban's question in Deploying Windows 10, Windows 8.1, Windows 7 and more...
what's in between the distribution point and this vm ? is the boot image deployed to the pxe enabled distribution point ? what does the smspxe.log file reveal ? -
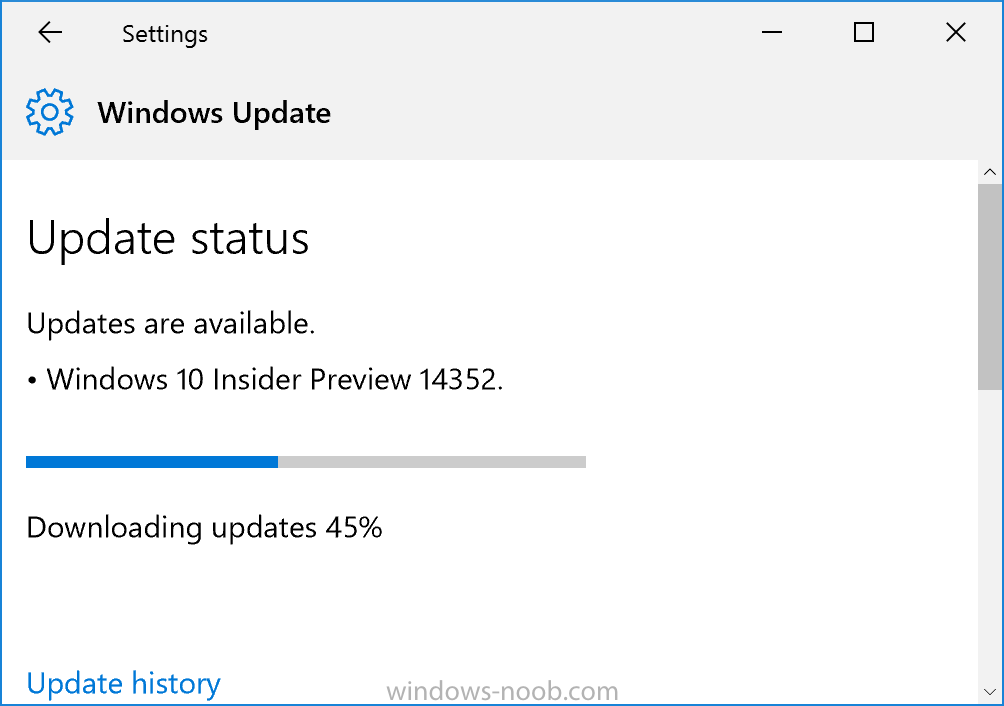
Microsoft has released yet another Windows Insider Preview release, this time it's 14352 more info > https://blogs.windows.com/windowsexperience/2016/05/26/announcing-windows-10-insider-preview-build-14352/
-
Help me understand the workstation pxe boot/boot.wim process
anyweb replied to 92 5 oh's topic in Configuration Manager 2012
that's a long post but to simplify things, you probably just need to add drivers for the network card for the hardware you are PXE booting, to the boot image you use in your task sequence, once you've done that, and then re-distrbuted the boot image to all distribution points, try pxe booting again, does it work, or fail ? -
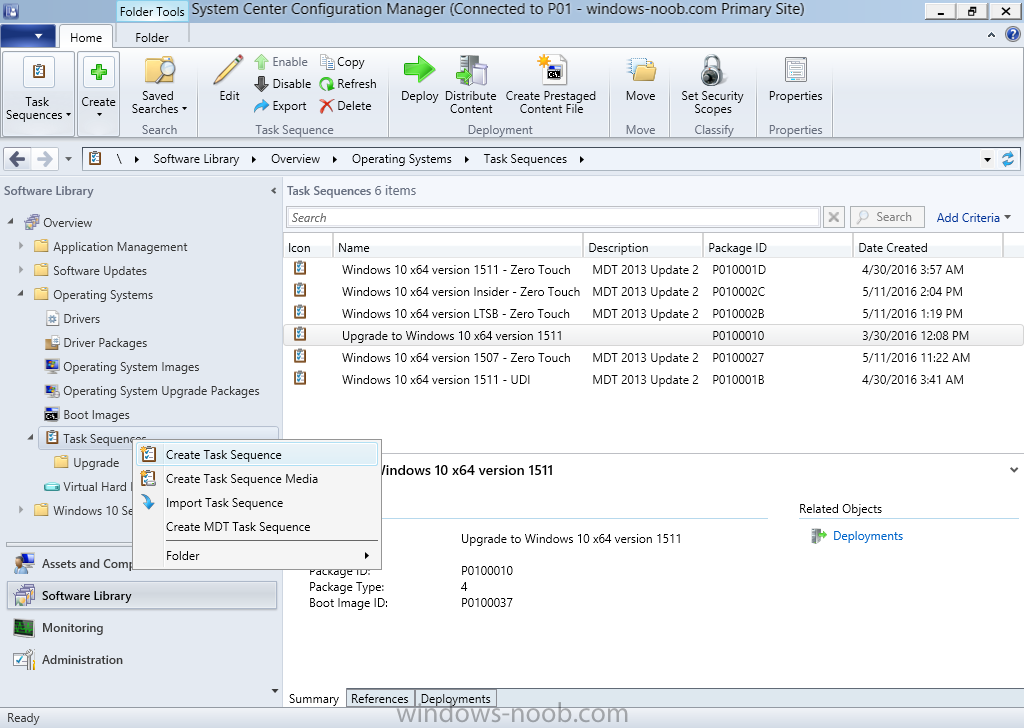
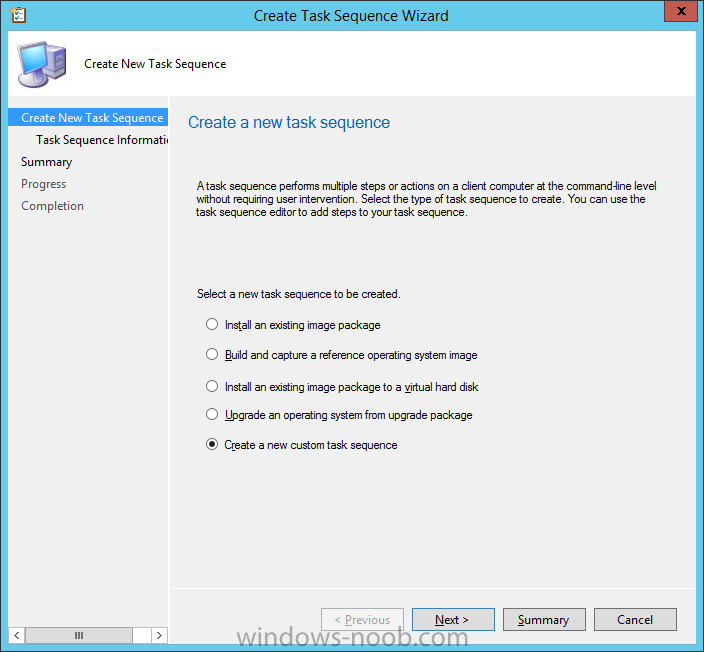
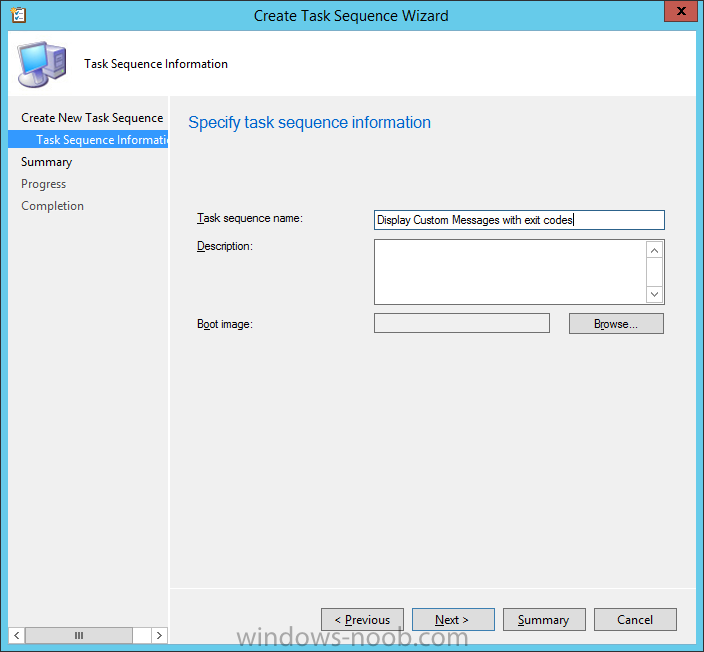
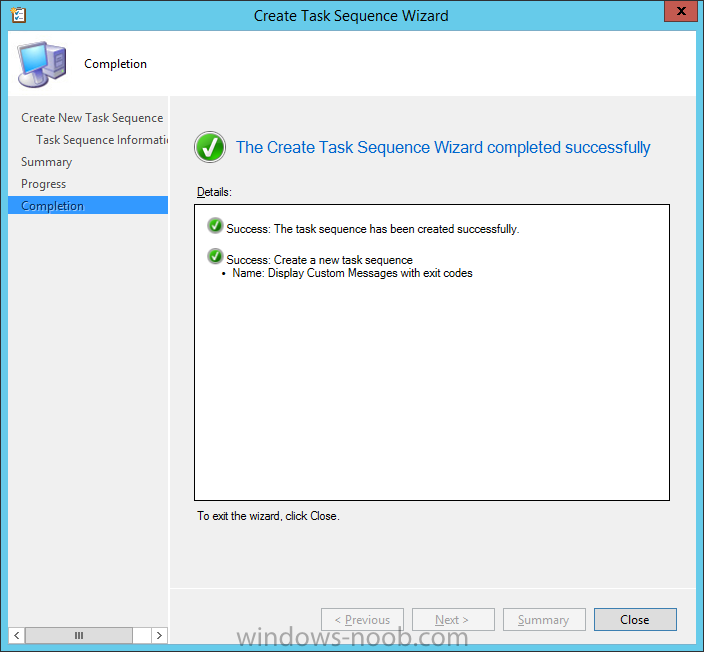
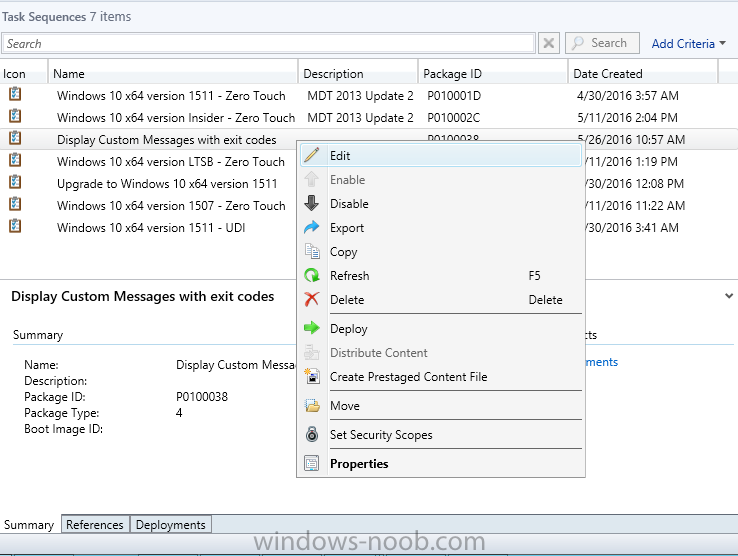
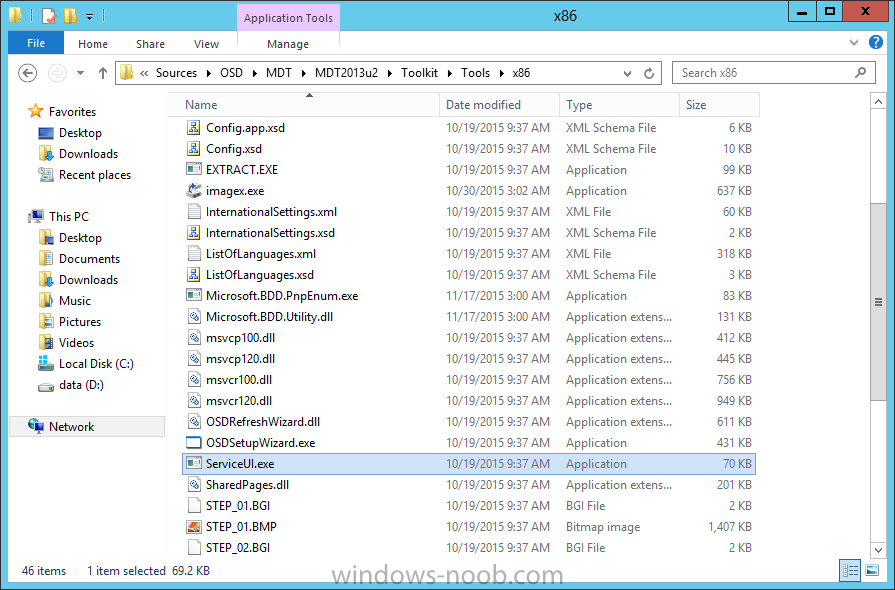
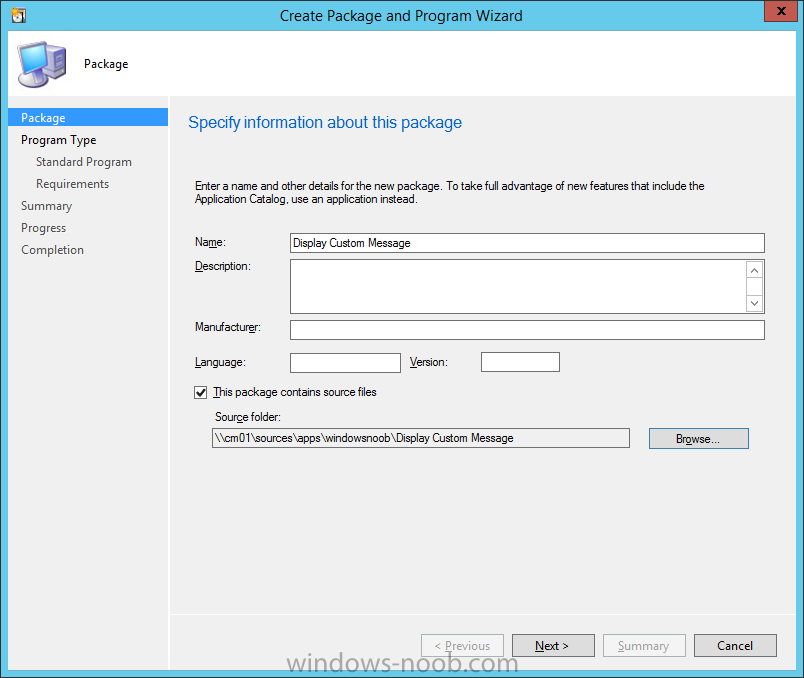
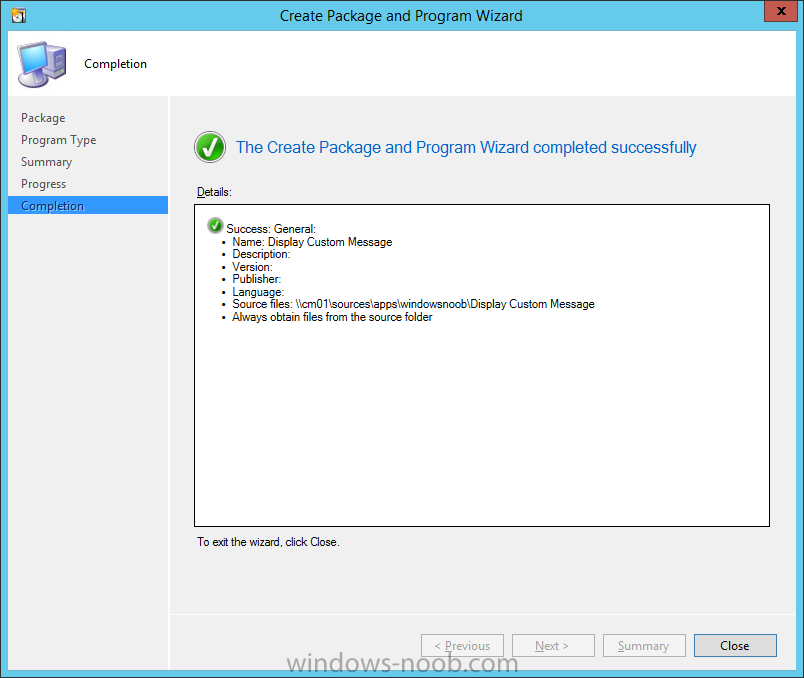
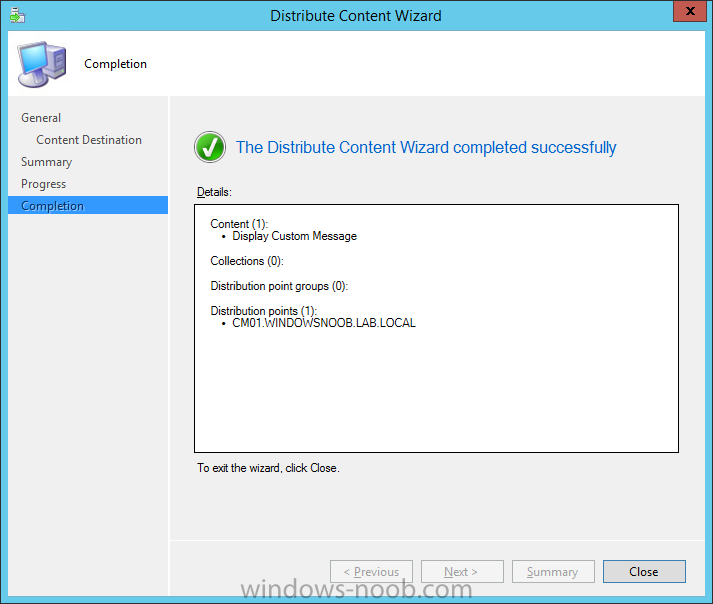
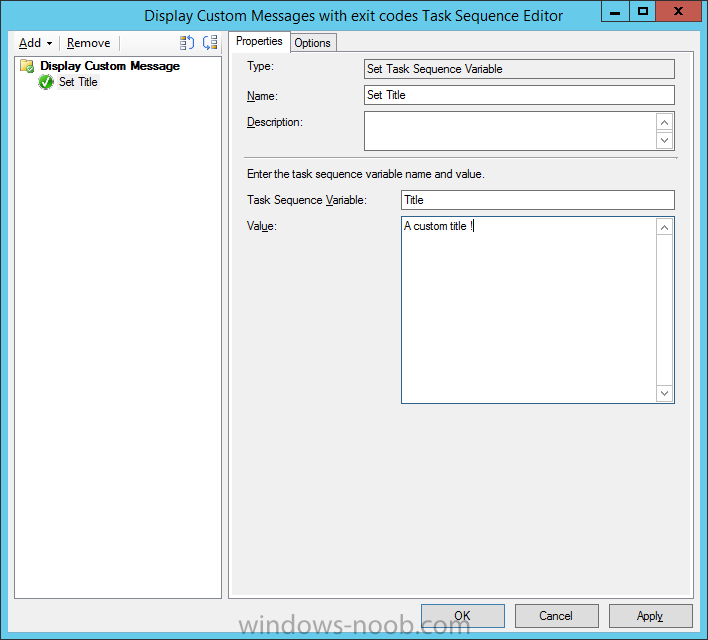
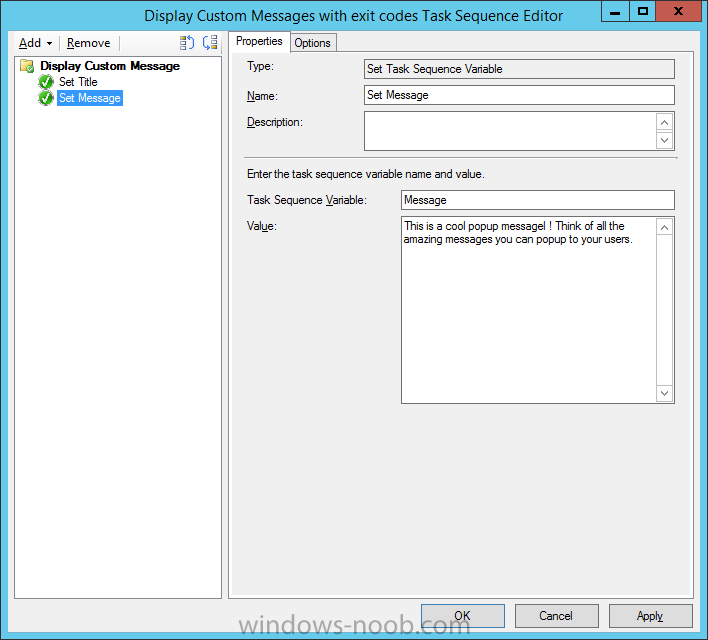
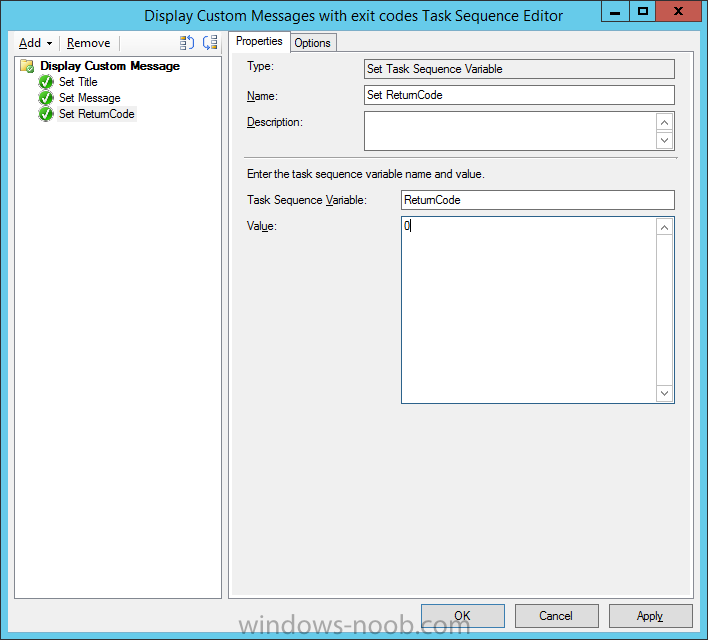
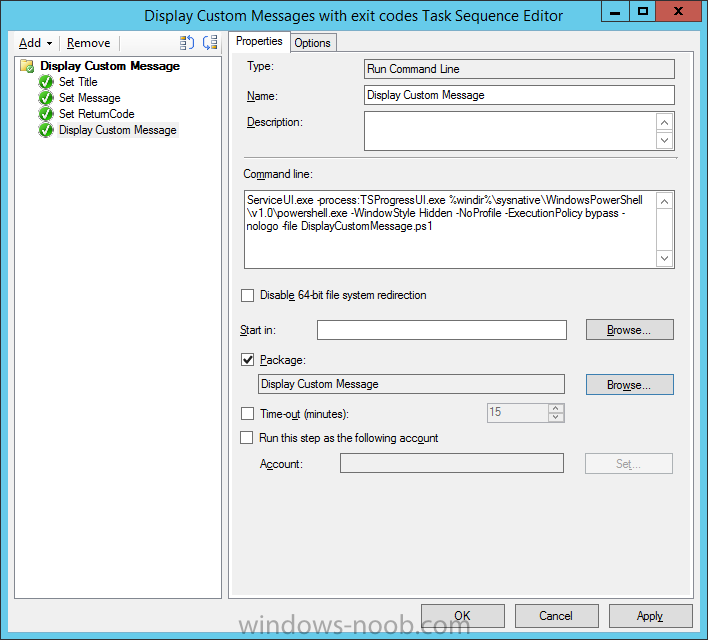
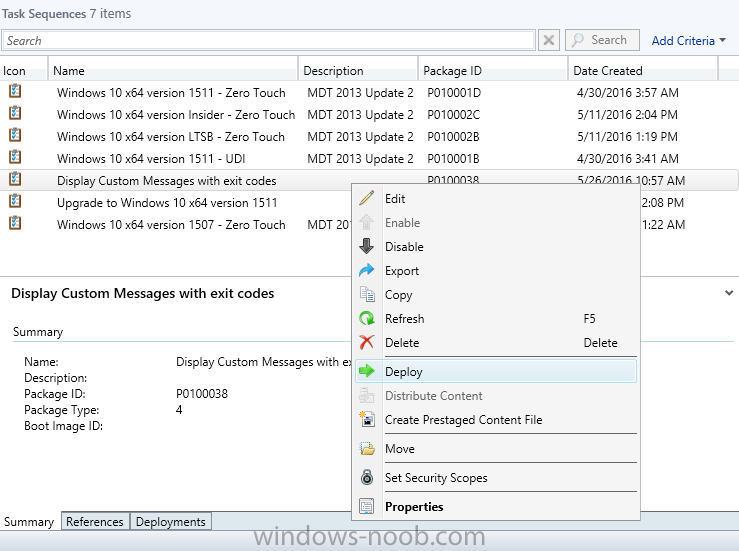
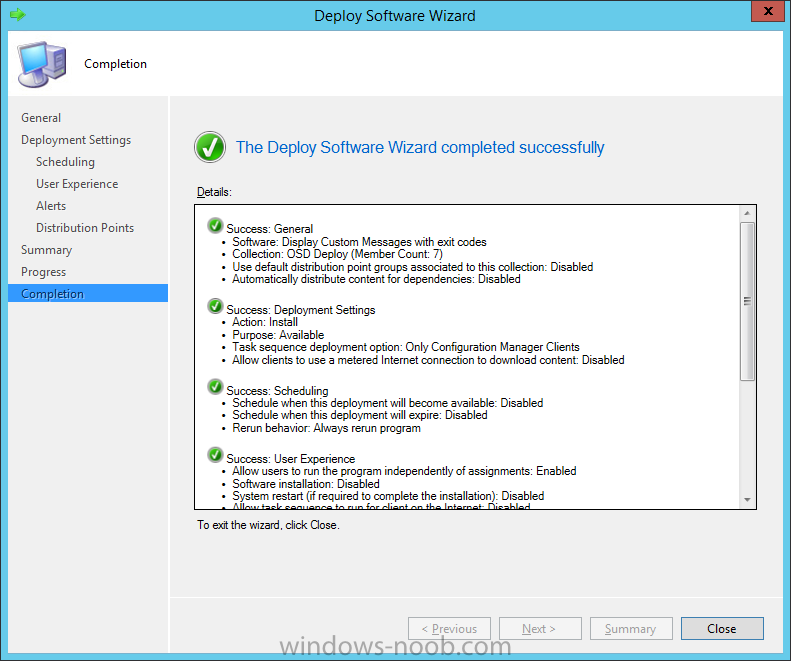
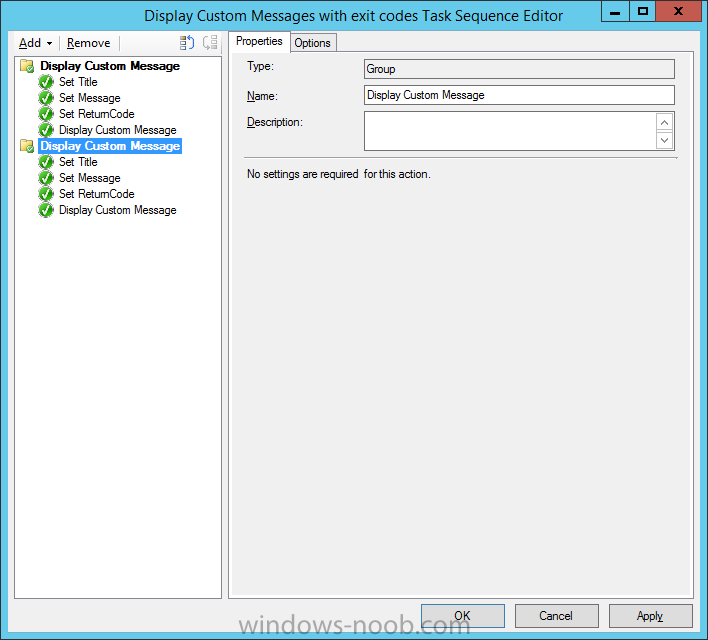
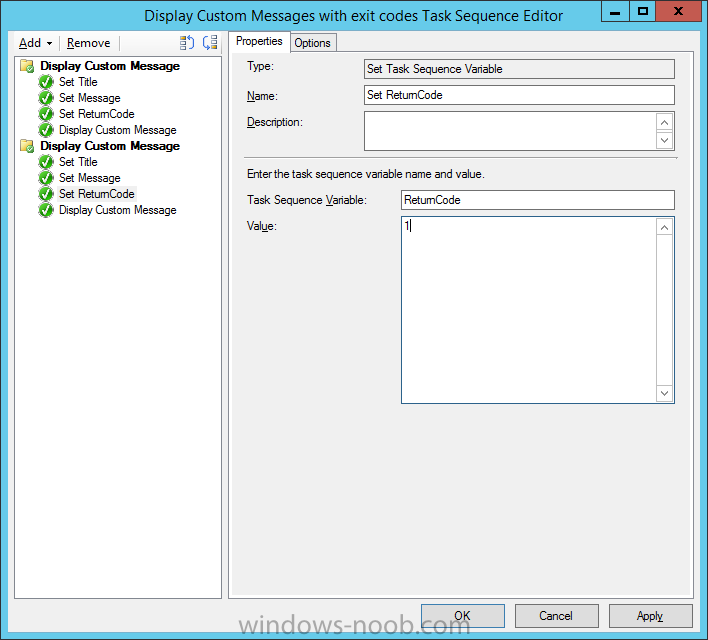
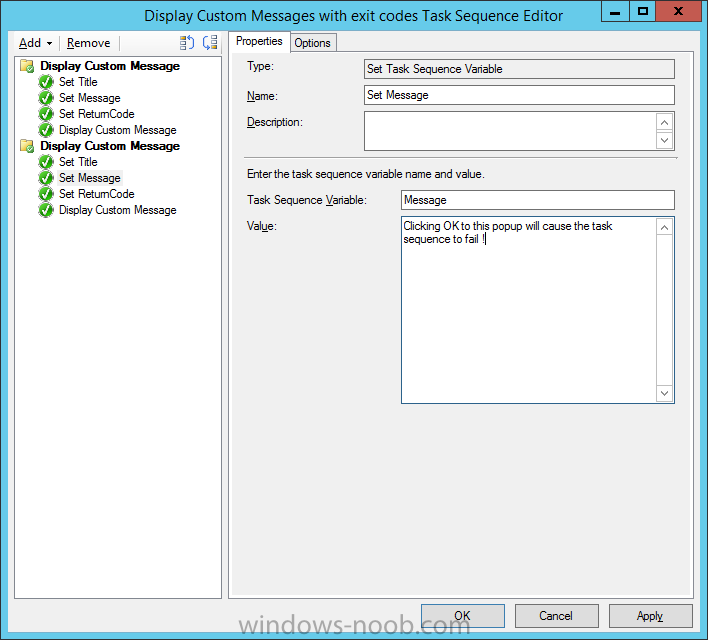
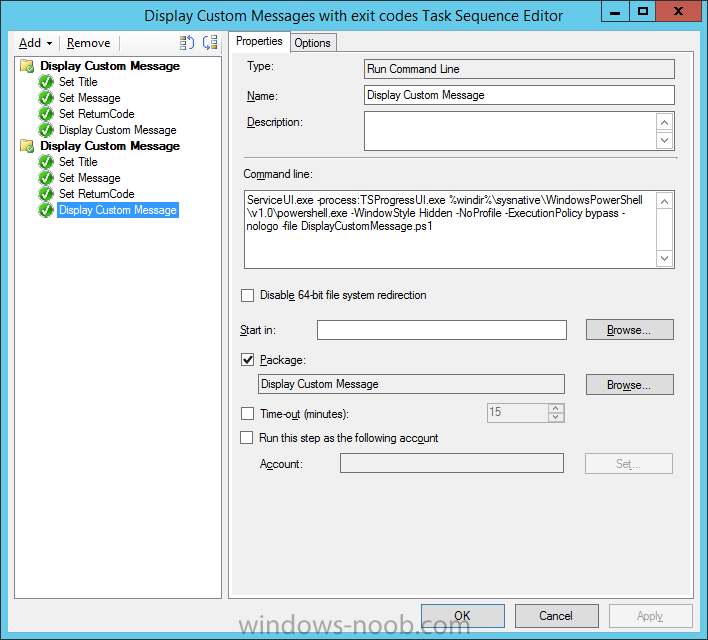
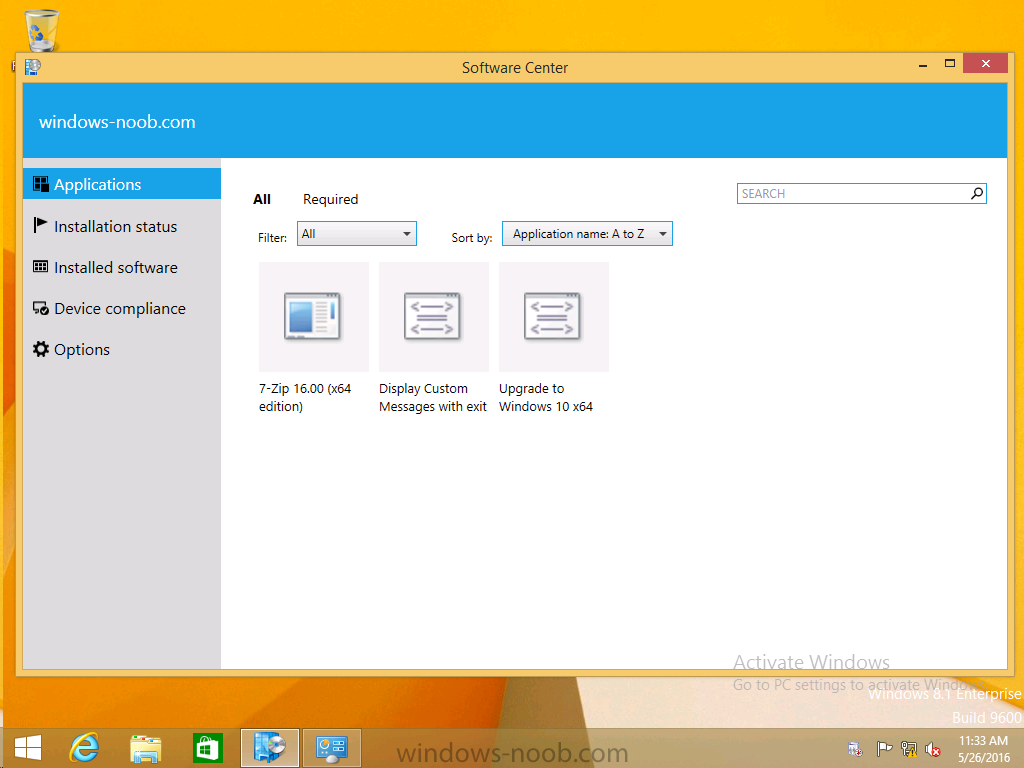
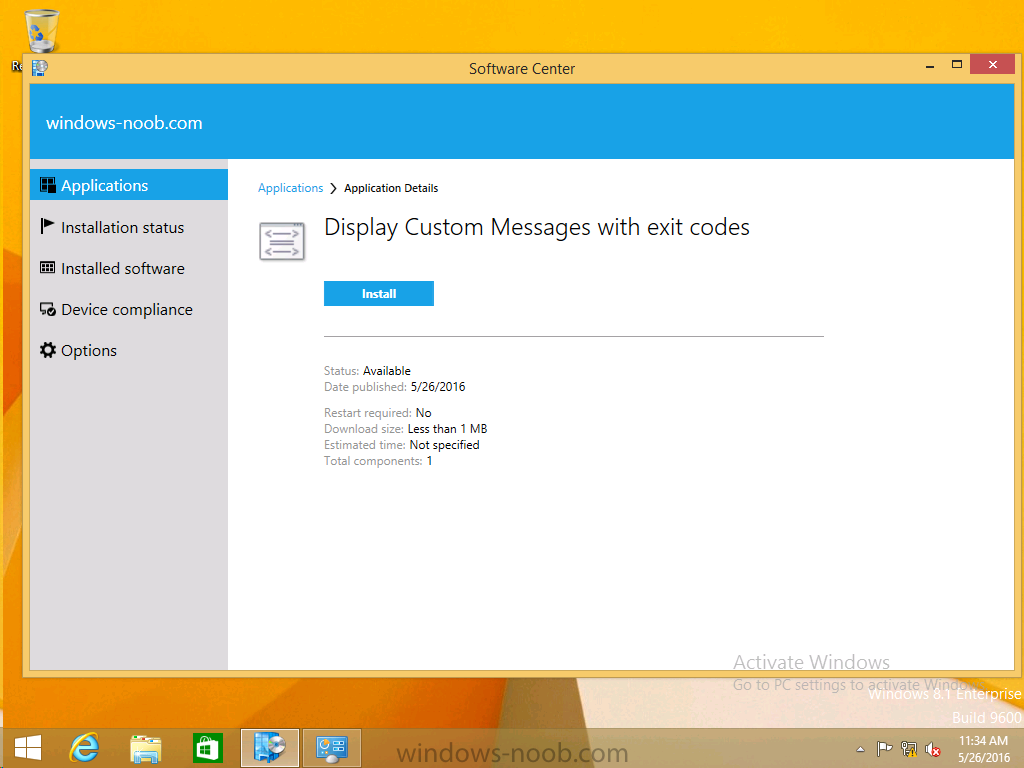
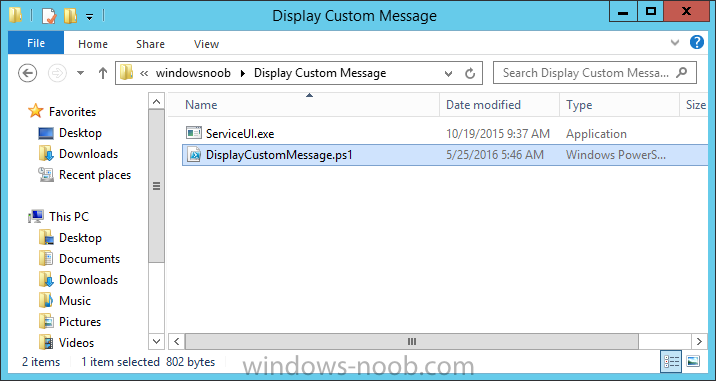
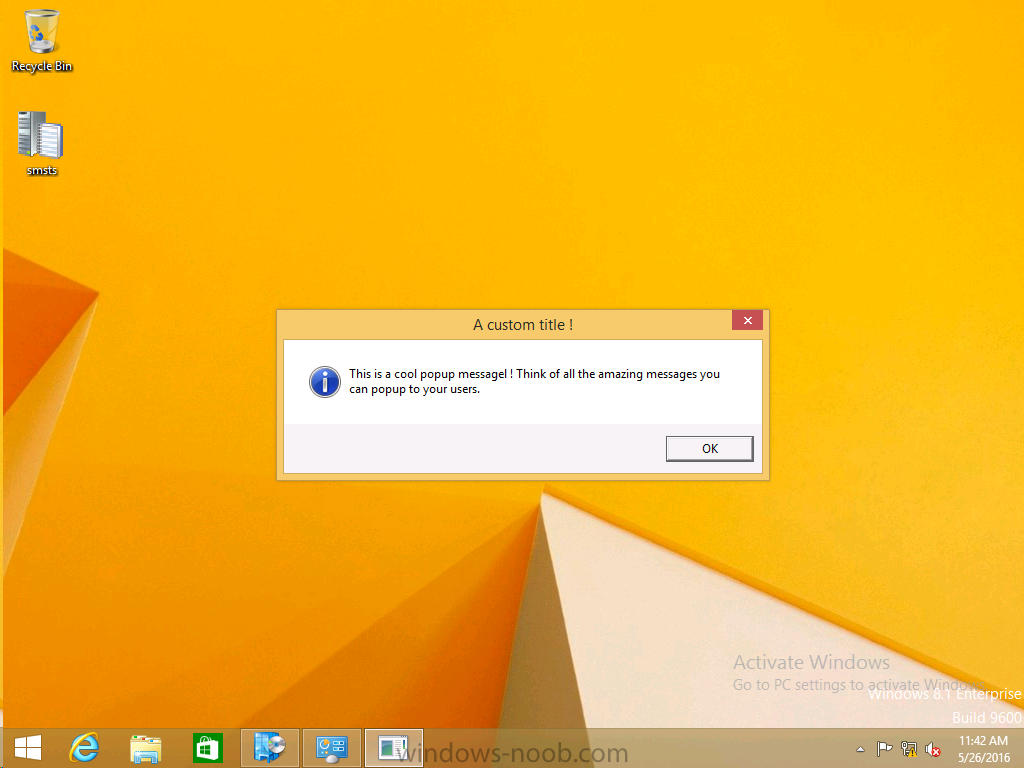
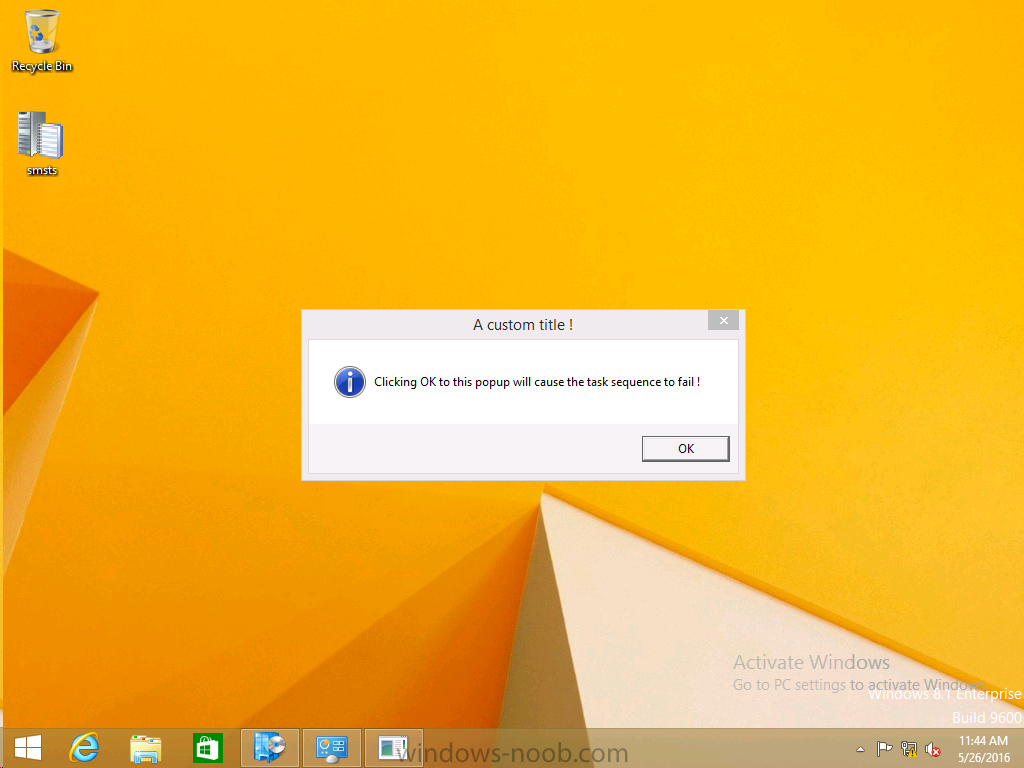
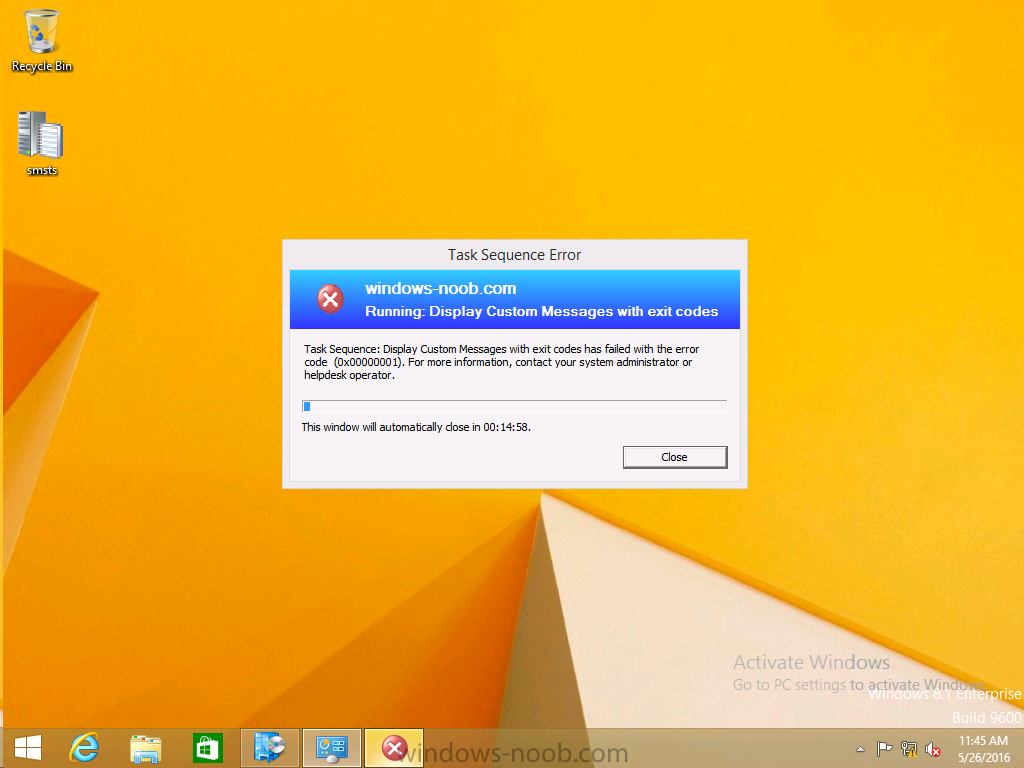
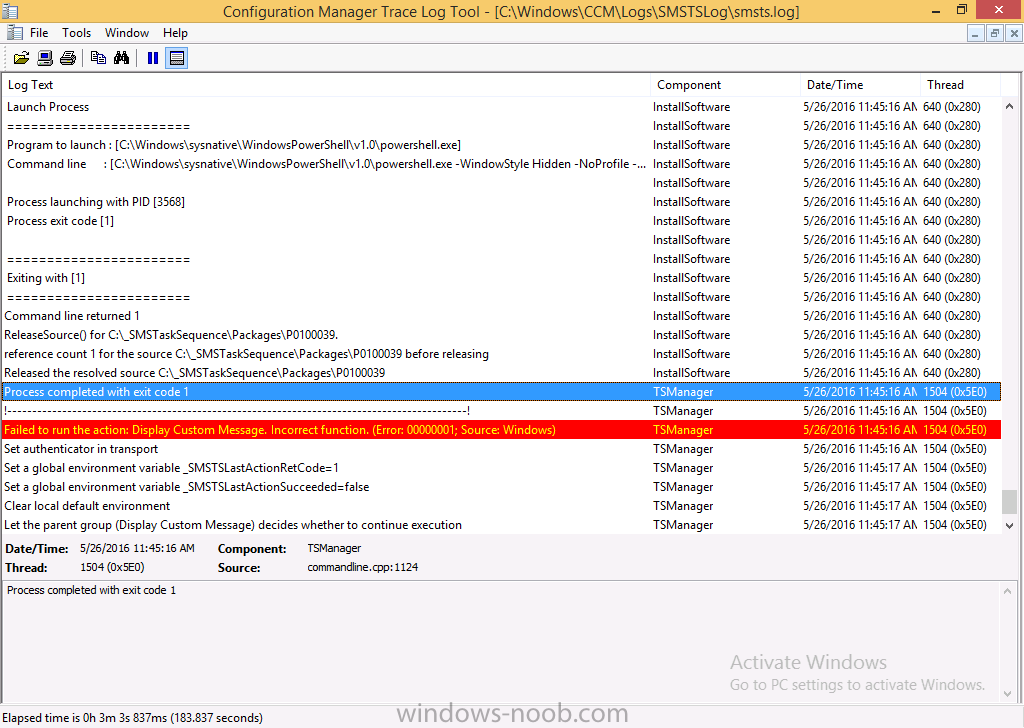
Introduction At the start of this series of step by step guides you installed System Center Configuration Manager (Current Branch), then you configured discovery methods. Next you configured boundaries to get an understanding of how automatic site assignment and content location works. After that you learned how to update ConfigMgr with new features and fixes using a new ability called Updates and Servicing and you learned how to configure ConfigMgr to use Updates and Servicing in one of these two modes: Online mode Offline mode To prepare your environment for Windows 10 servicing (this guide) you learned how to setup Software Updates using an automated method (via a PowerShell script) or manually using the ConfigMgr console. Next you used a PowerShell script to prepare some device collections, then you configured client settings for your enterprise and finally you'll deployed the ConfigMgr client agent using the software updates method which is the least intensive method of deploying the Configuration Manager client agent. As System Center Configuration Manager (current branch) is being delivered as a service now, version 1602 was made available (March 11th, 2016) and you used Updates and Servicing to do an in-place upgrade to that version as explained here. Next you learned about how to use the Upgrade task sequence to upgrade your Windows 7, Windows 8 (and 8.1) and even your Windows 10 devices to a later build of Windows 10. You then learned about the new Windows 10 servicing features which use Servicing Plans in ConfigMgr (Current Branch). Next you integrated MDT 2013 update 2. MDT integration with ConfigMgr is useful as it provides additional functionality for operating system deployment scenarios such as Offline Language Package installation or User Driven Integration (UDI). Next you learned how to deploy Language Packs offline for Windows 10. To assist with Windows 10 servicing and for applying appropriate software updates to your Windows 10 devices, you used PowerShell to add queries to the various Windows 10 collections. Next you took a deeper look at the Windows 10 Upgrade task sequence, and learned one way of dealing with potential upgrade issues. While that method will flag a problem, such as determining the system UI language doesn't match the provided media, it won't allow you to continue with the upgrade. Next you learned how to upgrade the operating system when a language pack was installed, provided that the system UI language is from a 'list' of approved languages that you intend to support. This guide will show you how to display customized messages to a user during a task sequence, and how to set an exit code which could allow you to deliberately fail an action if necessary. All that's required is a few steps to set variables, a PowerShell script, and the serviceUI.exe executable from MDT 2013 Update 2. Step 1. Create a package On your ConfigMgr server, in the sources share, create a folder called Display Custom Message and place the DisplayCustomMessage.ps1 PowerShell script available in the downloads section of this guide, in the folder. Even though you might be deploying an X64 operating system, locate, select and copy the x86 architecture version of ServiceUI.exe from the Sources\OSD\MDT\MDT2013u2\Toolkit\Tools\x86 folder into the Display Custom Message folder as shown below. In the ConfigMgr console, Software Library, select Packages and right click, choose Create Package. Fill in the following details, Choose Do not create a program and then continue through the wizard until completion. Once the package is created, right click the package and choose Distribute Content. Distribute the package to your distribution points. Step 2. Create a custom task sequence In the ConfigMgr console, in Software Library, select Operating Systems and right click on Task Sequences, choose Create Task Sequence. select Create a new custom task sequence give the task sequence a suitable name such as Display Custom Messages with exit codes continue through that wizard until completion. Step 3. Edit the task sequence Right click on the newly created task sequence and choose edit It will appear blank, click on the Add Drop down and add a New Group called Display Custom Message Create a new Set Task Sequence Variable step called Set Title with a Task Sequence Variable called Title, with a suitable value as follows: Create a new Set Task Sequence Variable step called Set Message with a Task Sequence Variable called Message, with a suitable value as follows: Create a new Set Task Sequence Variable step called Set ReturnCode with a Task Sequence Variable called ReturnCode, with a suitable positive value as follows: Click Add and choose Run Command Line, name the step Display Custom Message and paste in the following based on what operating system the client is using: For Windows 8 ServiceUI.exe -process:TSProgressUI.exe %windir%\sysnative\WindowsPowerShell\v1.0\powershell.exe -WindowStyle Hidden -NoProfile -ExecutionPolicy bypass -nologo -file DisplayCustomMessage.ps1 For Windows 10 ServiceUI.exe -process:TSProgressUI.exe %SYSTEMROOT%\System32\WindowsPowerShell\v1.0\powershell.exe -windowstyle hidden -NoProfile -ExecutionPolicy bypass -File DisplayCustomMessage.ps1 For Package, select the Display Custom Message package created above. (screenshot below if for Windows 8 os) Copy the entire group and paste it below the first group Edit the Set Message step as below Edit the Set ReturnCode step, and choose a value that the Options tab on the Display Custom Message step is not going to expect such as 1, this will cause the next step to fail when it returns the return code. Apply your changes and exit the Task Sequence wizard. Step 4. Deploy the task sequence Right Click on the task sequence and choose Deploy Choose a suitable collection and use a purpose of Available. Step 5. Review the capabilities On a client computer that is in the collection that the task sequence was deployed to, open Software Center and select the Display Custom Message with exit codes task sequence. choose Install and after a few moments the first popup message appears ! As the ReturnCode for the first message was set to a value we expected (0 or 3010) it did not fail the task sequence. Click OK to continue... the next message appears, note the different text, and it's hinting towards what will happen Clicking OK will produce the failure Which is OK because we were expecting it, in fact, the ReturnCode we set (1) is listed in the failure message. In a real Production task sequence however, you'd take care of failures and deal with them in a professional way, I just want you to see that we can actually set the ReturnCode via the custom message. To get more proof of that refer to the SMSTS.log file, and you can see that it's setting the ReturnCode to the value we chose result ! Summary Popping up messages to users during a task sequence is sometimes necessary, and when things go wrong, you sometimes need to fail the task sequence or set a ReturnCode to do a planned action. This guide helps you do both of those things dynamically. Related Reading Task sequence steps in System Center Configuration Manager - https://technet.micr...y/mt629396.aspx If you'd like to send a notification message to users in Intune in Azure, try the following guide. Downloads You can download a Microsoft Word copy of this guide here dated 2016/05/26 How can I display custom messages to users during a task sequence in SCCM Current Branch.zip You can download the PowerShell script used above here: DisplayCustomMessage.zip\