Search the Community
Showing results for tags '3rd party'.
-
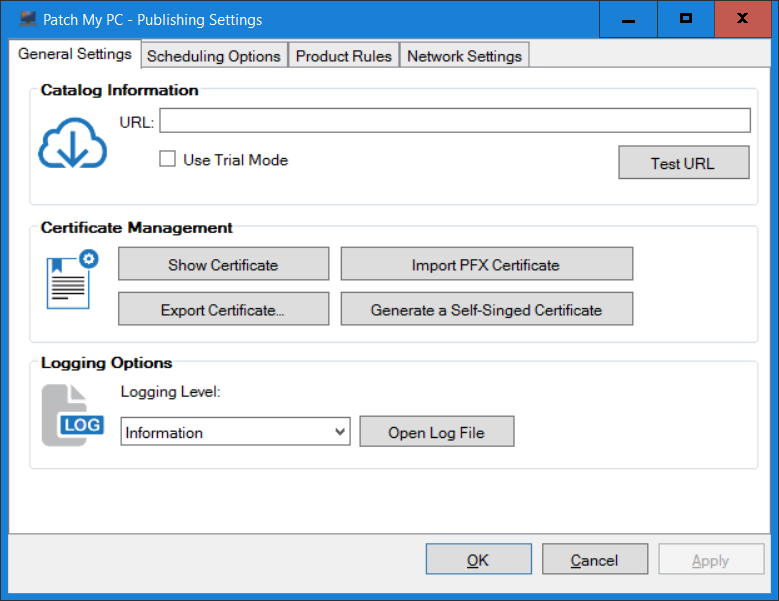
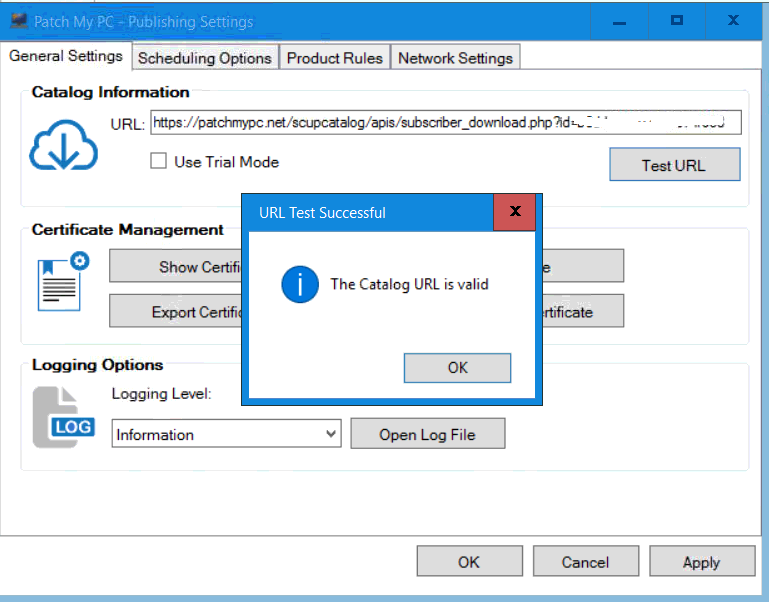
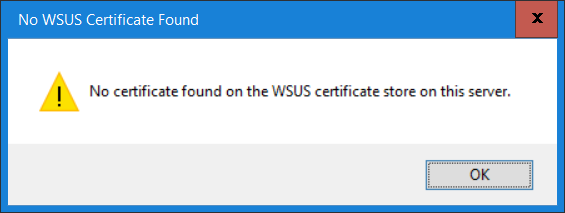
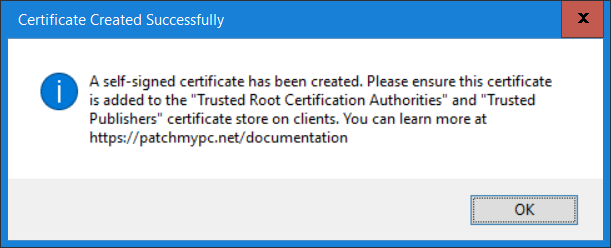
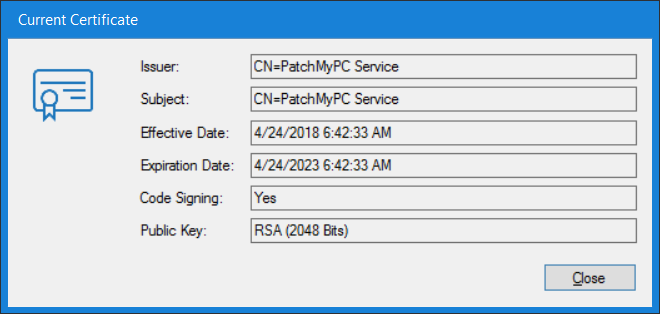
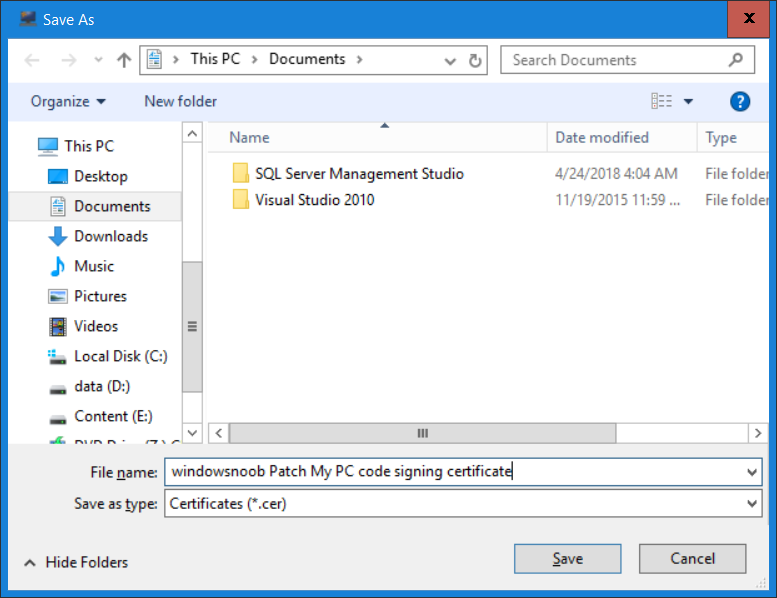
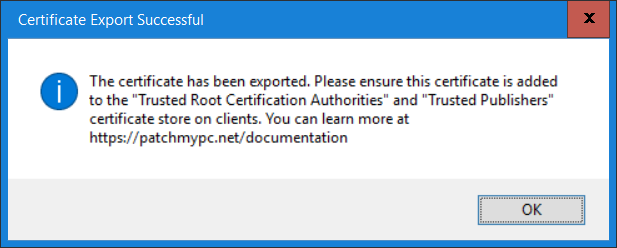
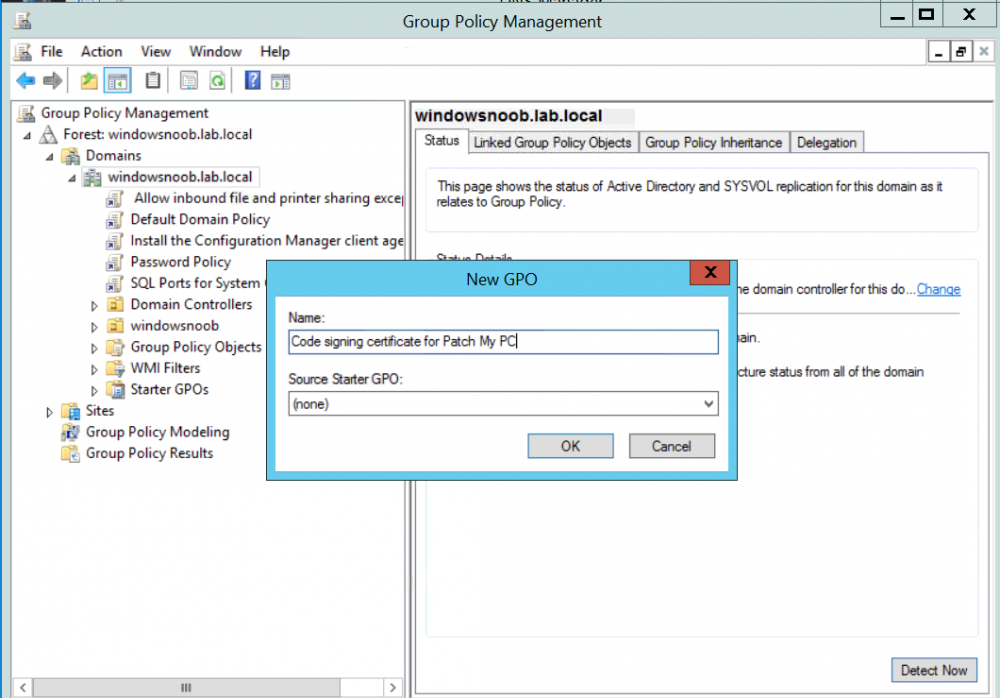
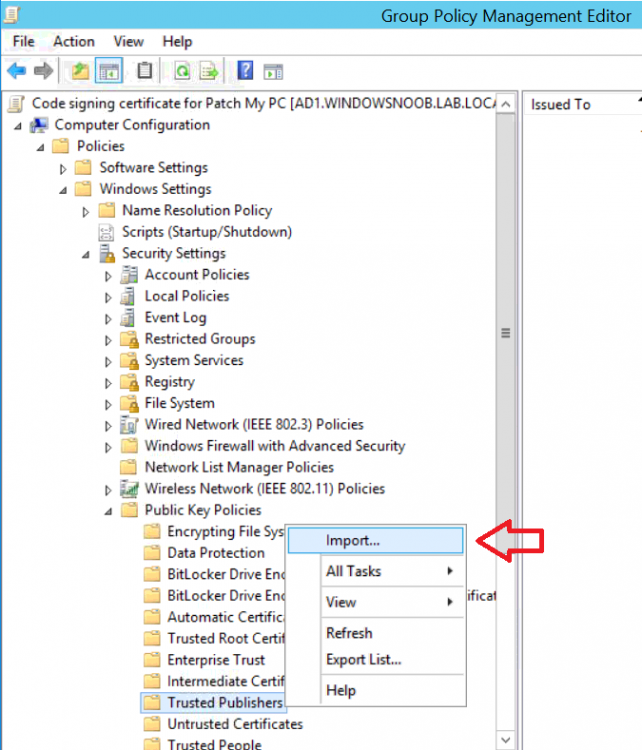
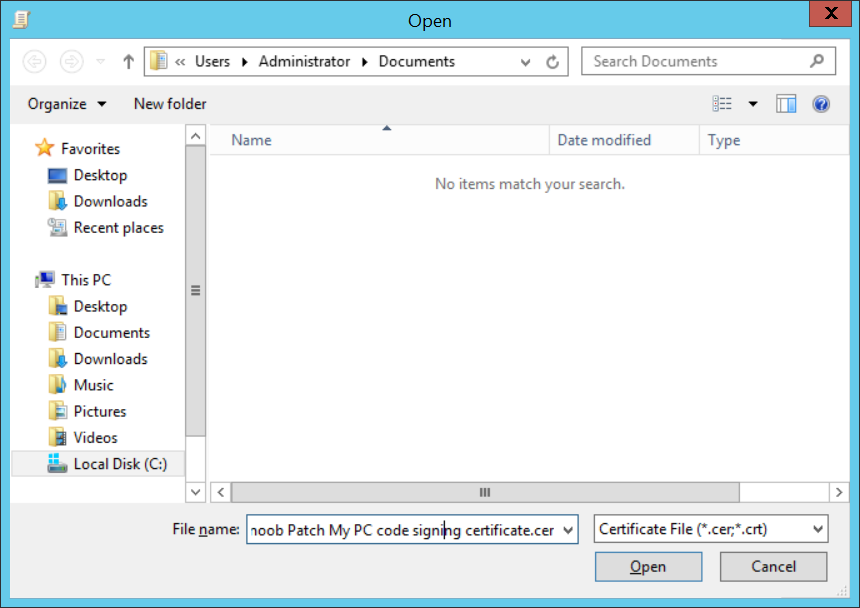
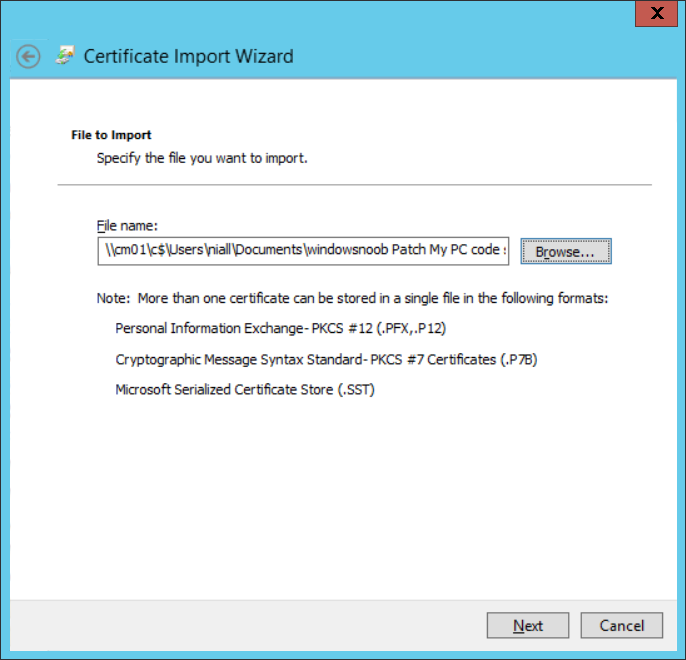
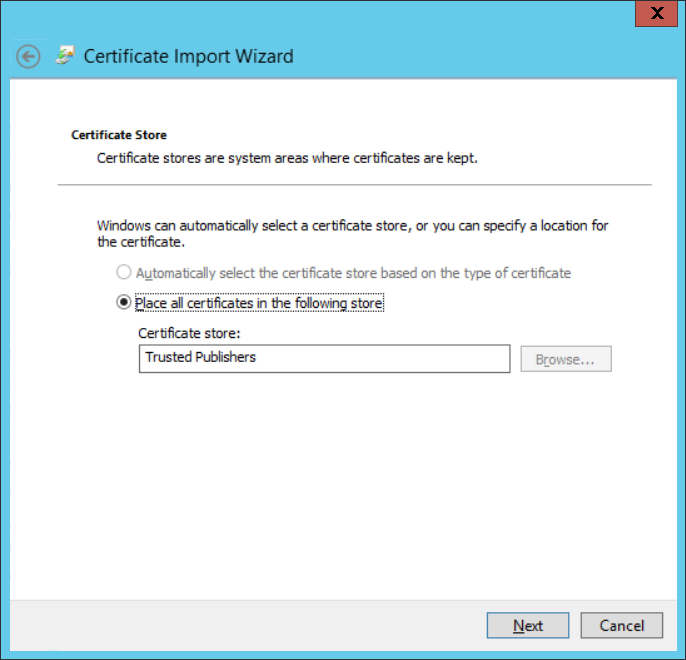
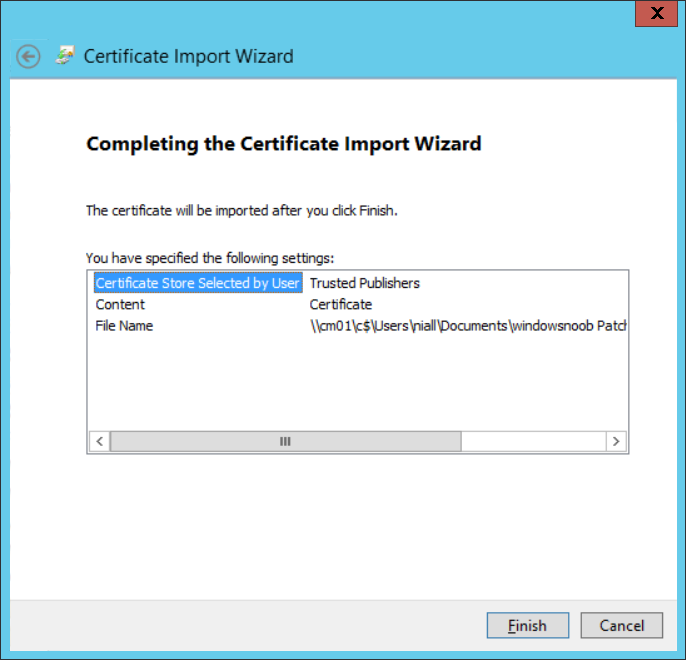
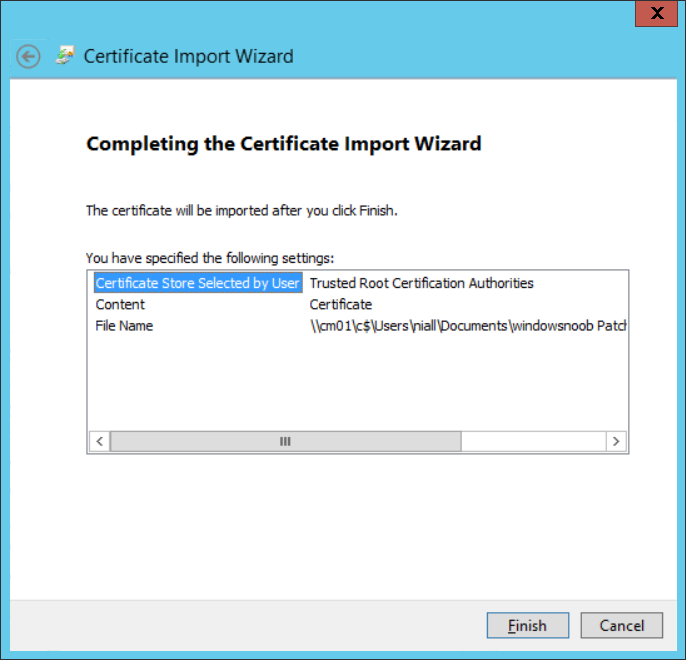
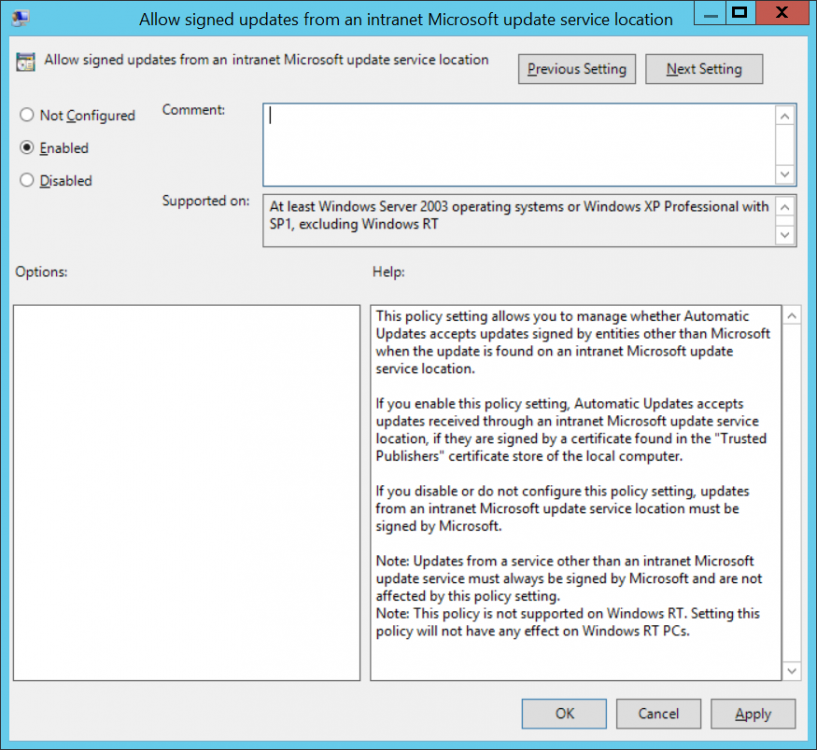
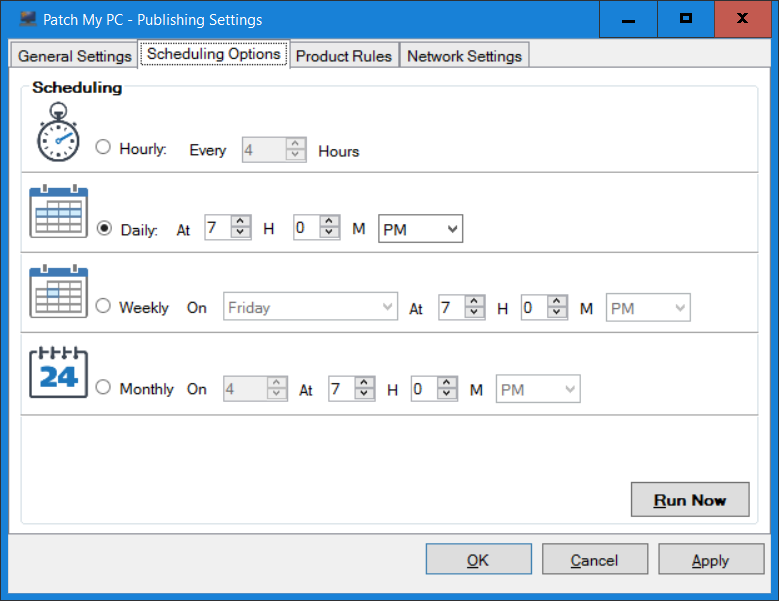
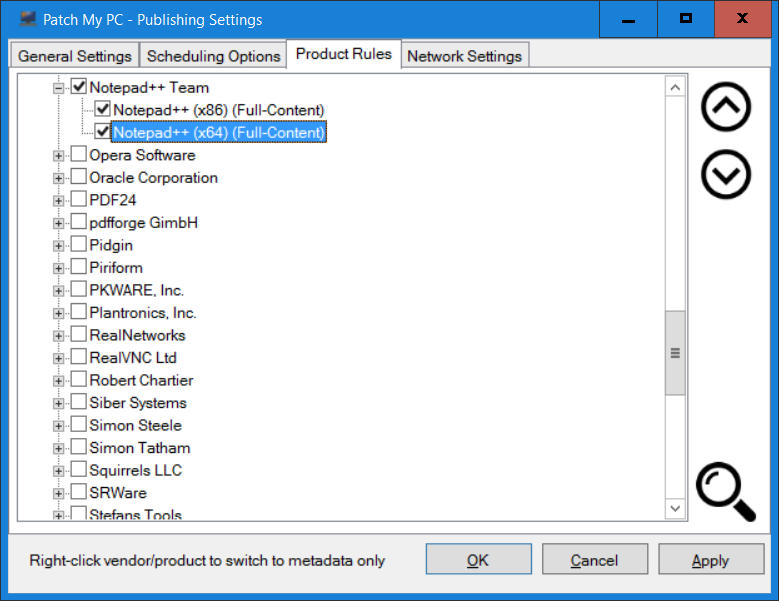
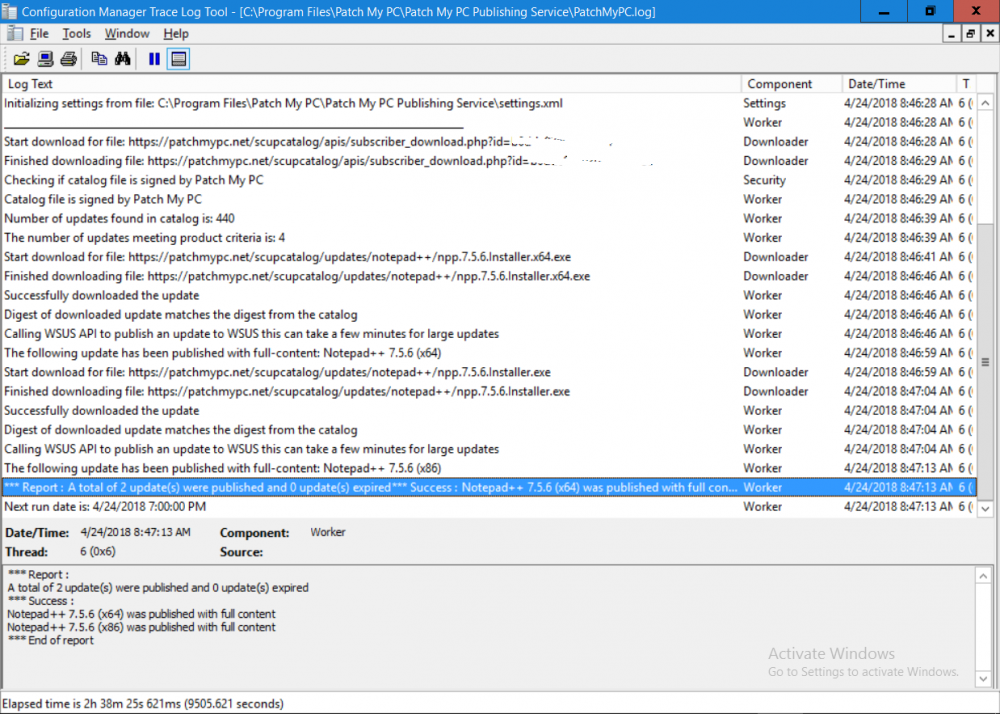
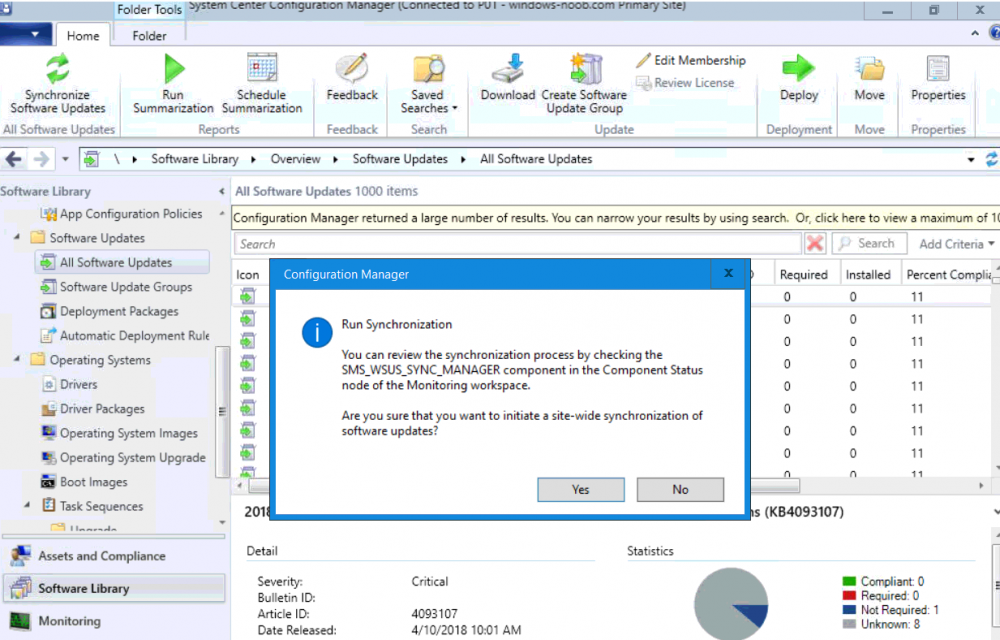
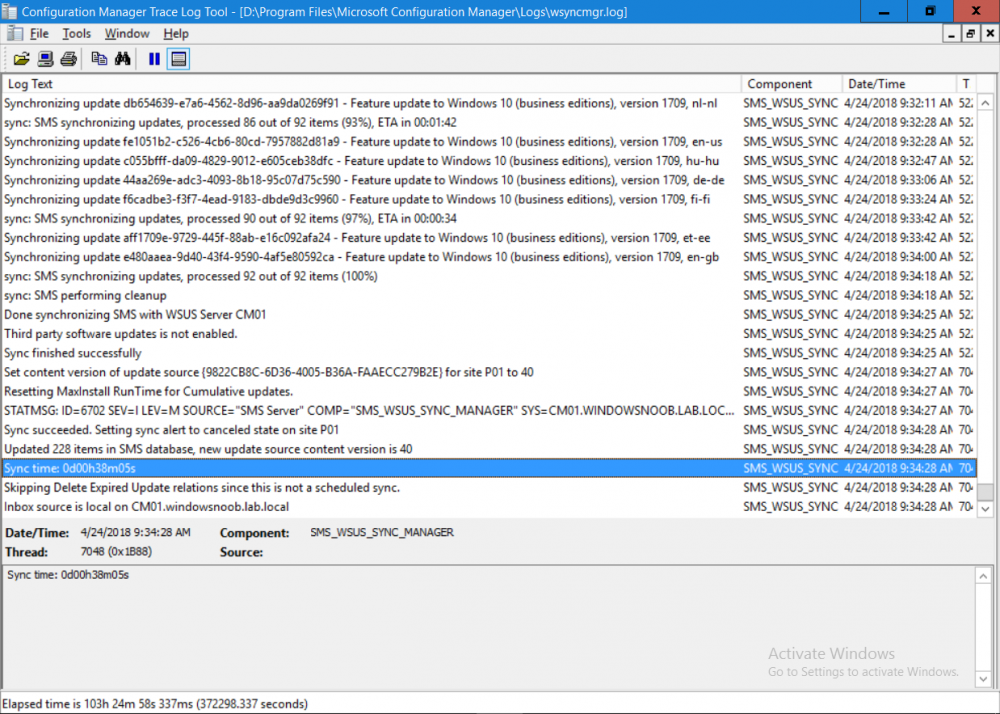
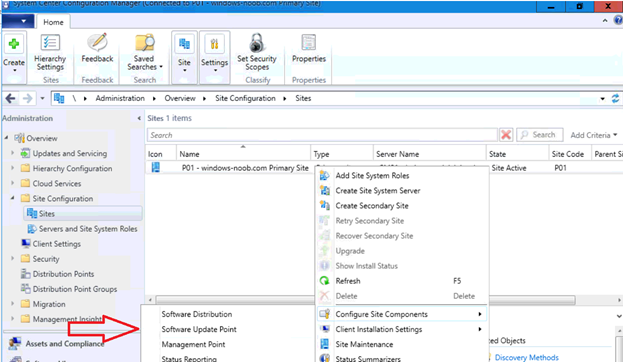
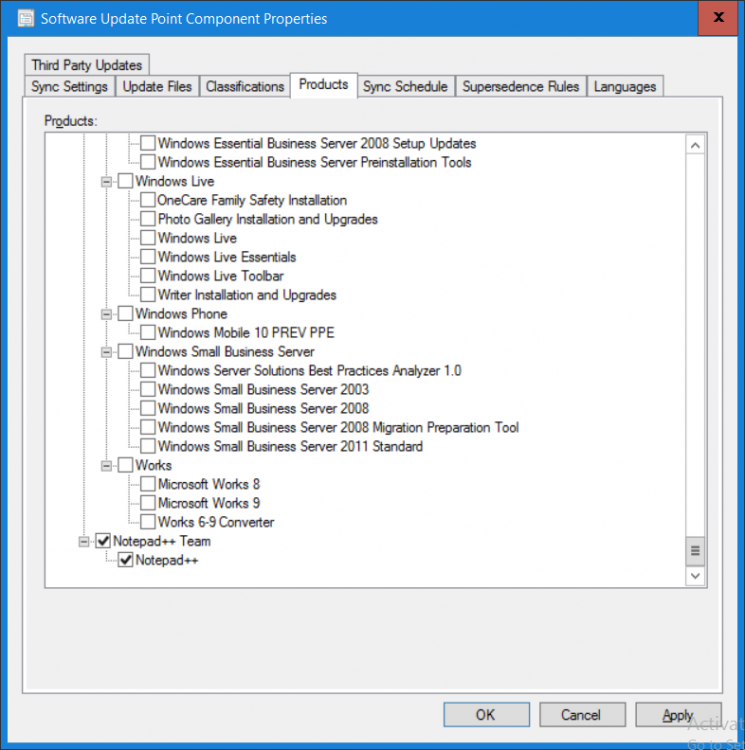
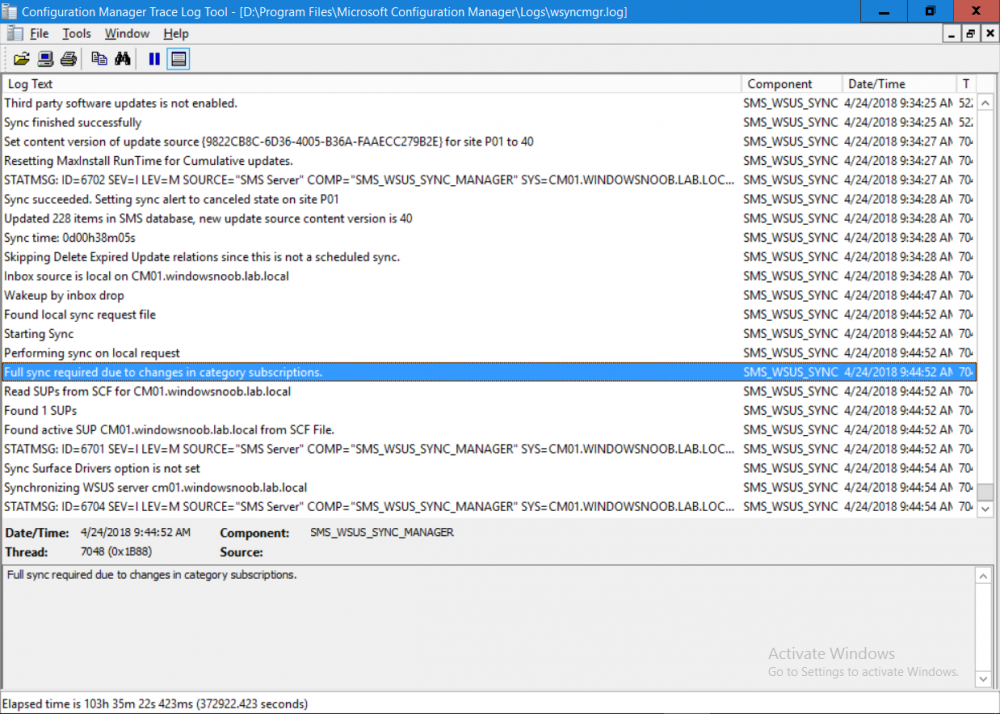
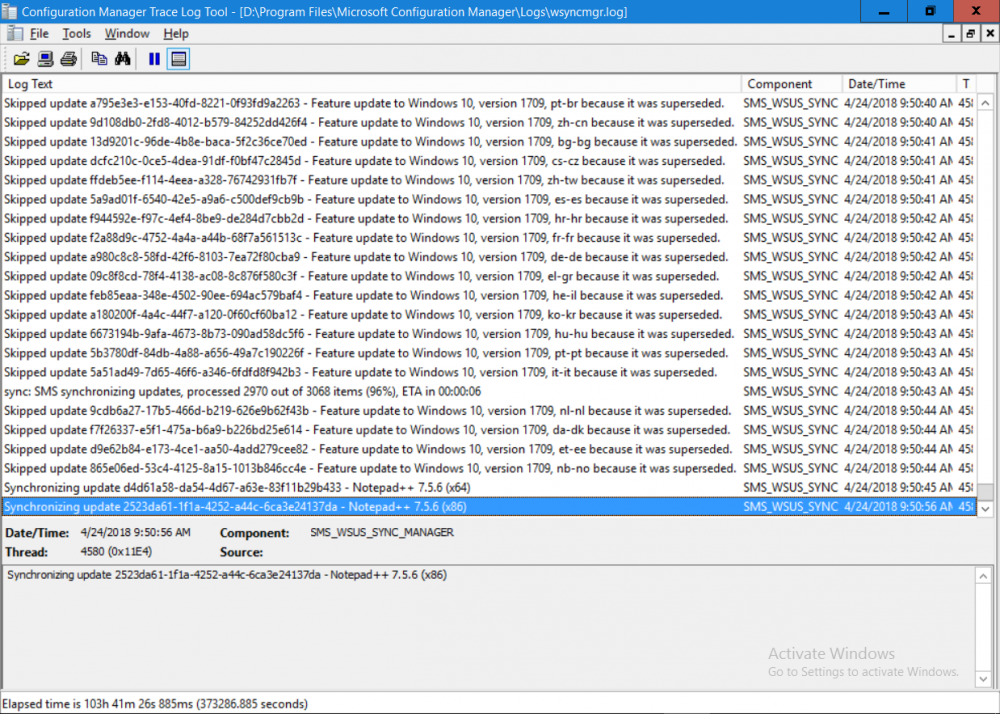
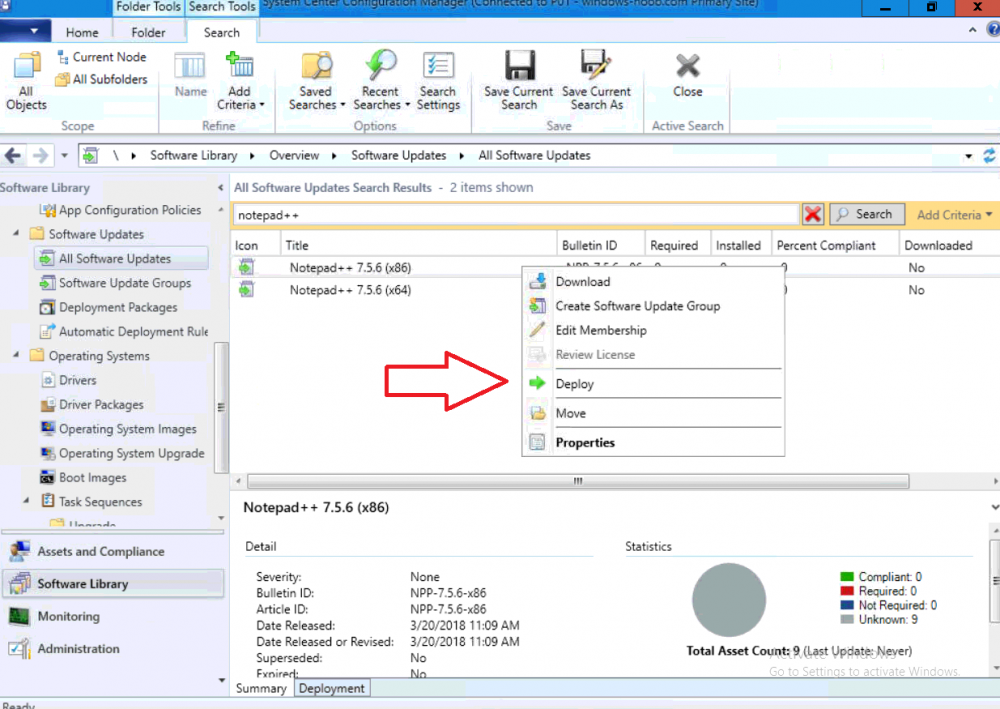
Introduction Security is a bigger focus today than ever before, and rightly so. As part of that focus ongoing patching is a requirement, both of the operating system (quality updates and feature updates) and the application layer too. Microsoft provides updates for their supported operating systems and applications that can be downloaded manually or automatically on the client via Microsoft Update, or deployed using on premise infrastructures like WSUS or SCCM or even via cloud based technology such as Microsoft Intune and Windows Update for Business. But what about on-premise patching of 3rd party applications (applications that come from vendors other than Microsoft), those vendors usually provide their own patches to help secure their products, but because they are 3rd party, they are not natively trusted by WSUS. Getting those patches into WSUS requires some outside help and there are several companies offering applications to help you with that task, one of which is called Patch My PC. Patch My PC is recommended because it’s lean, easy to use and competitively priced and it was developed by former Premier Field Engineers at Microsoft. Step 1. Download the Patch My PC Publishing Service Setup file Note: This guide was completed using SCCM version 1802 (Current Branch) running on Server 2016. To install that version of SCCM yourself, follow this link. Download the Patch My PC Publishing Service Setup file (MSI format) from the link below: https://patchmypc.net/publishing-service-download You should install it on the computer hosting your Software Update Point. Note: The MSI only supports WSUS 4.0 (Windows Server 2012 & 2016). Once the software is installed you can choose to launch it, the Settings UI appears. Step 2. Adding the catalog URL in the service After installing the software, you need to enter your individual catalog URL (if you are subscribed to the service) or enable trial mode to test the software. To do this, paste the unique download ID supplied in the email you received when you signed up for the service into the field provided. Click on Test URL to verify the catalog URL is correct. Using your unique catalog URL gives you access to all the supported applications in the catalog whereas when using the trial mode you only get access to a small subset (12) of those supported applications. Step 3. Creating a self-signed or importing a PFX based certificate In order to publish updates to WSUS, you need to setup a code-signing certificate. Certificates are used by the Patch My PC Publishing Service to sign the 3rd party updates so that WSUS can use them. There are two options available: · Self-signed certificate · PFX based certificate (3rd party or internal certificate authority) Note: Clicking on Show Certificate will show if any existing certificate is in place, for example if you’ve migrated from System Center Updates Publisher (SCUP). If like me you haven’t set this up yet, clicking on Show Certificate will not find any certificate in the WSUS certificate store. A self-signed certificate is the easiest way to get started with this tool and it’s free, however it does not provide security focused features such as revocation (cancellation of the certificate for all computers using CRL’s). For the purpose of this guide however, you’ll create a self-signed certificate using the tool. To create a self-signed certificate, click on the Generate a Self-Signed Certificate button in Certificate Management. Click OK to the Certificate Created Successfully message and then click on Show Certificate again, to see details about the newly created self-signed certificate. Step 4. Exporting the code-signing certificate In order for clients to install third-party updates, they must trust the code-signing certificate. To do this you can export the certificate and deploy it using group policy. Click on Export Certificate and give the .CER file a suitable name so you know what it is for. Click OK to the Certificate Export Successful popup. Step 5. Deploy the code signing certificate to clients using Group Policy On the domain controller, open Group Policy Management and create or edit an existing GPO. Edit the GPO settings and navigate to Computer Configuration, Policies, Windows Settings, Security Settings and select Public Key Policies. Right Click on Trusted Publishers and click on Import. In the wizard that appears, click Next and then browse to the location where you saved the code-signing certificate, select it and click on Open. The certificate will be displayed, click Next. Click Next again and click Finish to complete the wizard. Click OK to the Import was successful message. Note: If you used a self-signed certificate, you must also import the exported .CER file to the Trusted Root Certificate Authorities certificate store. Right-click on Trusted Root Certification Authorities and select Import, follow the same process as above to import the exported .CER file. Once done, click OK to the Import was successful message. Step 6. Enabling the group policy object for allowing third-party updates to be used on clients In order that clients will allow 3rd party updates to be installed, you need to configure the Allow signed updates from an intranet Microsoft update service location policy to Enabled. To do so, select the GPO created above and navigate to Computer Configuration, Administrative Templates, Windows Components, then choose Windows Update, select the Allow signed updates from an intranet Microsoft update service location policy and set it to Enabled as shown below. Step 7. Setting the schedule for the publishing service If you need to configure the Patch My PC tool scheduling service to check for updates, then click on the scheduling options tab, the default options are displayed and should be adequate. Step 8. Enabling the product you want to include for automatic publishing Next on the Product Rules tab, select the Product (or Products) that you want to include for automatic publishing. In this guide you will select Notepad++. You can scroll up and down to find the vendor, or use the search magnifying glass to search. Right clicking on a product will change from Full-Content to metadata, and this allows you to report on compliance information for a large number of updates prior to deciding if you need to patch computers with a particular 3rd party update. Once done, click on Apply. Step 9. Trigger the initial publishing of updates To trigger the initial publishing of updates available from selected vendors, click on the scheduling options tab and select Run Now. You’ll get a popup informing you to check the log. The Log in question (PatchMyPC.log) can be found in the General Settings tab by clicking on Open Log File and is best viewed with CMTrace. As you can see below it’s found some updates for Notepad++. Step 10. Synchronize Software Updates in ConfigMgr In SCCM, select Software Library, Software Updates All Software Updates and click on Synchronize Software Updates. You can monitor the progress of that operation via the wsyncmgr.log available in the SCCM logs folder. And once the sync is complete you’ll see a line like Sync time:…. Step 11. Configure Products in ConfigMgr Once the sync is complete, select the Administration workspace, select site configuration, sites, right click on your site and configure site components, select Software Update Point as shown below. Next, select the Products you had previously selected in the Patch My PC tool. Click Apply and then OK. Next, trigger another Synchronize Software Updates in the SCCM console to synchronize the newly selected product(s). You’ll note that a full sync is required due to a change in categories. And you can see that NotePad++ updates are found And after a successful sync, they show up in the ConfigMgr console (refresh the console view), and can be deployed using whatever method you prefer, create an ADR (Automatic Deployment Rule) or Software Update or Software Update Group. Summary When using Patch My PC and System Center Configuration Manager (Current Branch), it’s never been easier to patch your computers with applicable 3rd party patches.
- 7 replies
-
- sccm
- current branch
-
(and 2 more)
Tagged with:
-
We are upgrading to Current Branch and want to include patching from this and not WSUS as curretly used. what is the best way to patch 3rd party applications through SCCM Current Branch?
- 5 replies
-
- software updates
- 3rd party
-
(and 1 more)
Tagged with:


