Search the Community
Showing results for tags 'Data Warehouse'.
-
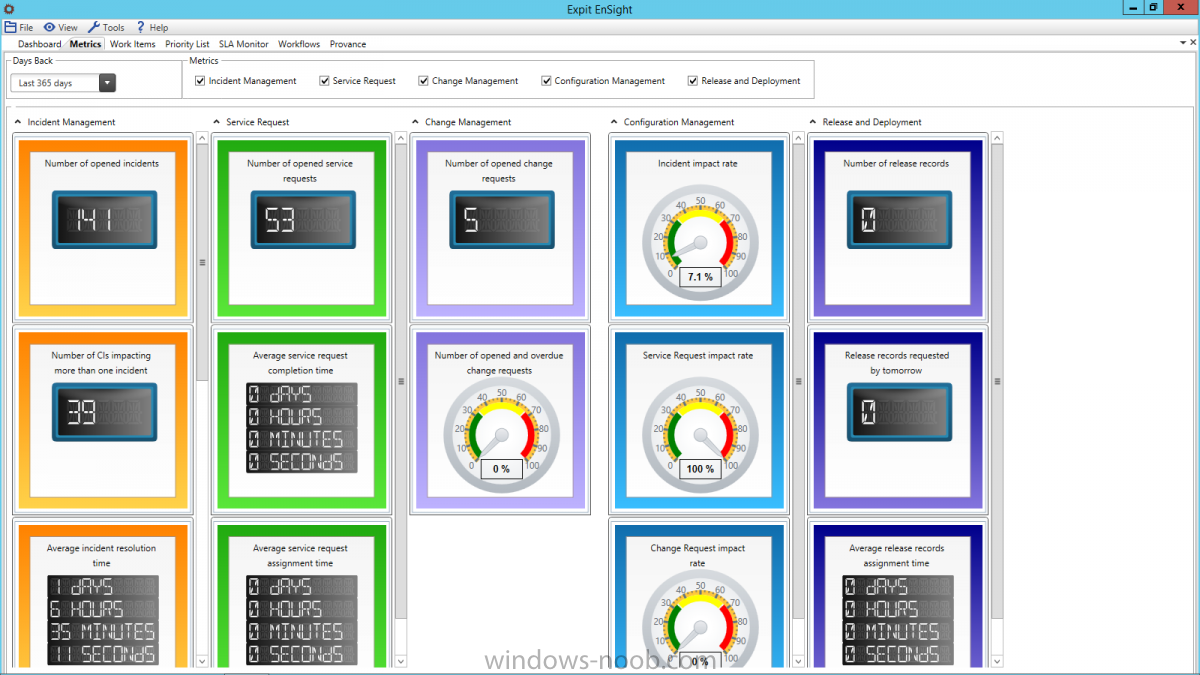
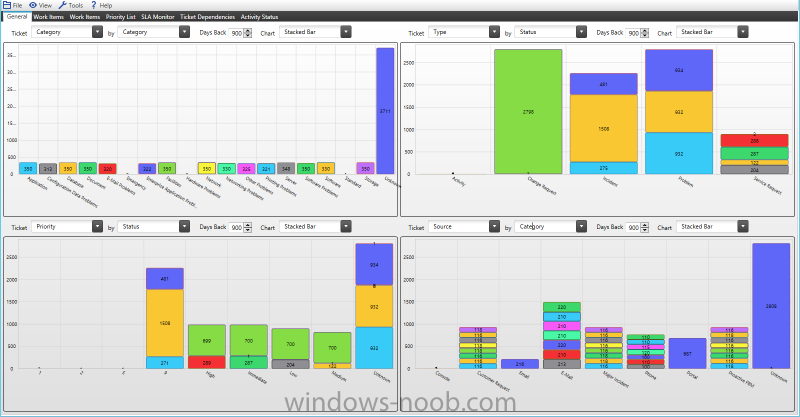
Hi, I would like to share with everyone a brief background info about our product we released sometime back. Expit EnSight is an advanced analytics and dashboards platform for Microsoft System Center Service Manager 2012 that enables service managers to view, analyze, report on all work items, workloads, workflows, through a single console. Expit EnSight for Service Manager 2012 provides a comprehensive view for events in Service Manager tailored for IT managers and NOC facilities. Using EnSight, users can easily sort tickets by source, category, support group or the status of every ticket during the current month or within a specific time range. Expit EnSight also gives decision makers team workload viewing capabilities to monitor team workload distribution Features Supports SCSM reporting without the need for a data warehouse Light weight installation, ready to use in 5 minutes Supports SCSM 2012, 2012 SP1, 2012 R2 Live feedback on all tickets and events in SCSM 2012 Show tickets in current day/month/year or using custom dates SLA monitoring facility to keep track of critical tickets Display tickets progress per analyst or team Filter tickets by status, category, source, impact, and support group Monitor tickets opened by critical users or assets Data retrieval options (Light Dataset and Full Dataset) Control visibility of tabs and queue indicator Metrics tab with pre-built KPI’s for SCSM Provance Tab to forecast contract and warranty expiry Dynamic tab displays for multi-screen environments Supports Windows 7, 8, Windows Server 2008, 2008 R2, 2012 and 2012 R2 Download link: http://expit.com/expit-ensight–community-edition-/product-download/7 Product page: http://expit.com/ensight-for-scsm/m/60 Please share your reviews
-
- SCSM Dashboard
- SCSM Dashboards
- (and 8 more)
-
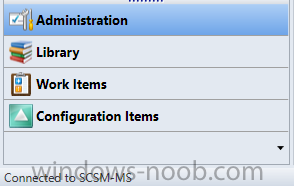
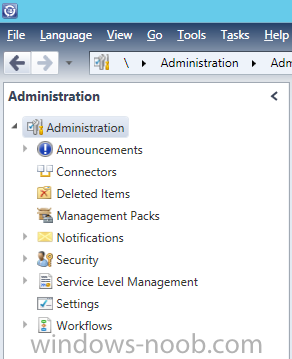
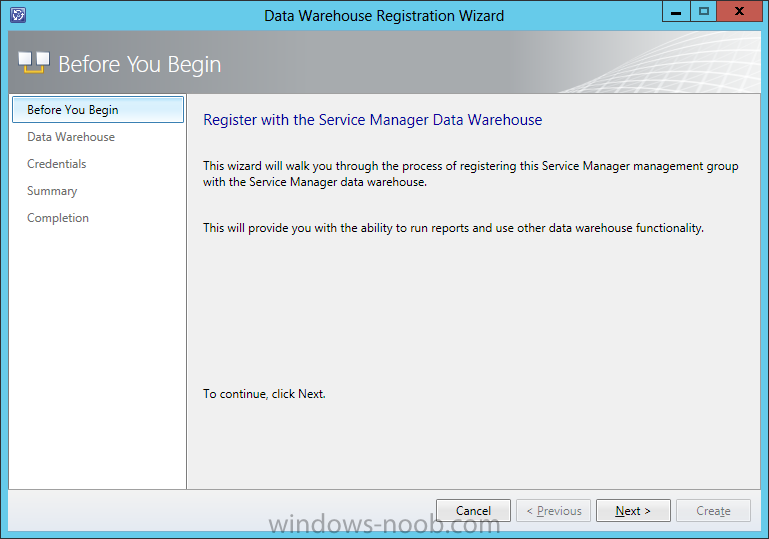
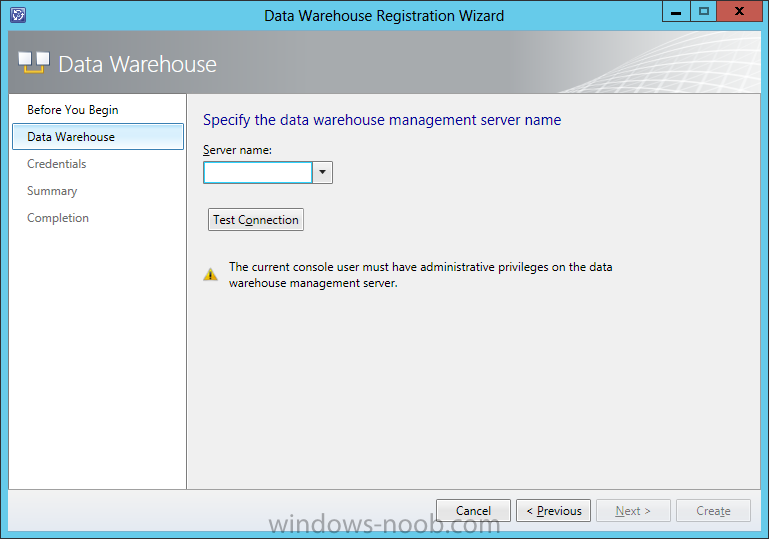
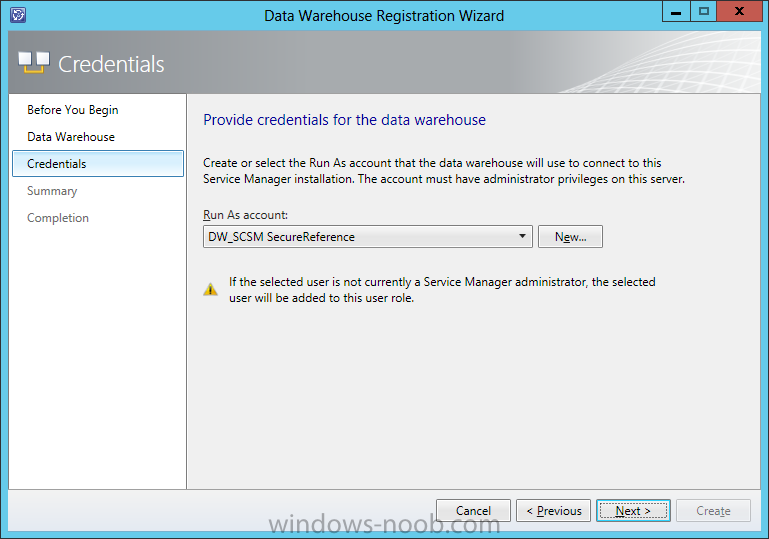
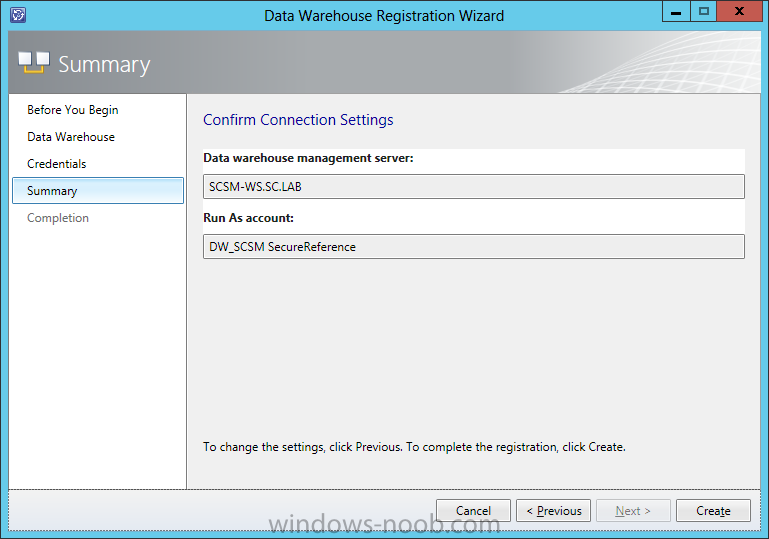
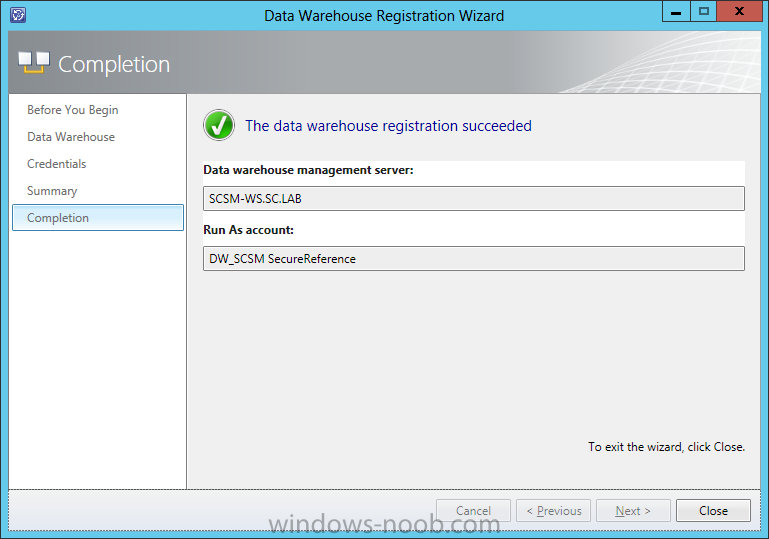
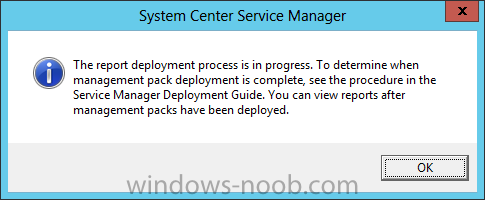
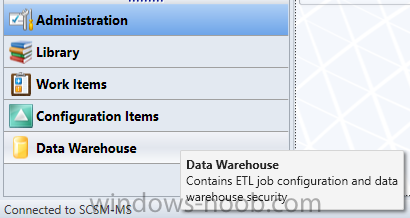
Hello everyone, if you have been following along with my guides, you should now have the Service Manager Management Server and Warehouse Server installed. We have a lot of configuration to go through. To start we will register the data warehouse. With an account that is a member of the Service Manager and data warehouse management administrators group, log on to the computer that hosts the Service Manager console. In the Service Manager console, select Administration. In the Administration pane, expand Administration. In the Administration view, in the Register with Service Manager’s Data Warehouse area, click Register with Service Manager Data Warehouse. In the Data Warehouse Registration wizard, on the Before You Begin page, click Next. On the Data Warehouse page, in the Server name box, type the fully qualified domain name (FQDN) of the computer hosting the data warehouse management server, and then click Test Connection. If the test is successful, click Next. On the Credentials page, you can accept the default entry in the Run as account list, and then click Next, or you can enter credentials from a user or group of your own choosing. On the Summary page, click Create. On the Completion page, when The data warehouse registration succeeded appears, click Close. A dialog box states that the report deployment process is not finished. This is to be expected. On the System Center Service Manager dialog box, click OK. In a few minutes, after you close the Data Warehouse Registration Wizard, the Data Warehouse button will be added to the Service Manager console. In the Service Manager console, click the arrow at the lower right corner of the Service Manager console buttons, and then click Show More Buttons. Now we have the Data Warehouse registered.
-
- 1
-

-
- Service Manager
- System Center 2012
-
(and 1 more)
Tagged with:
-
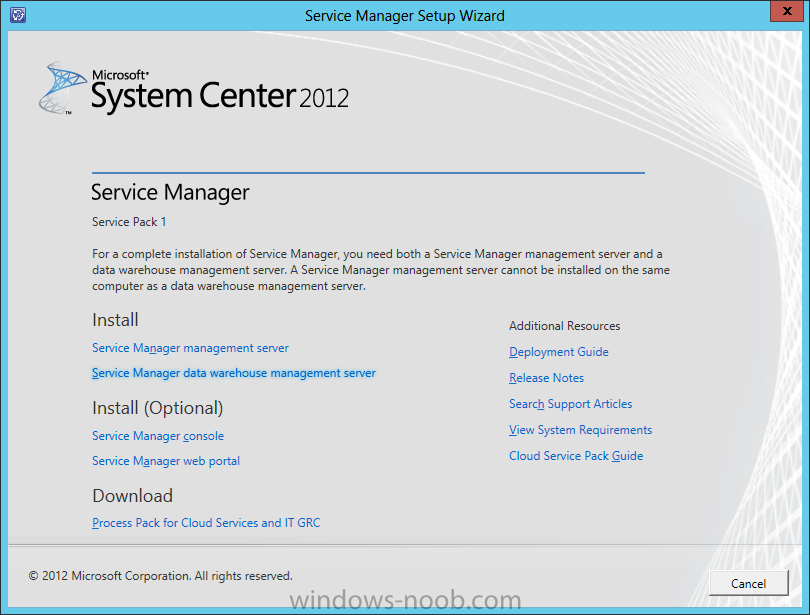
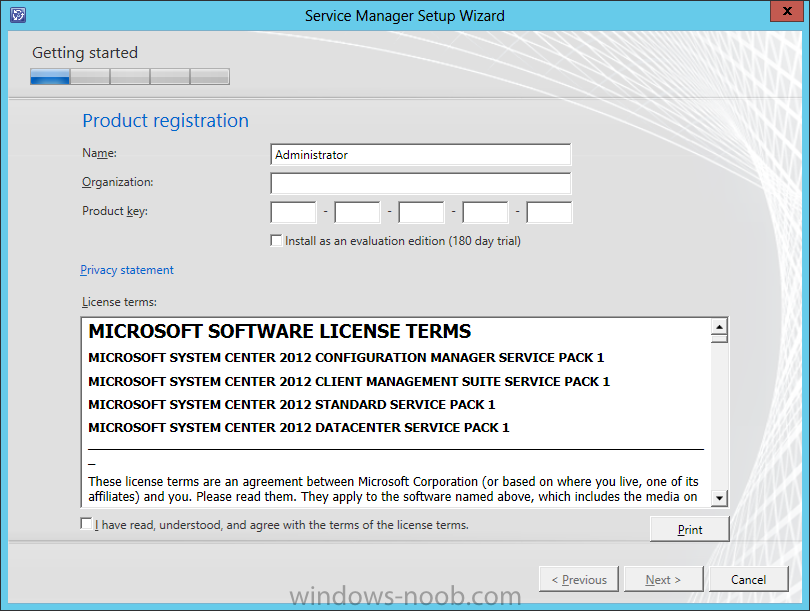
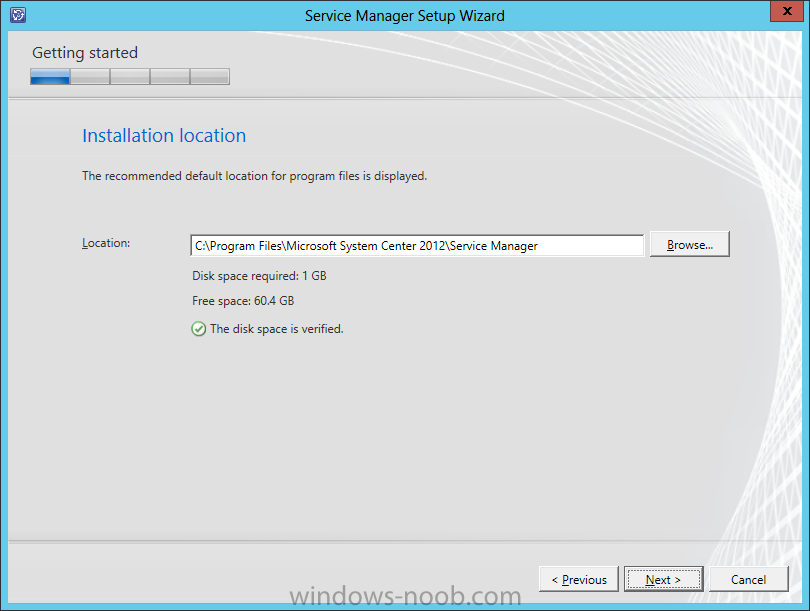
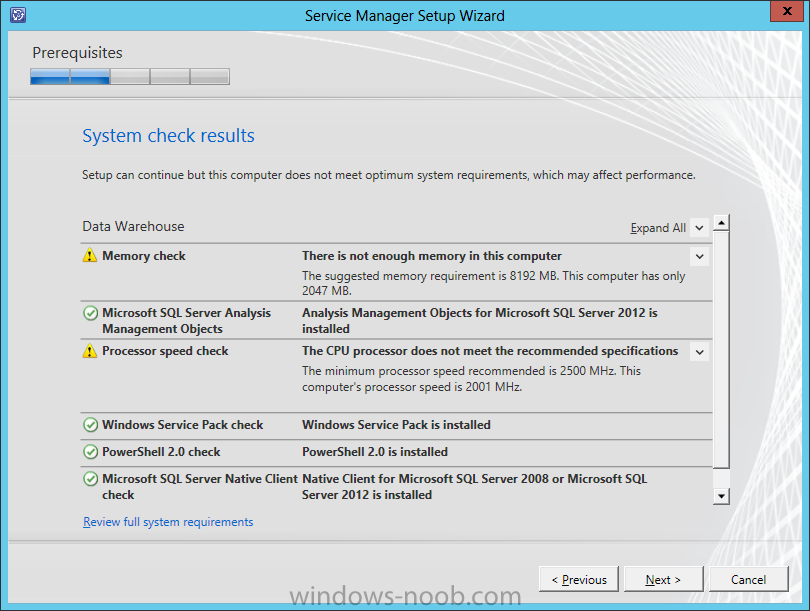
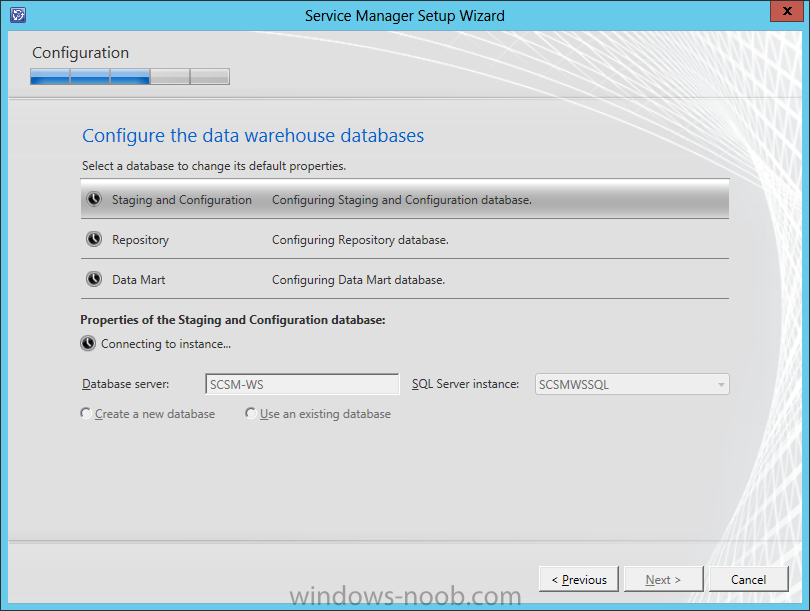
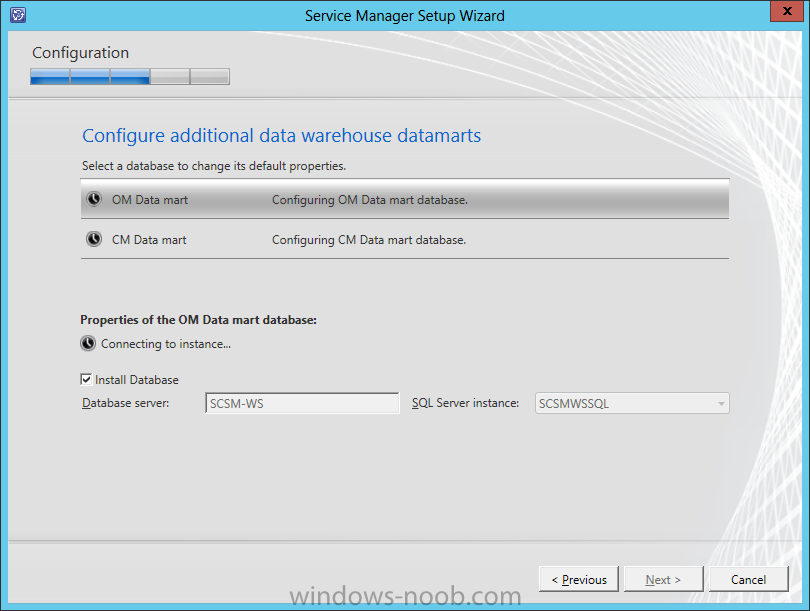
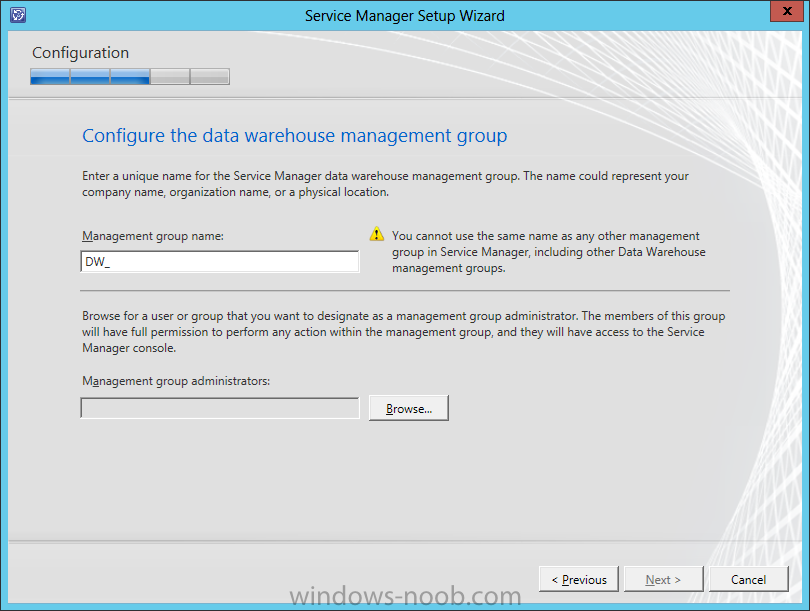
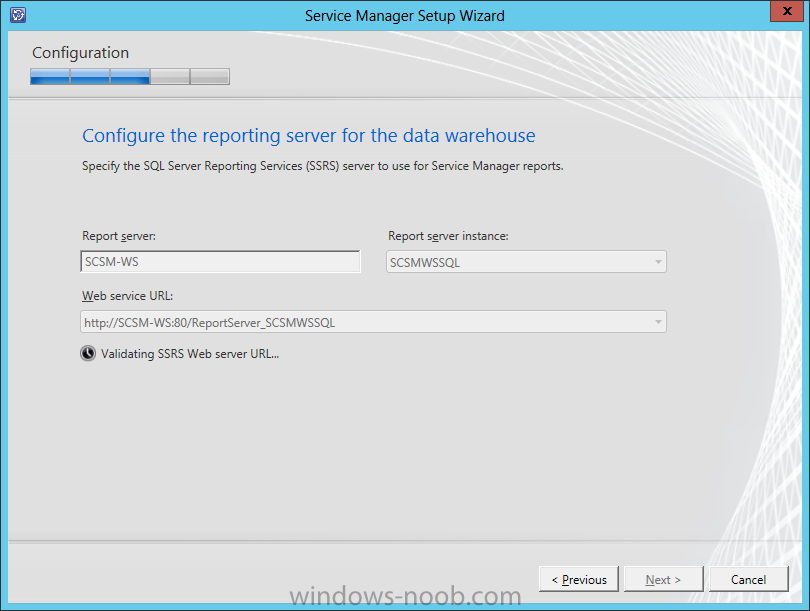
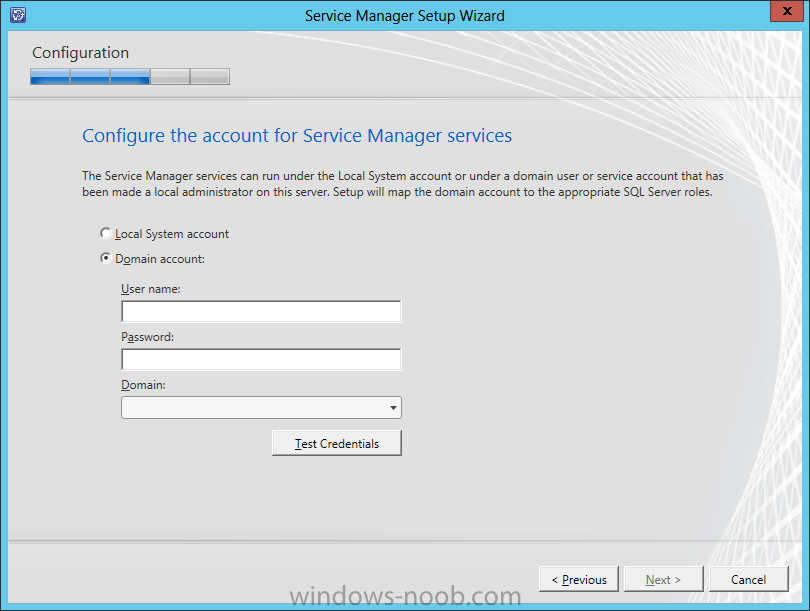
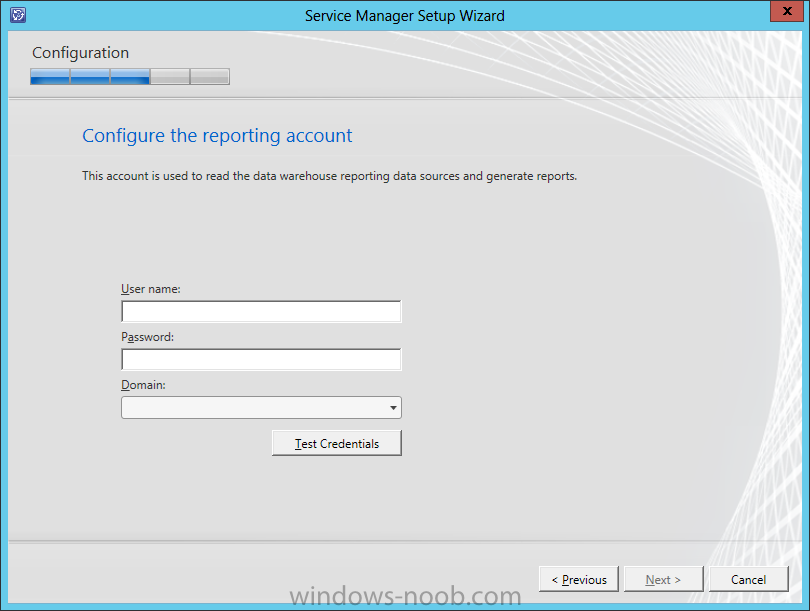
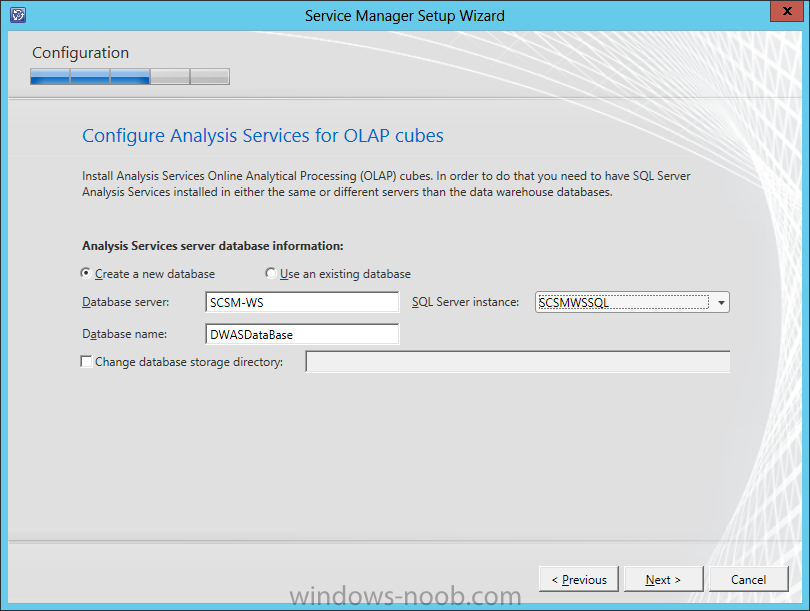
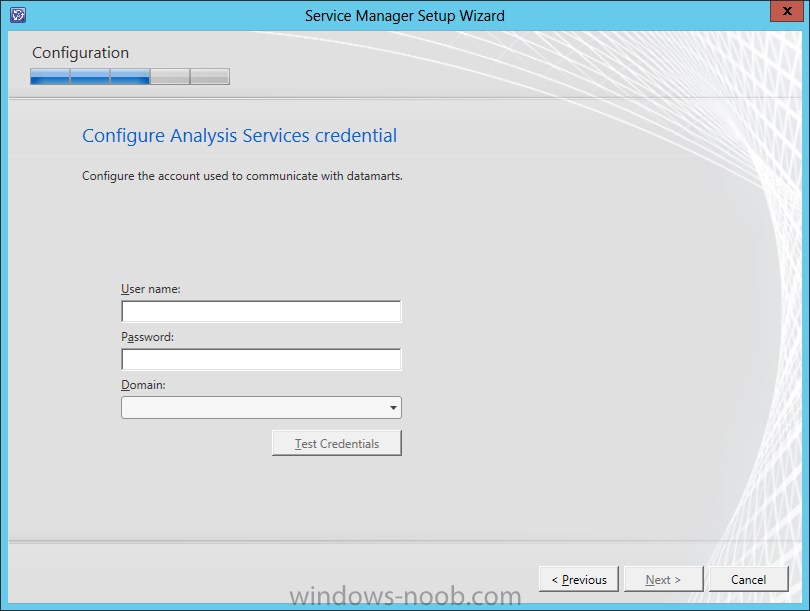
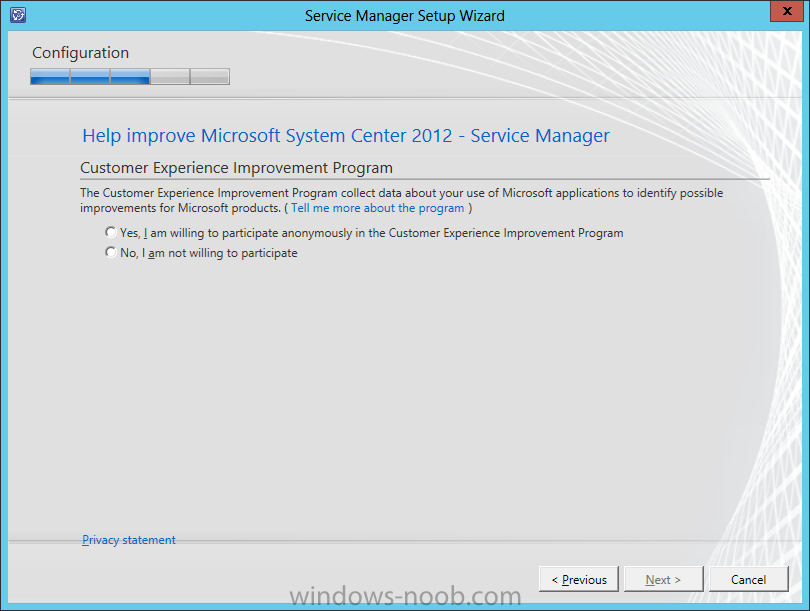
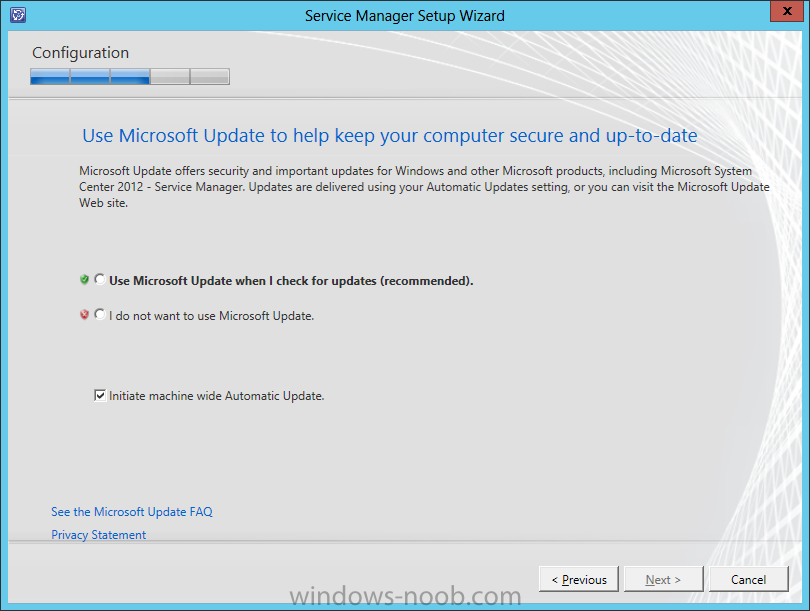
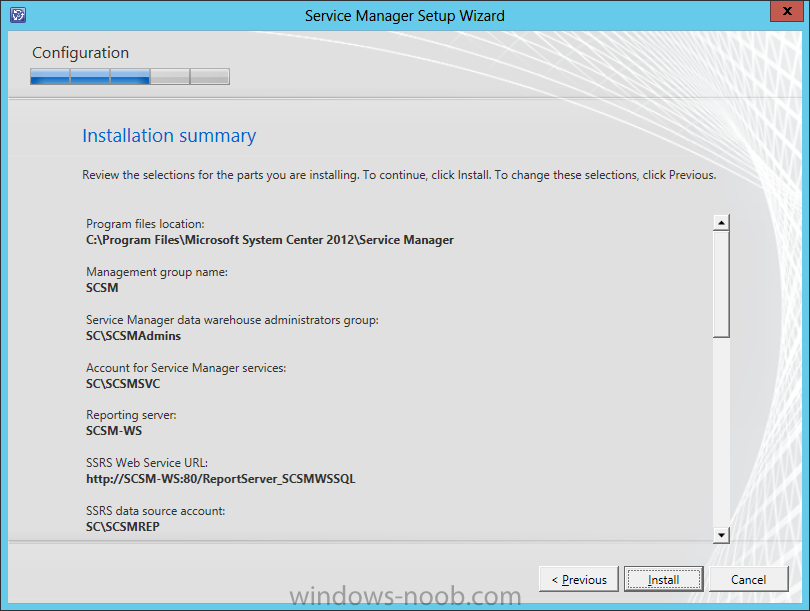
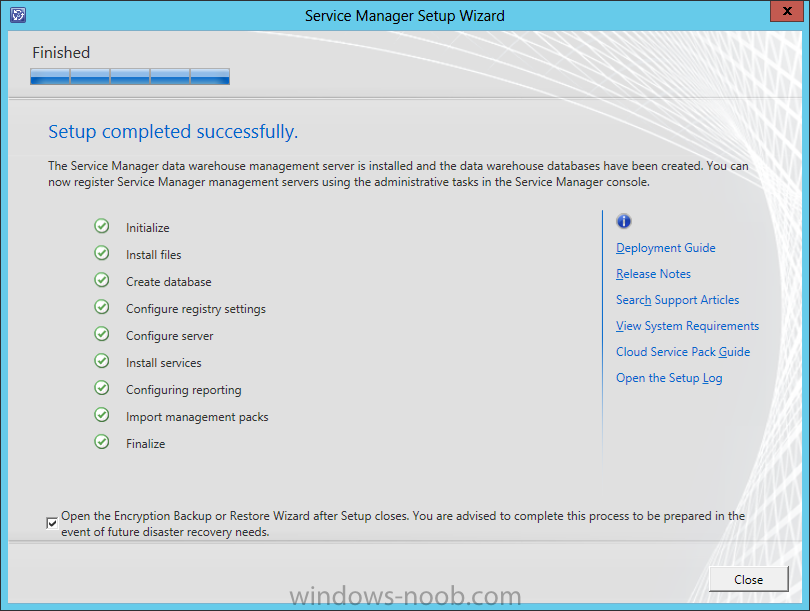
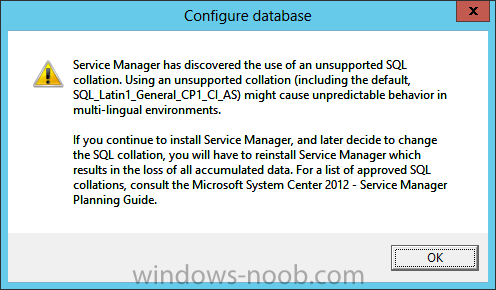
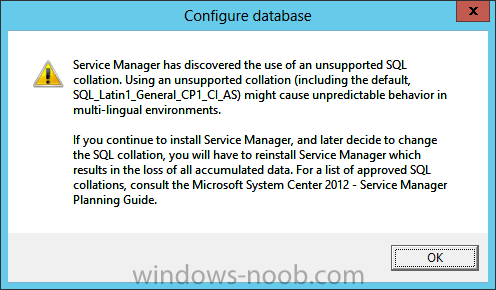
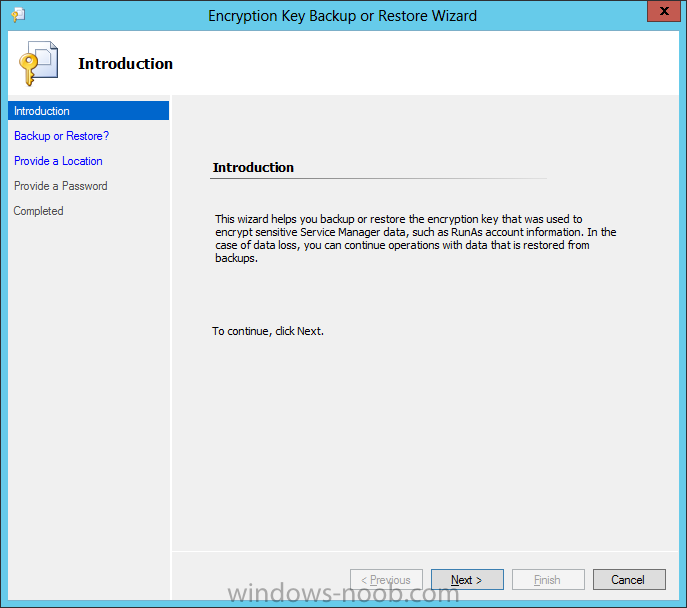
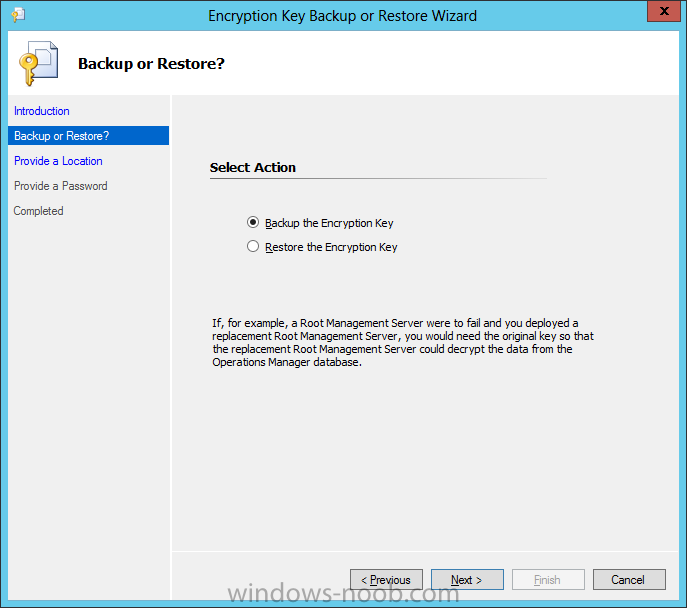
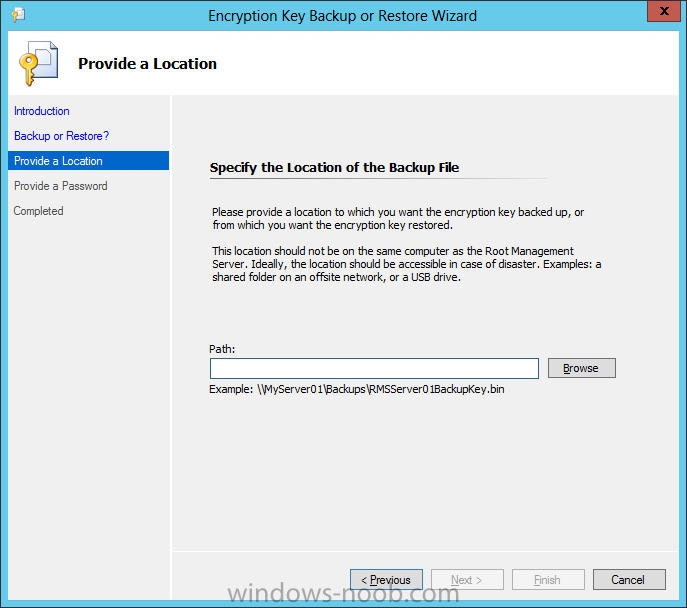
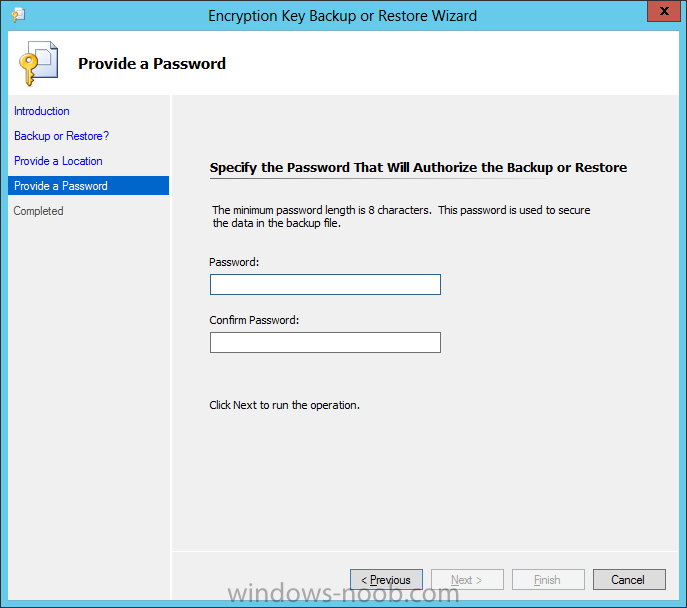
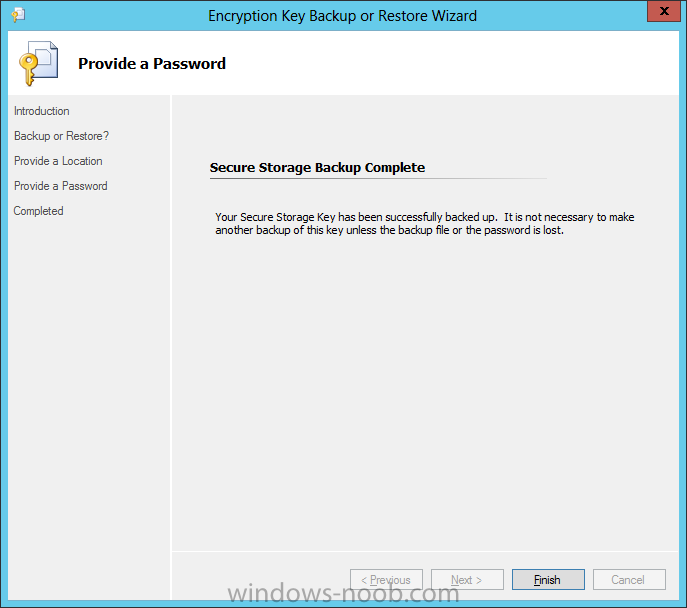
Now that we have the Service Manager Management Server installed, we can move onto the Data Warehouse. Install PrerequisitesTo start, before we will actually be able to install Service Manager Management Server, we have to install a few prerequisites. § .NET Framework 3.5 SP1 § Microsoft SQL Server Analysis Management Objects § Microsoft SQL Server Native Client Install SCSM-WS (Warehouse Server)Start by either extracting the DVD contents, or mounting the ISO (the TechNet ISO is currently labelled as mu_system_center_2012_service_manager_with_sp1_x64_dvd_1348926). Start by opening your DVD drive, navigating to the corresponding architecture (i.e. x86 or amd64), and run the Setup.exe. On the splash screen click the Service Manager Data Warehouse Management Server install link. On the Product Registration screen, enter a Name, Organization, and Product Key. Also read the License Terms and check the ‘I agree’ checkbox, then click Next. On the Installation Location screen, you can either accept the default location, or change it according to your needs. Then click Next. The Prerequisite checker will run and indicate if there are any issues preventing the installation from continuing. If there are any identified issues, resolve the issue(s) until all checks are green and/or if there are only Warnings left. Then click Next. The next screen is to configure the Data Warehouse databases. You may encounter this Warning message. This is the same message from when we installed the Management Server for Service Manager. Click OK. This will return you to the Data Warehouse database screen. It may take some time but once it has connected to the instance successfully, click Next. When you click Next on the Data Warehouse database screen, you will be presented with the Data Warehouse Datamarts screen. This is where Service Manager collects the data from Operations Manager (OM), and Configuration Manager (CM). You will encounter this Warning message again, just click OK. This will return you to the Data Warehouse Datamarts screen. It may take some time but once it has connected to the instance successfully, click Next. On the Data Warehouse Management Group screen, provide a group name. Note that this should be different from other Management Groups (i.e. SCCM, SCOM). Also add a user or group as the Administrator. In a Production environment, it is best to use an Active Directory Security Group as it is easier to add/remove individuals. On the Reporting Server screen, you will have to wait for the validation to complete, then click Next. Next you need to either specify to use a Local Account, or specify a Domain Account for the Service Manager services. This can be the same domain account used for the services on the Management Server. You will not be able to click Next until the credentials are tested successfully. Once it is, then click Next. On the Reporting Account screen, provide an account and click the Test Credentials button. Then click Next. On the Analysis Services screen, we will accept the defaults in our lab example, and click Next. You next need to provide an Analysis Services service account. Provide the credentials and click the Test Credentials button. You will not be able to click Next until you do. Once tested, then click Next. On the CEIP screen, choose whether you will join the program, and then click Next. New to System Center 2012, you can choose to include the System Center product in Microsoft Updates. Make your applicable choice and then click Next. On the Summary screen, review the selections made, and then click Install. Once the installation is complete, ensure that the ‘Open the Encryption Backup or Restore Wizard’ checkbox is selected. Then click Close. Encryption Key BackupWhen the Encryption Key Backup wizard launches, read the Introduction information and then click Next. On the Backup or Restore screen, select ‘Backup the Encryption Key’ and click Next. On the Provide A Location screen, it is recommended to store the Encryption Key backup in a secure location (i.e. a file server that is regularly backed up). Enter an applicable UNC path, along with a filename, and then click Next. On the Provide A Password screen, provide a password for security purposes (and keep it in a secure location), and click Next. Once the backup is complete, click Finish. That completes the installation of Service Manager’s Warehouse Server. We now need to install the SharePoint / Self-Service Portal.
-
- Service Manager
- System Center 2012
- (and 6 more)


